INTRODUCTION:
In this article we are going to setup vulnerability scanning for Docker images in AWS ECR.
WHAT IS DOCKER:
Docker is an open-source platform that automates the deployment of applications inside software containers. Containers are lightweight, portable, and self-sufficient units that encapsulate all the dependencies required to run a software application, including the code, runtime, system tools, libraries, and settings. Docker uses containerization technology to package applications into containers, enabling developers to build, ship, and run applications consistently across different environments, such as development, testing, and production.
WHAT IS ECR:
ECR is a fully managed Docker container registry service provided by Amazon Web Services. It allows you to store, manage, and deploy Docker container images securely. ECR is tightly integrated with other AWS services, particularly Amazon ECS and Amazon Elastic Kubernetes Service, making it easy to deploy containerized applications on AWS infrastructure.
If you would like to follow a video tutorial please use our YouTube video.
PREREQUISITES:
- AWS account.
- AWS account with ECR Full access.
- Basic knowledge about ECR and Docker.
INTENDED AUDIENCE:
- Engineer
AWS ECR:
Go inside AWS console > go inside ECR > Click on create repository.
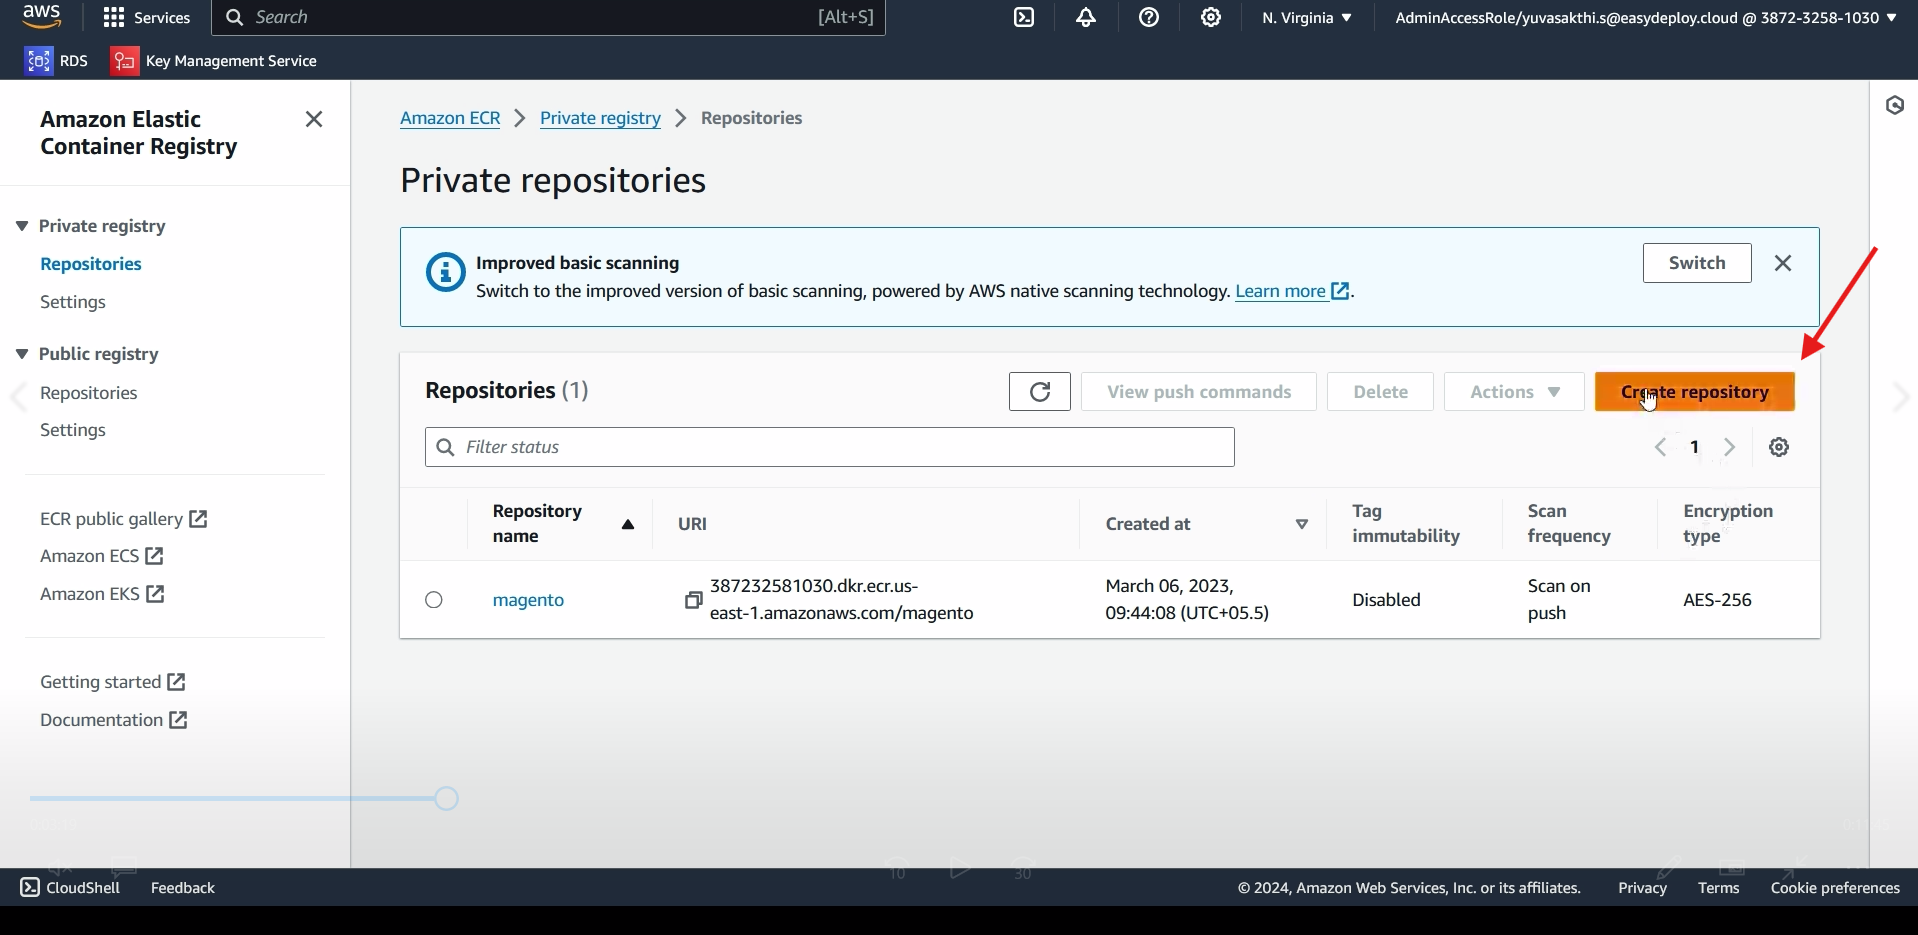
select private or public based on your requirements > Give a name to the ECR repository.
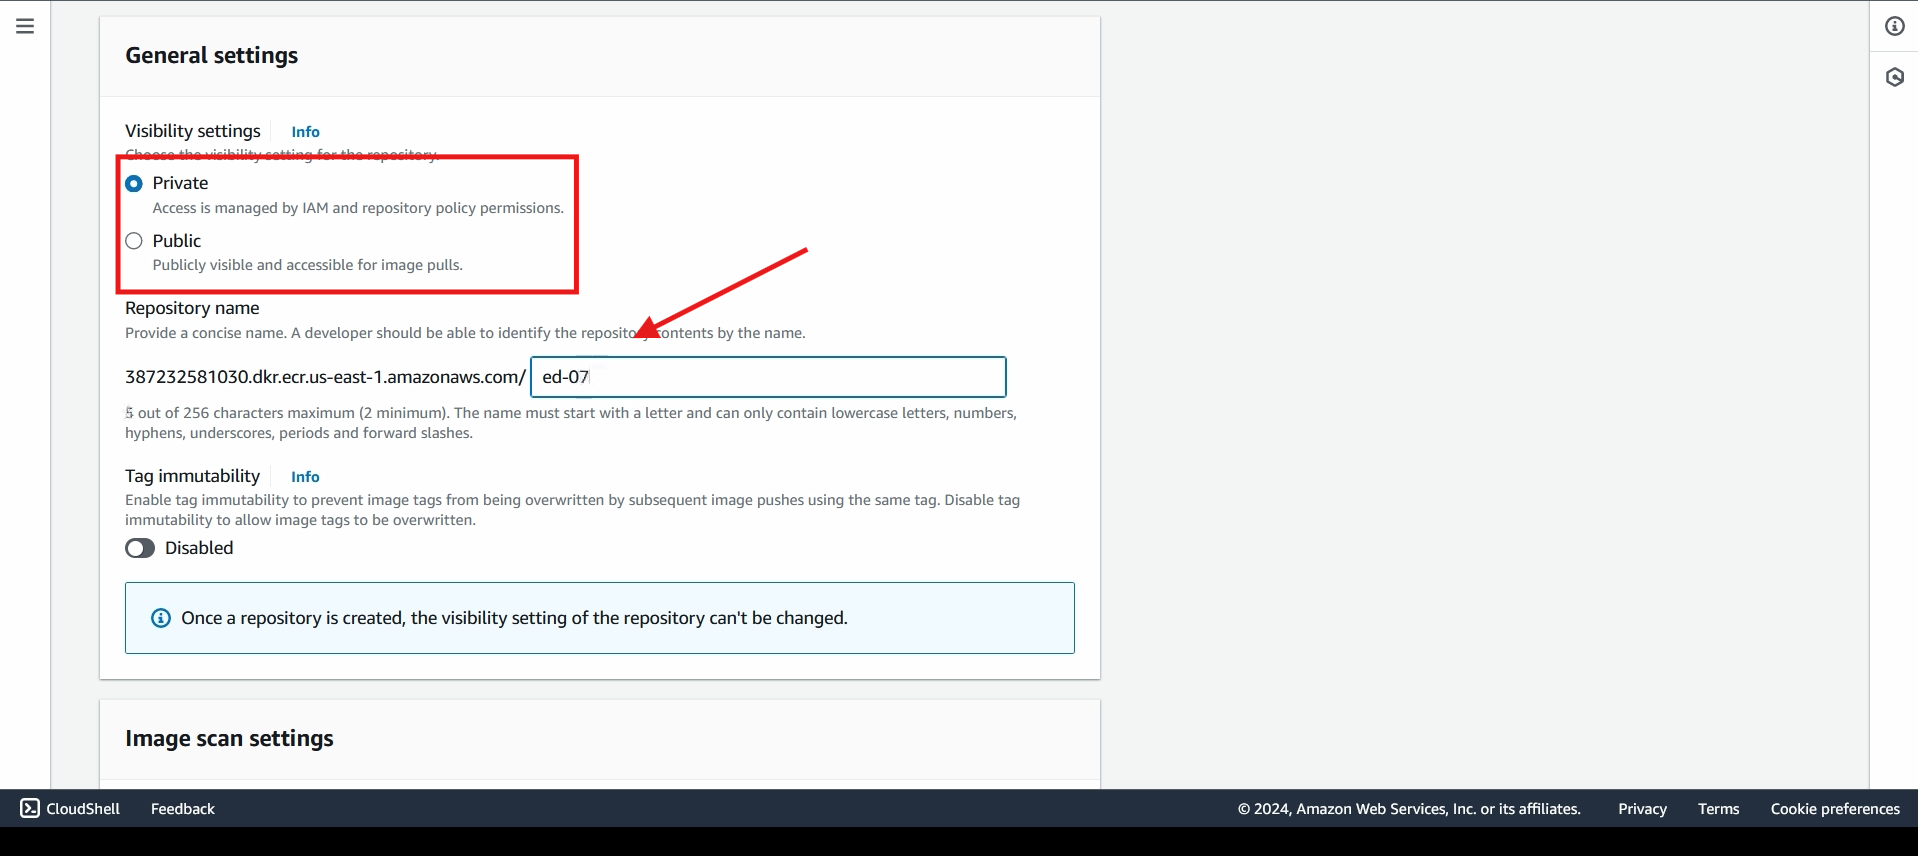
Enable scan on push, this will scan the vulnerability when we push image to the repository > click create repository.
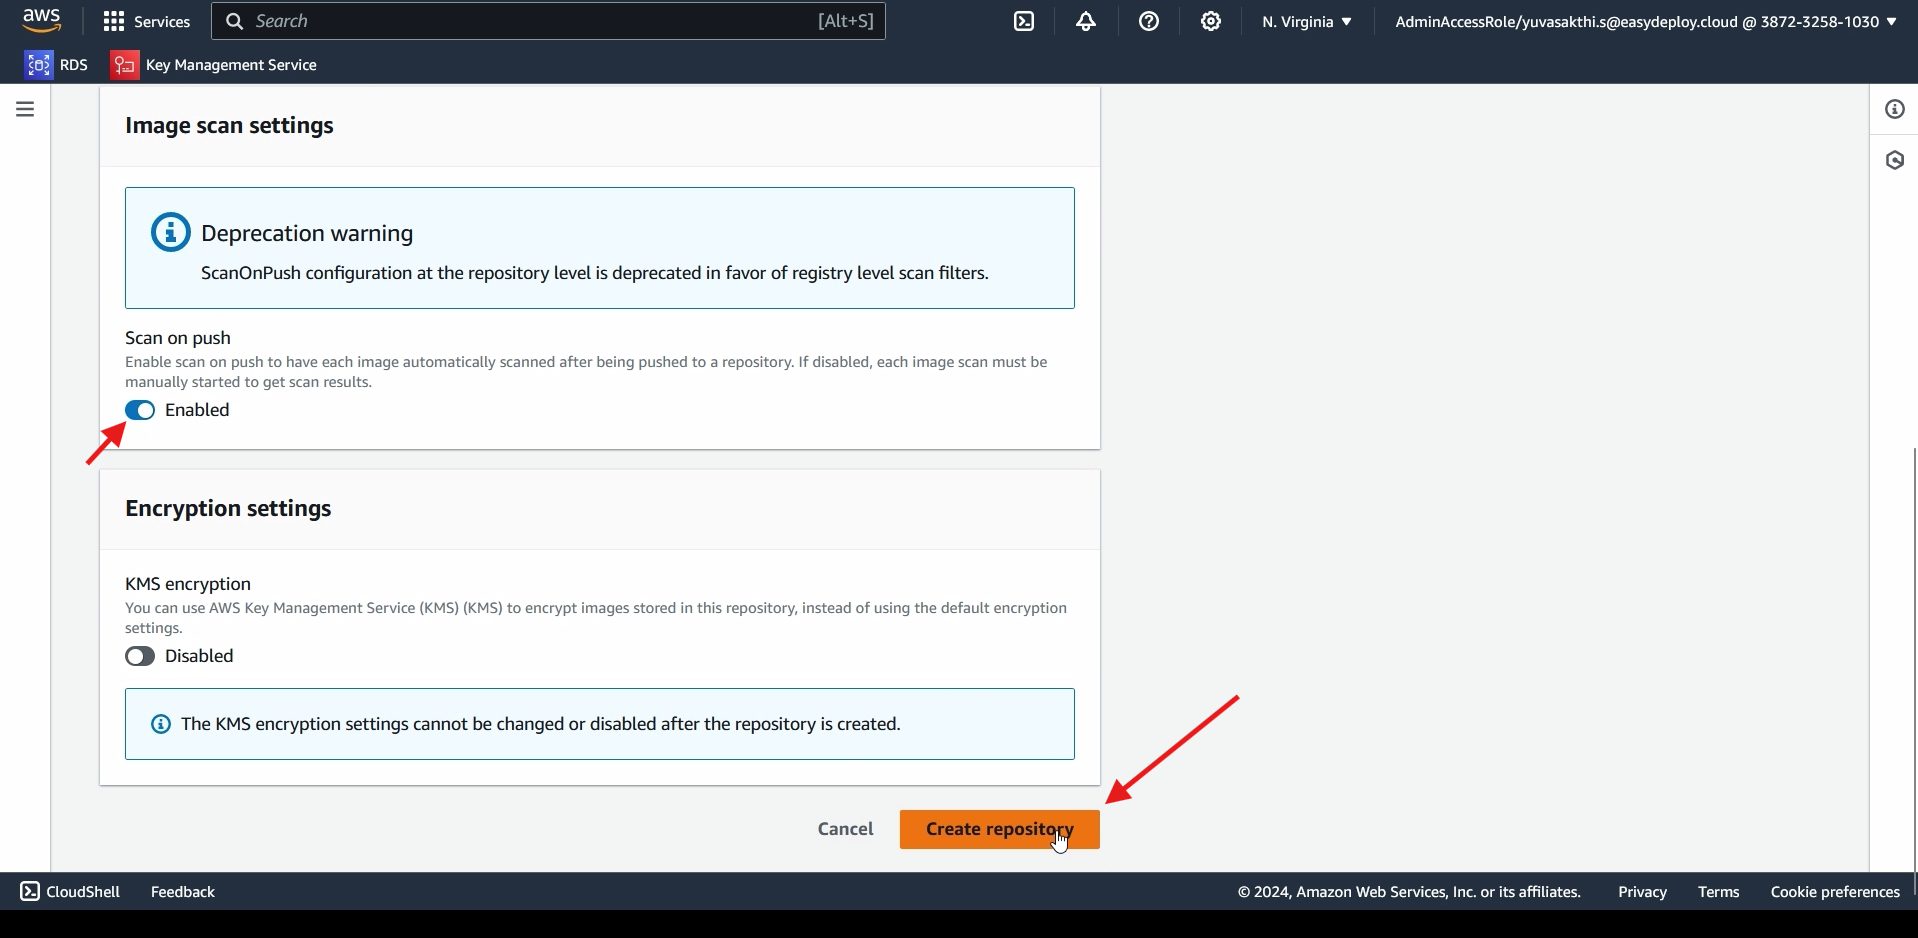
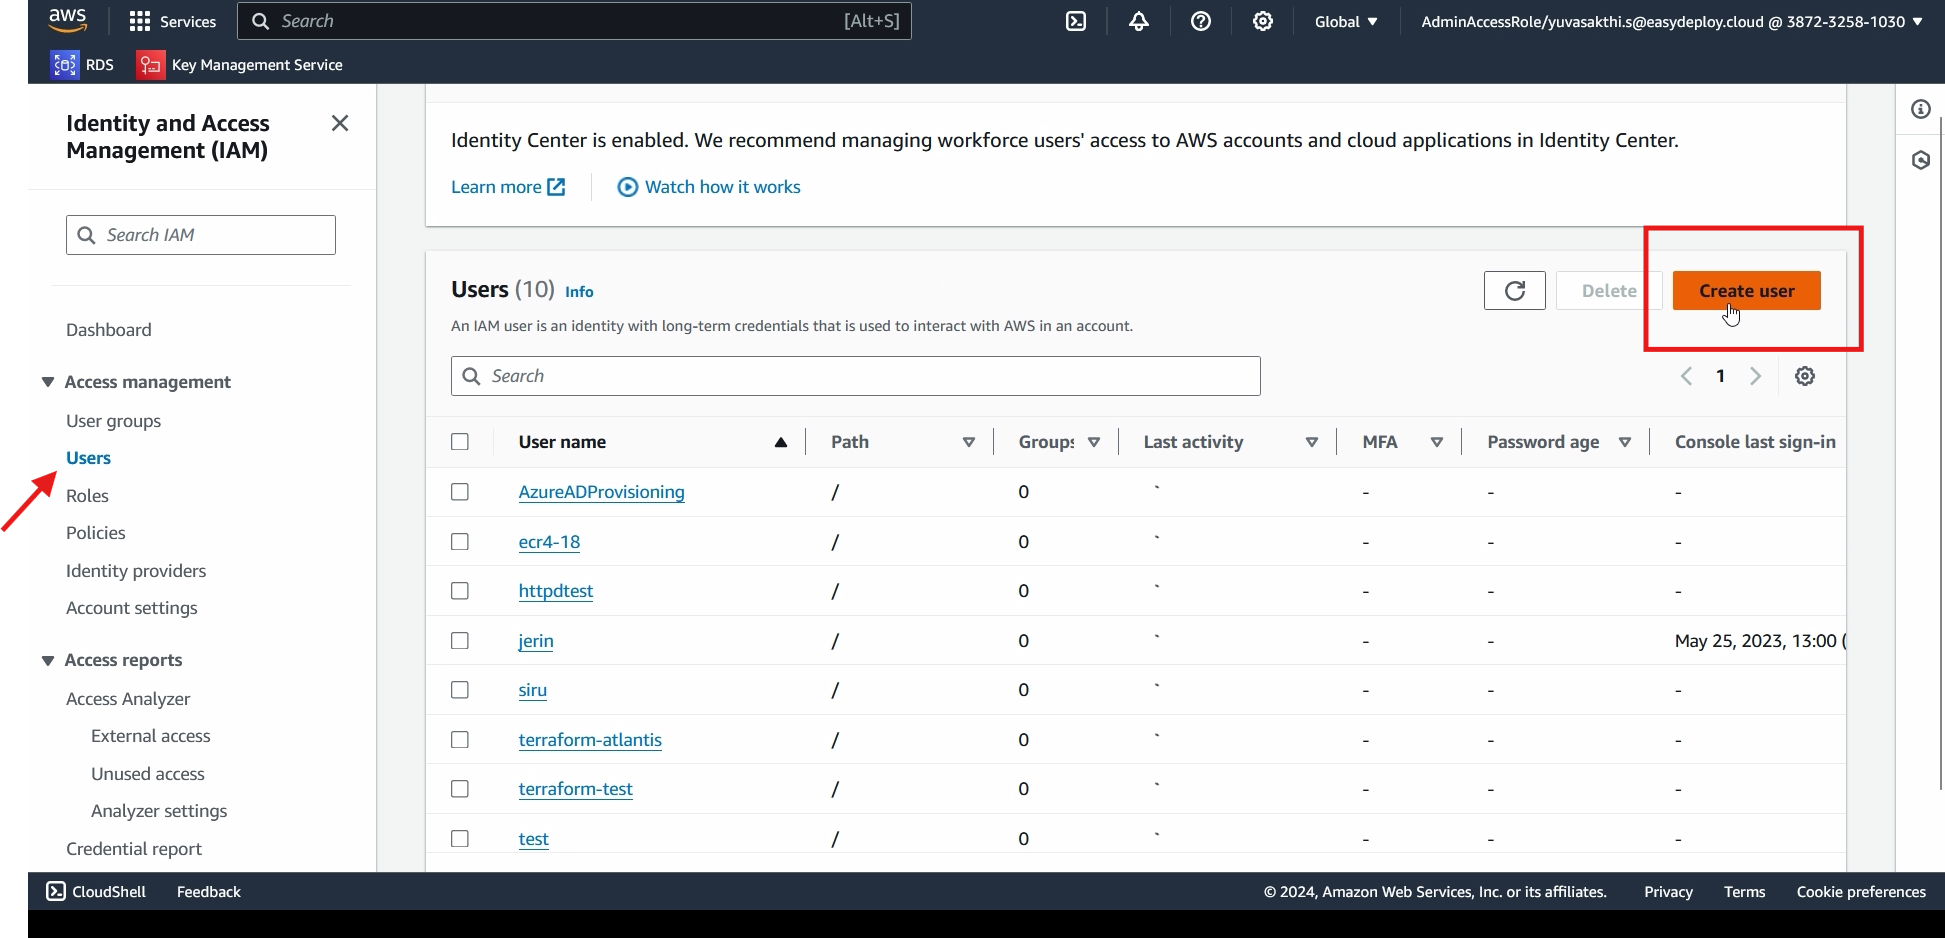
Go to IAM > go inside users > click create user.
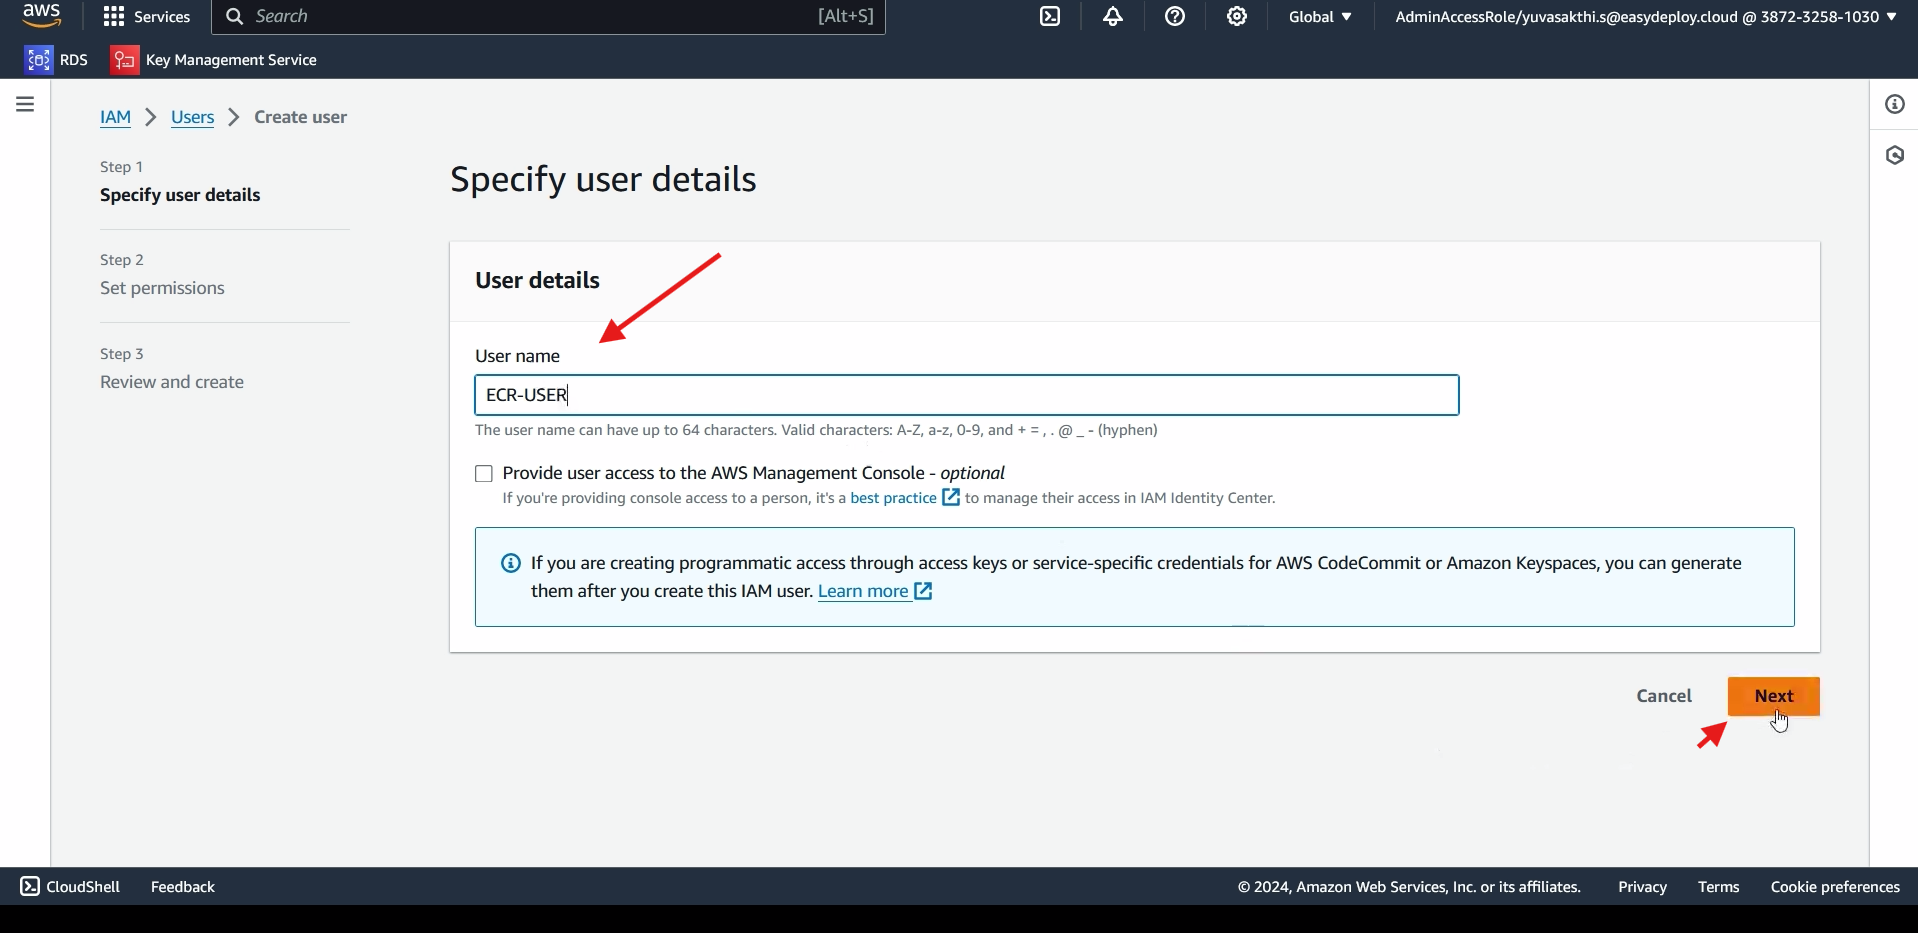
Give user name > click Next.
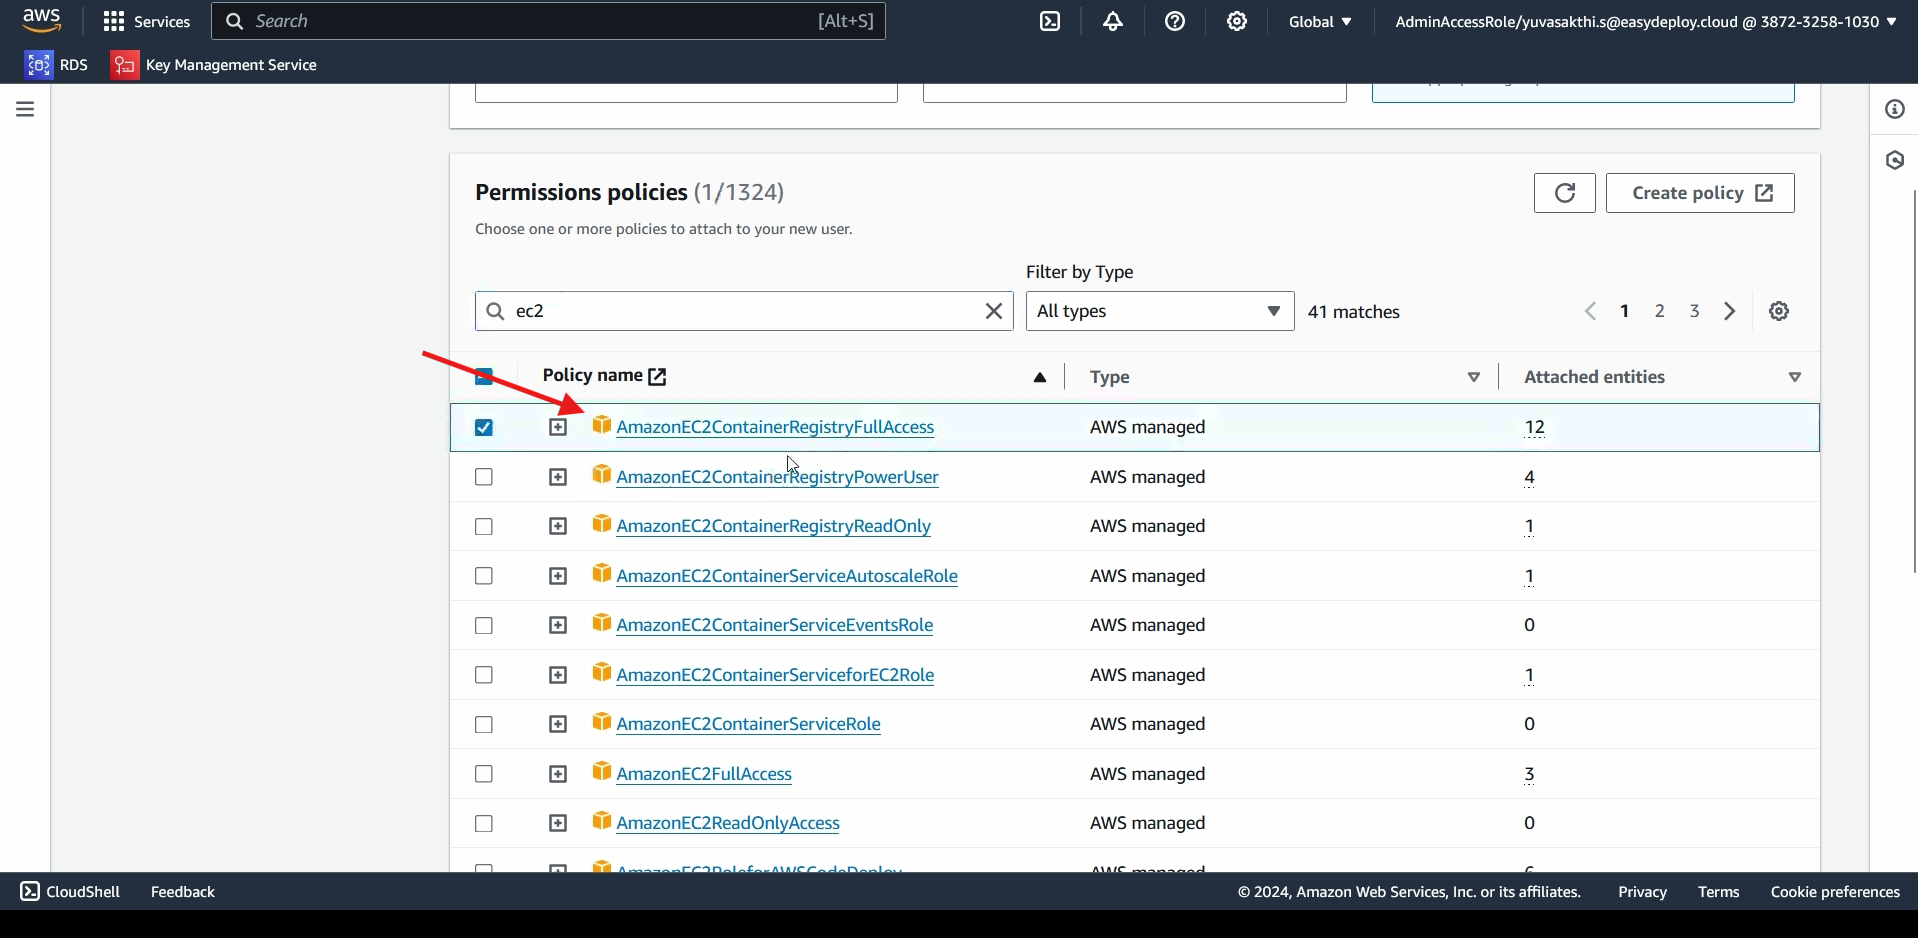
Click on attach policies > attach the ECR Full access > click next > create user.
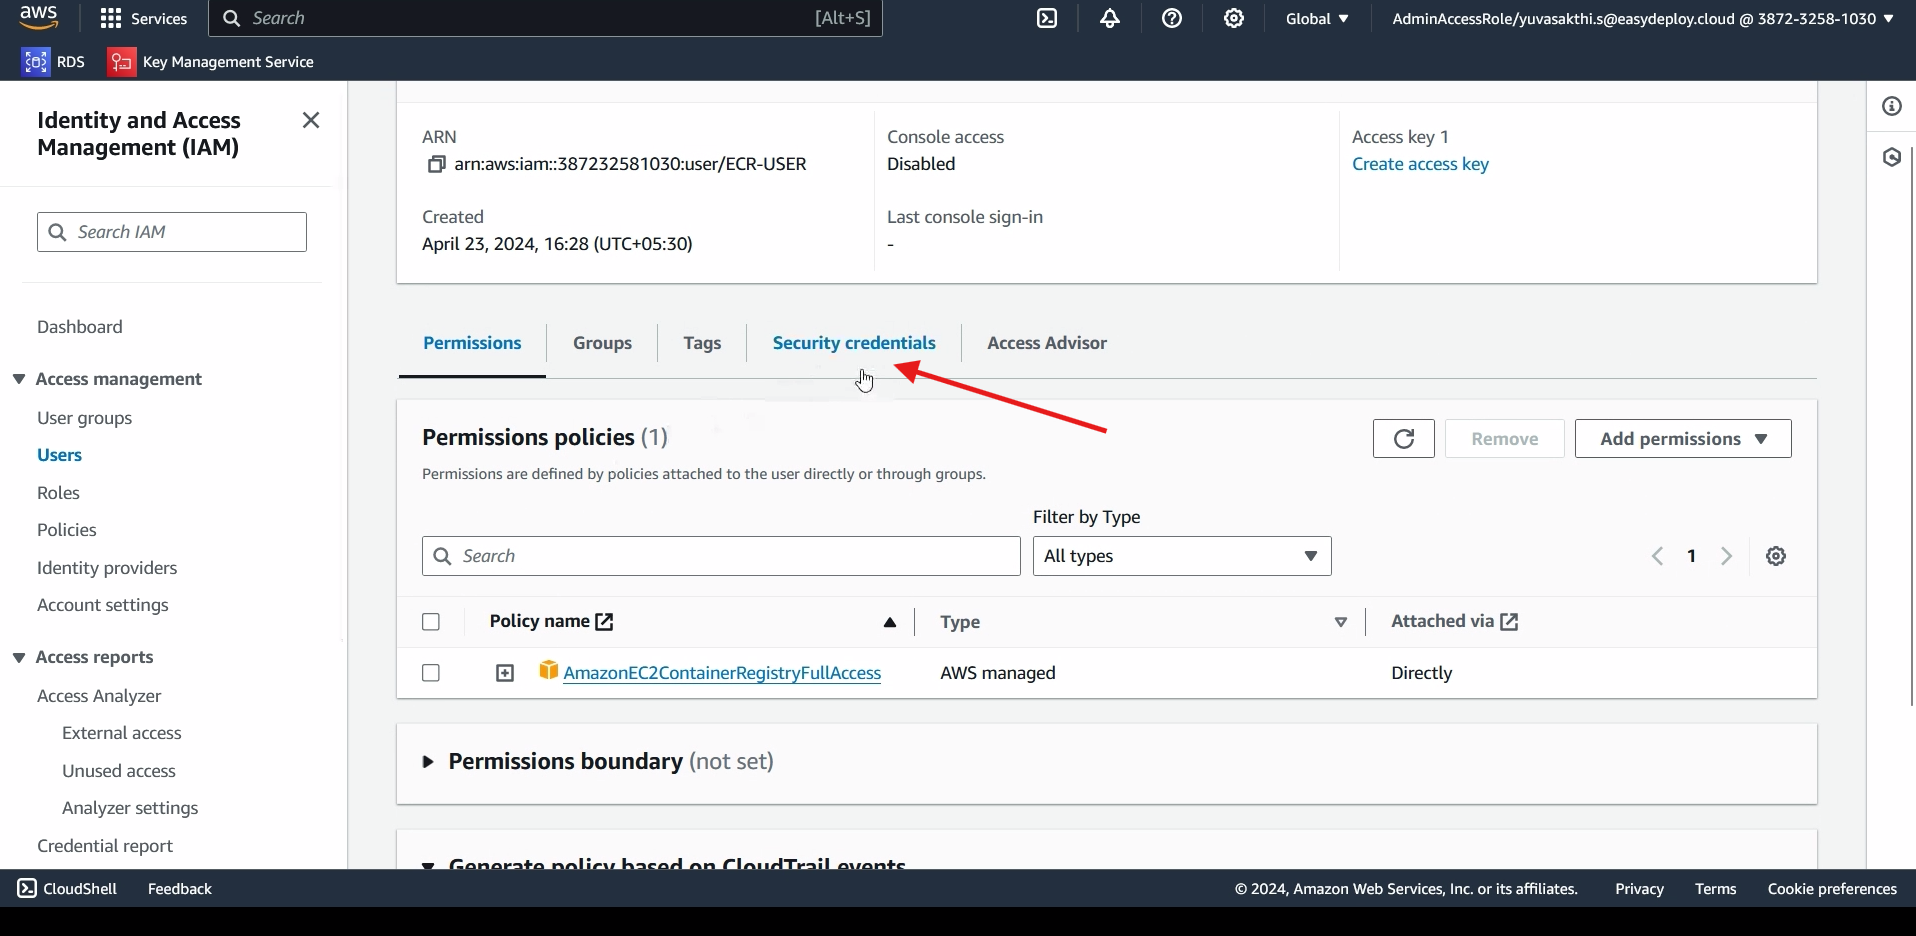
Go inside the User we created > go inside security credentials.
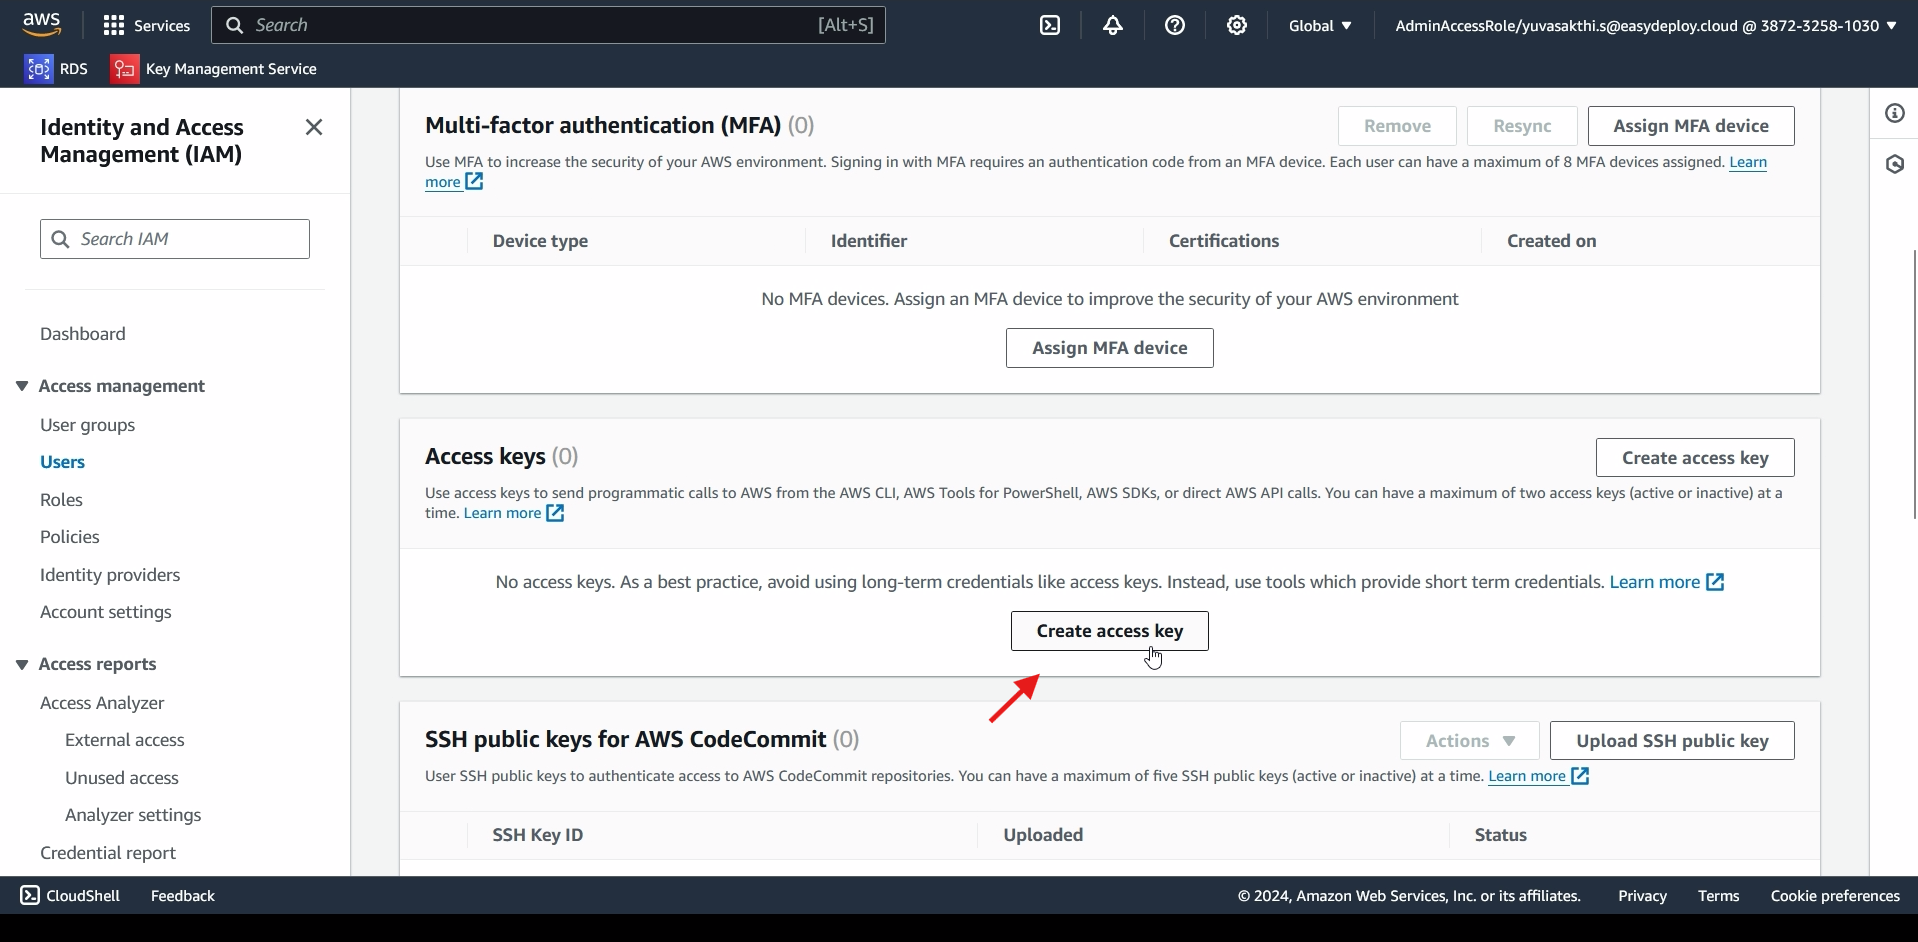
scroll down and click on create acess key.
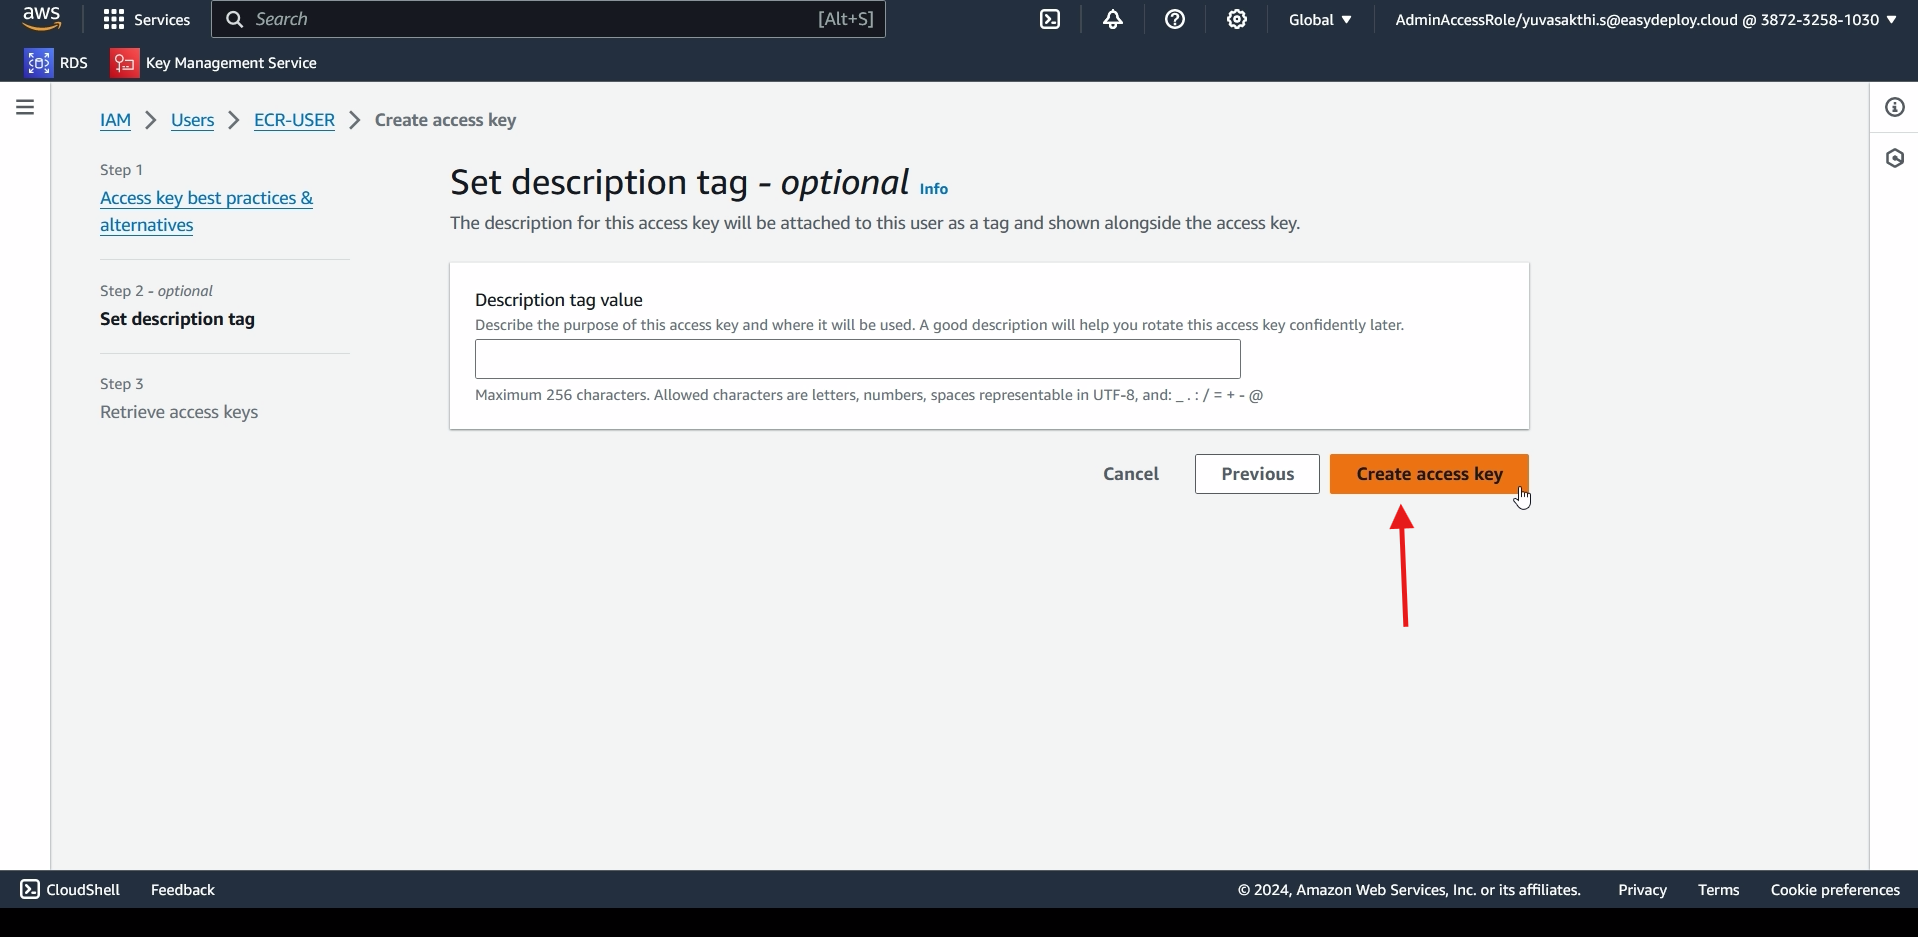
choose the use case based on your requirements > next > create access key.
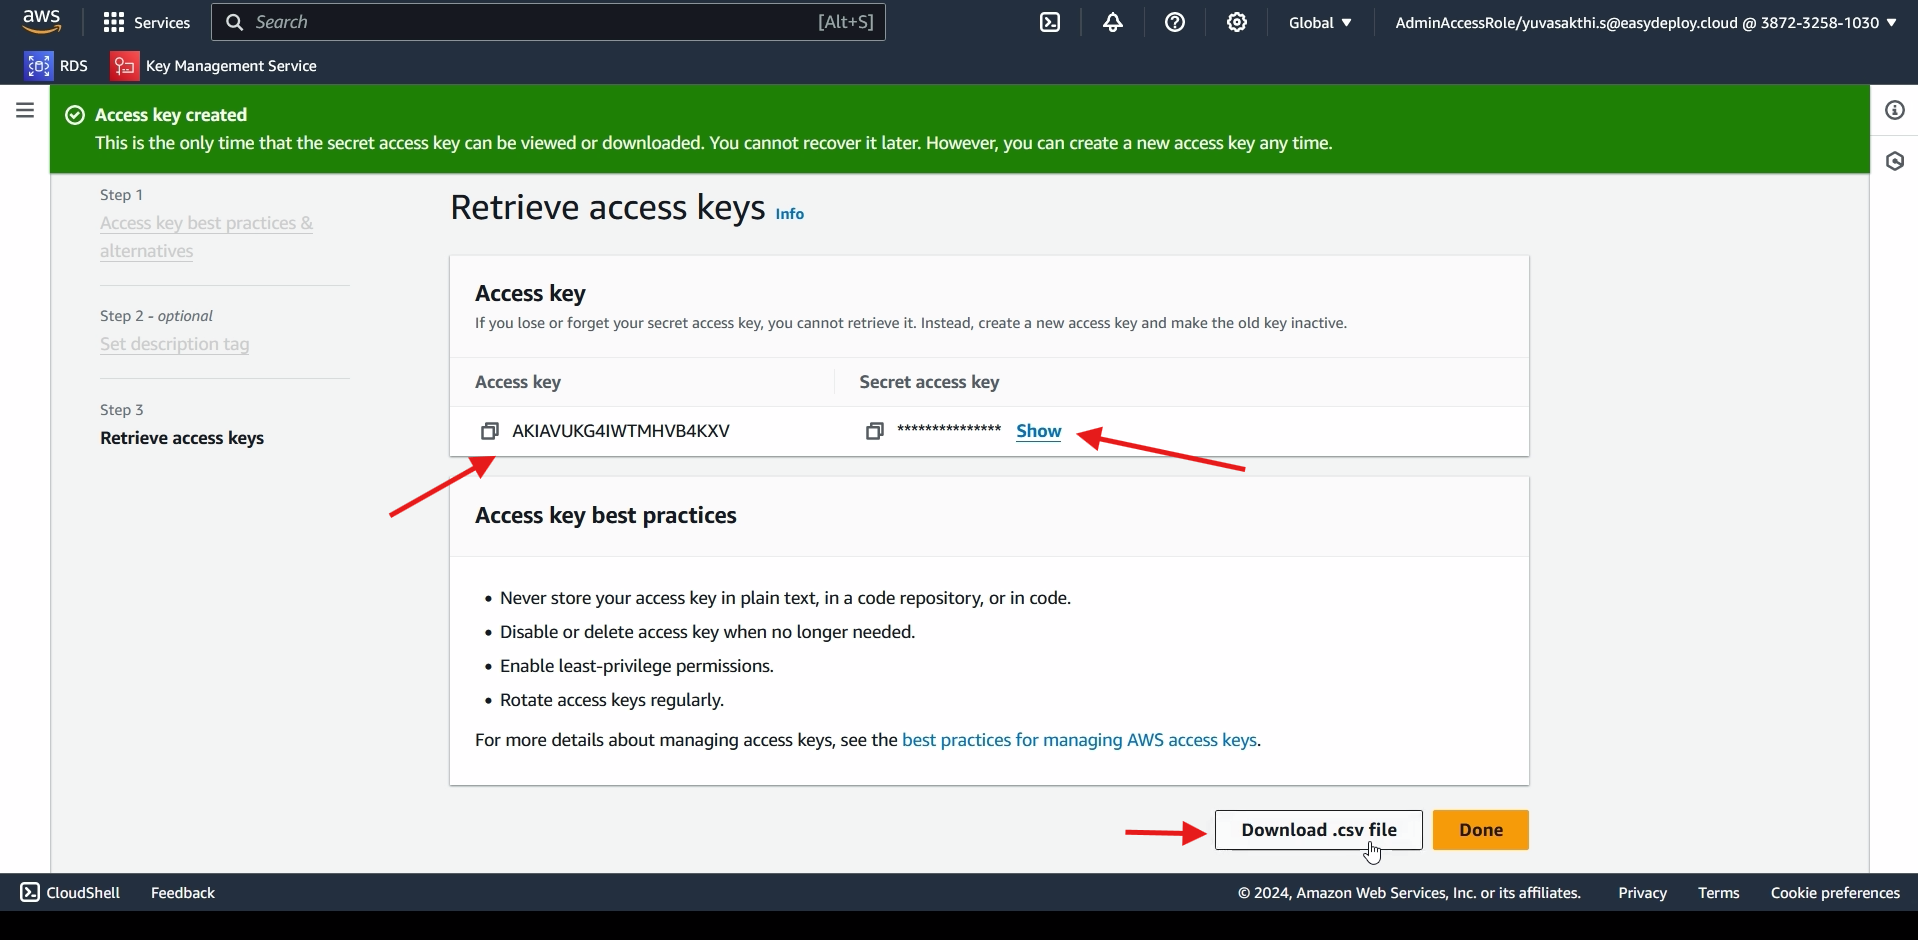
These are the access and secret access key. you can download the file if needed.
Go inside ec2 instance. I already created an instance. If you dont have one you can create new one. Go inside the instance.
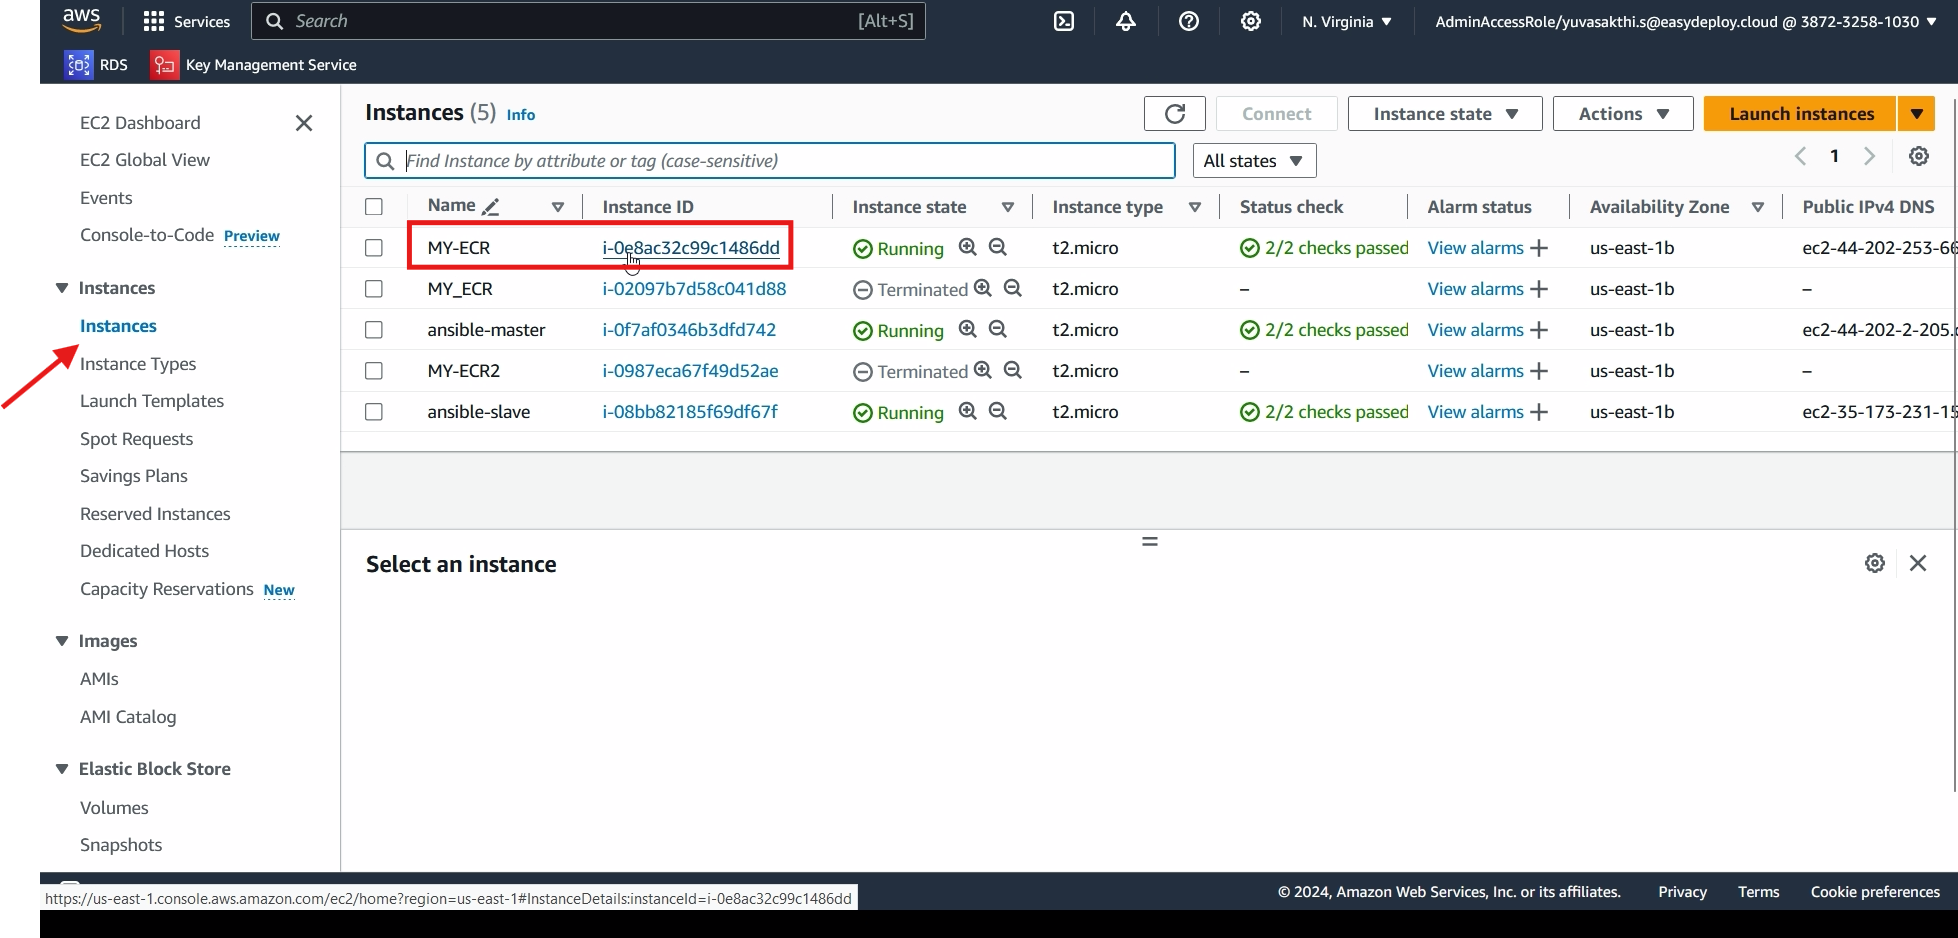
Click on connect.
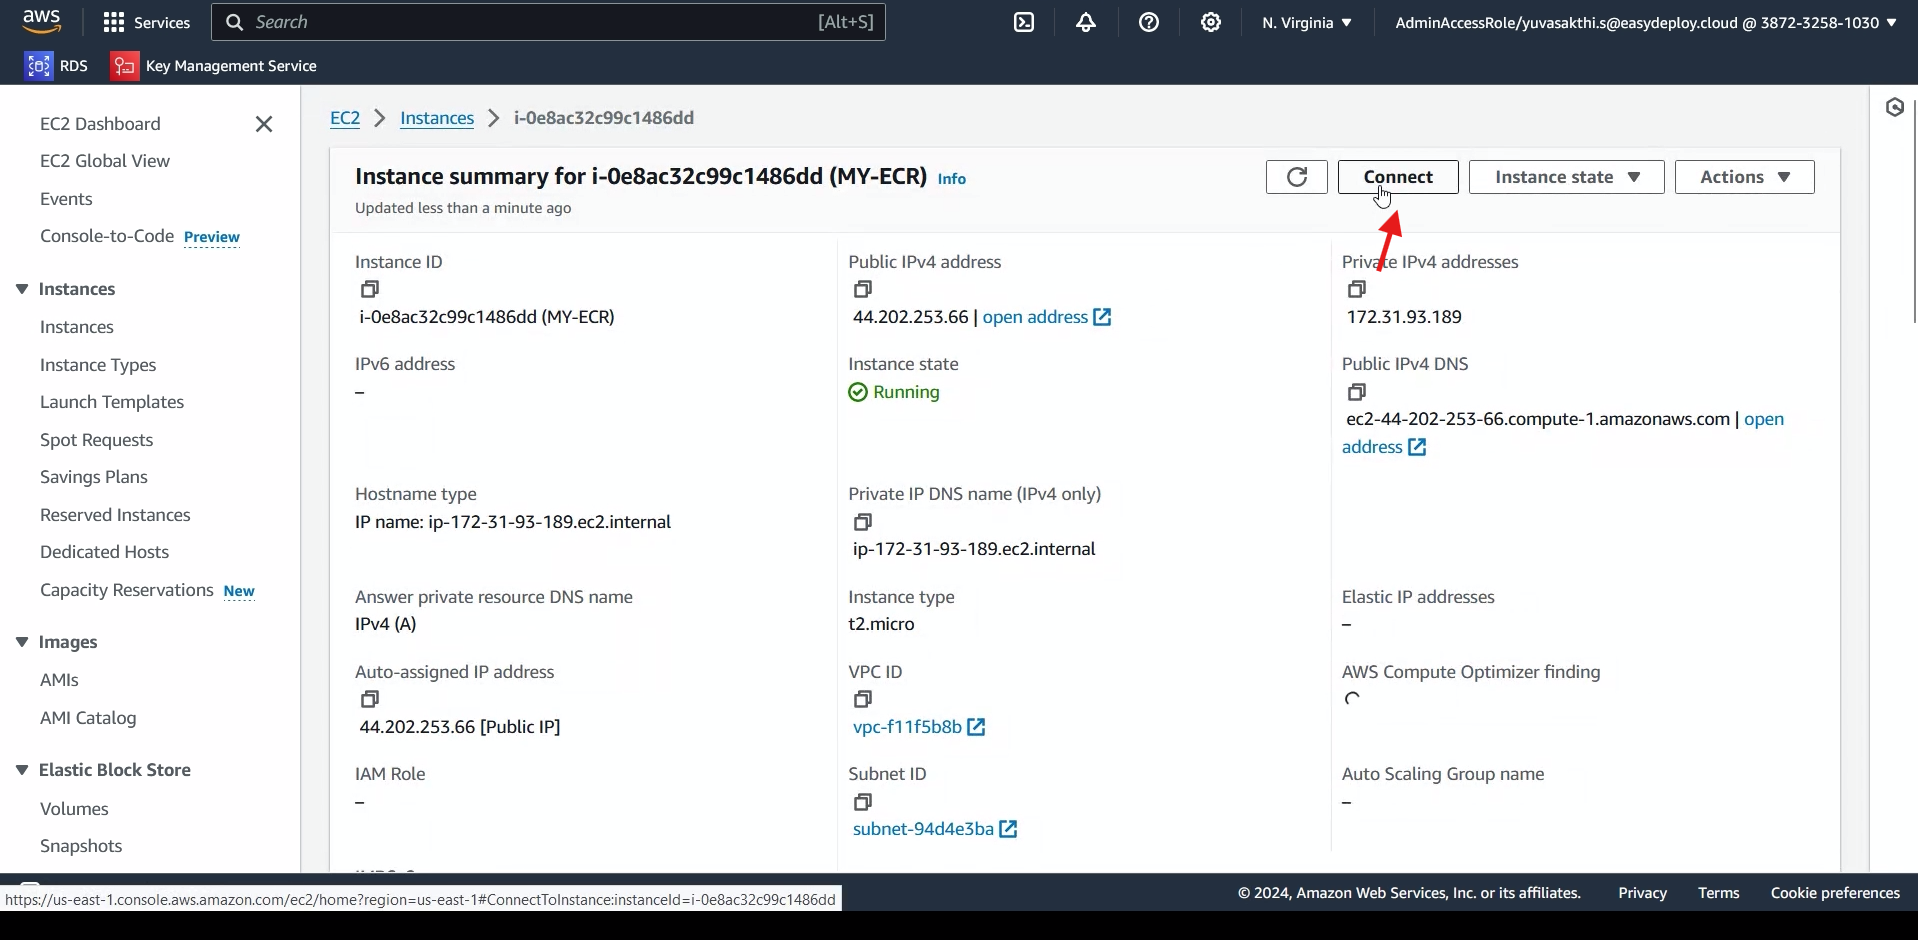
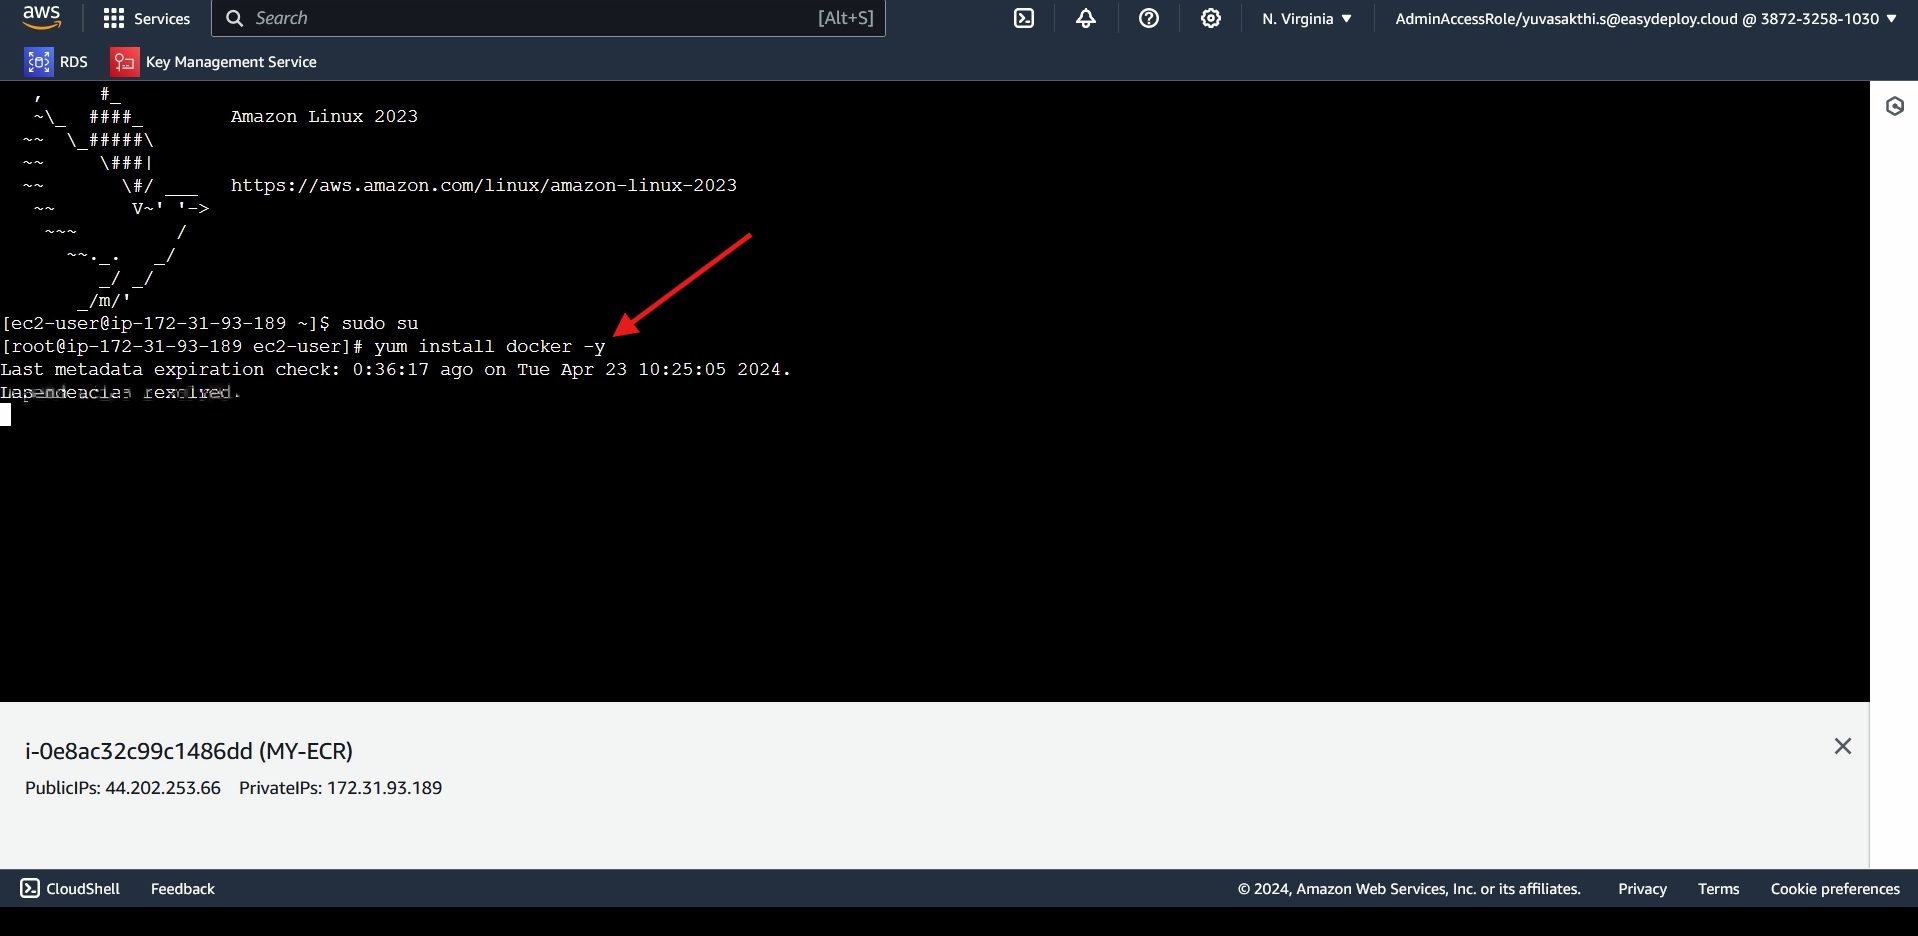
Now install Docker by using the following command.
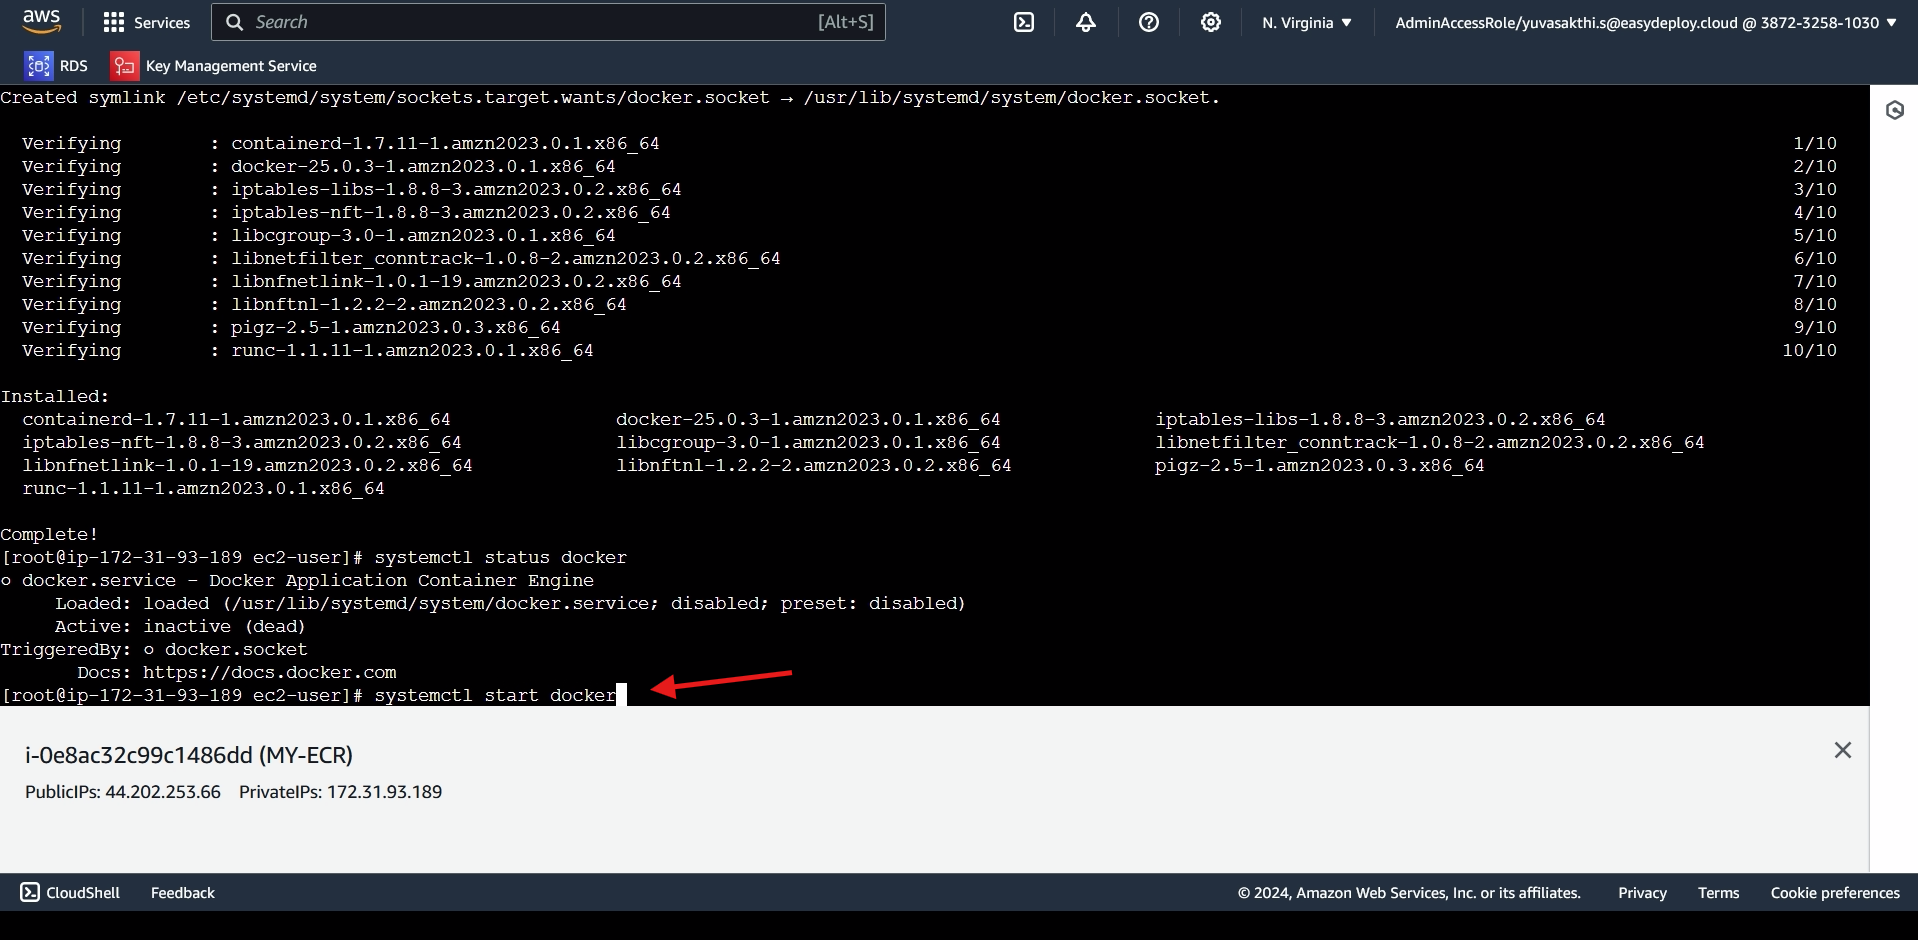
start the Docker.
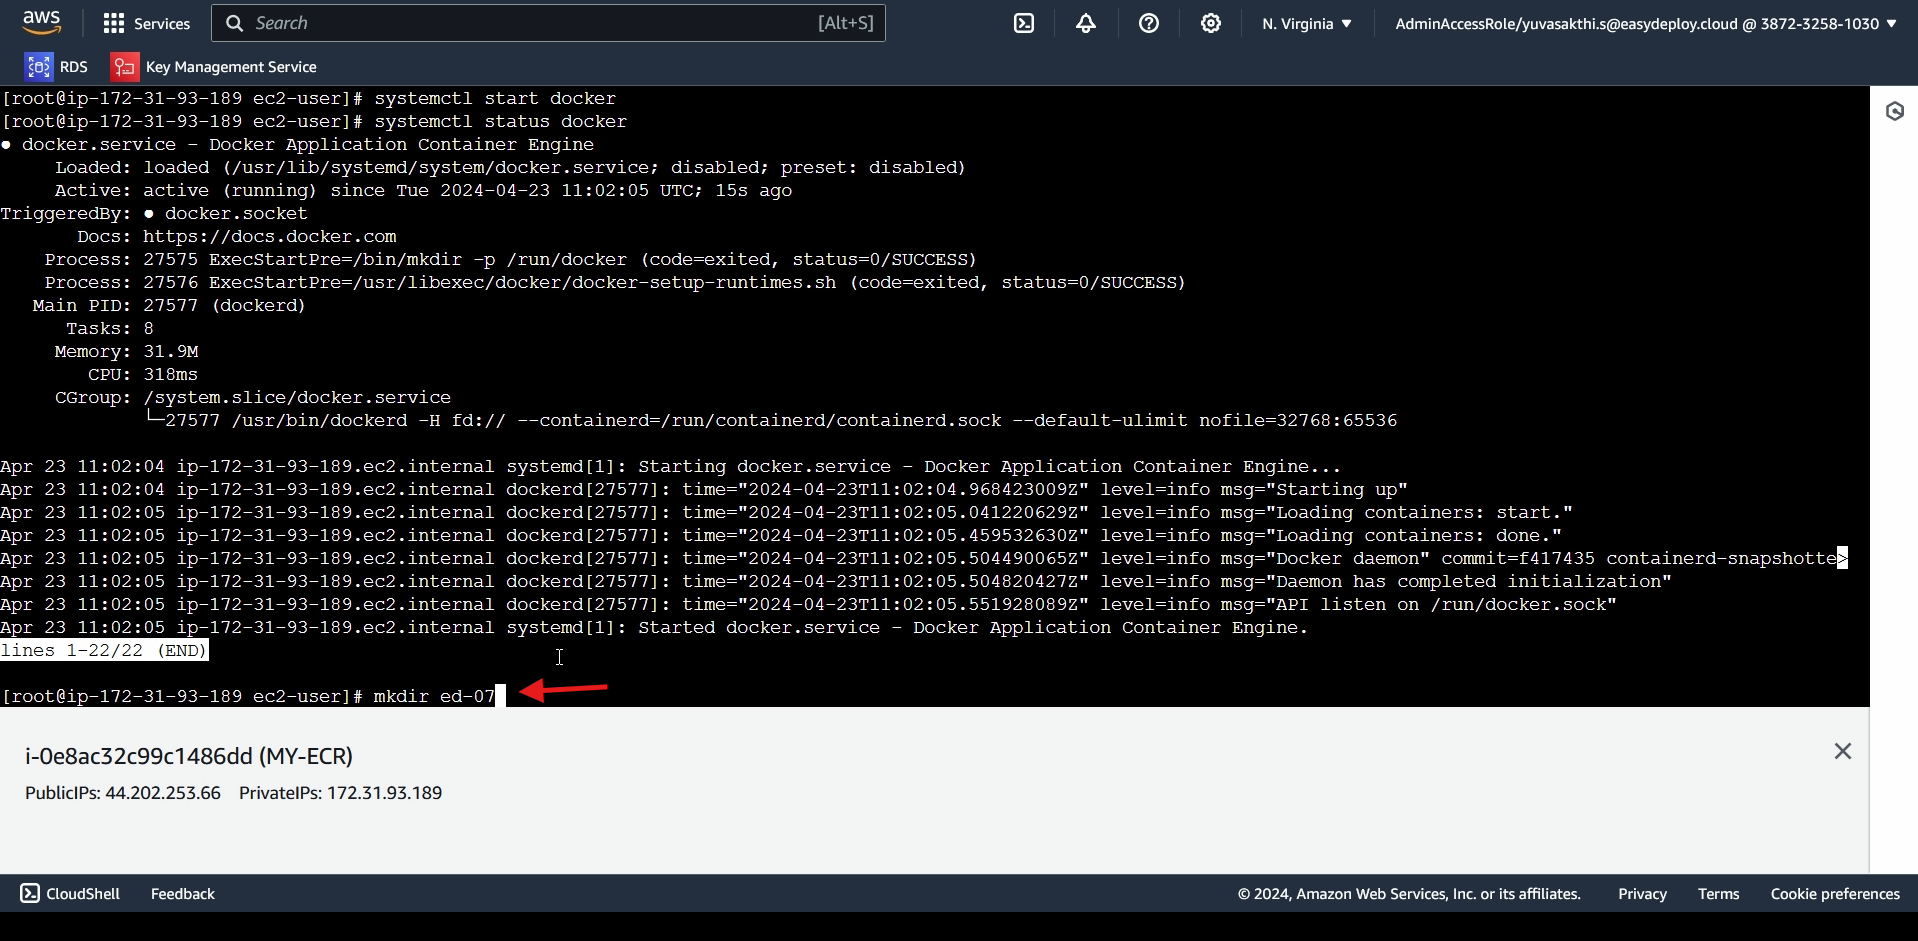
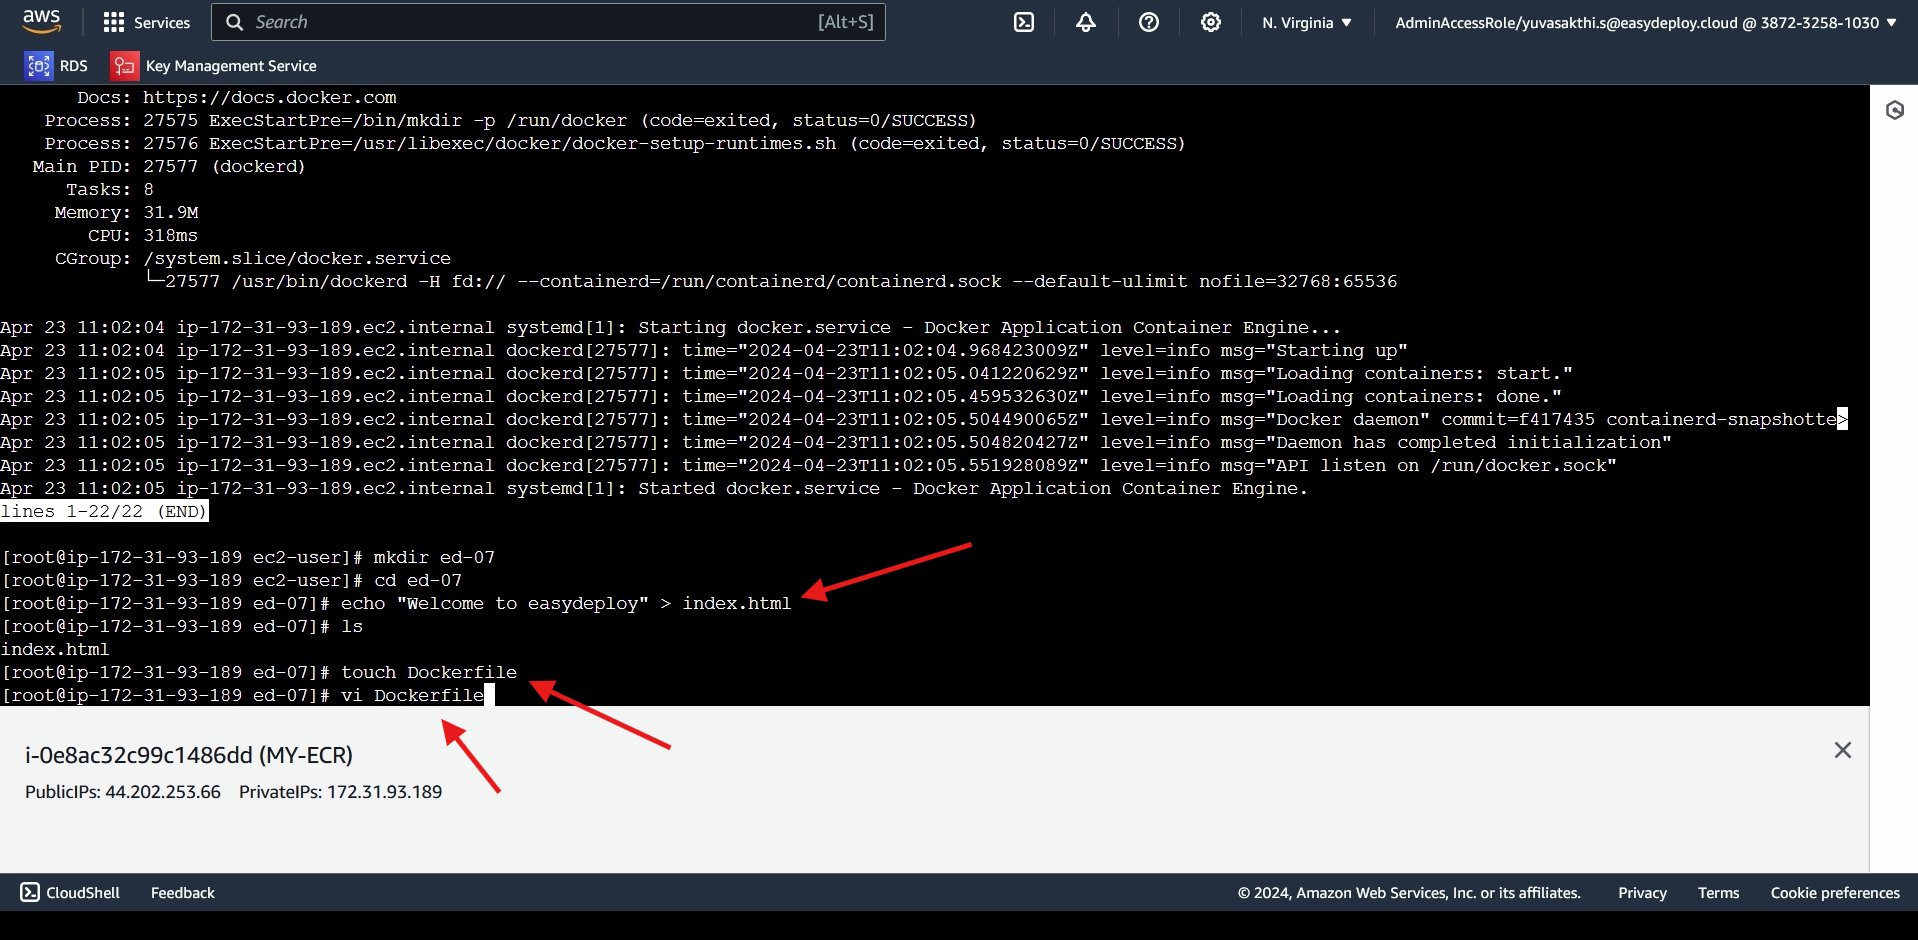
Create an Folder.
pass an content to file and create an file. next create an Docker file. go inside the docker file by using VI editor.
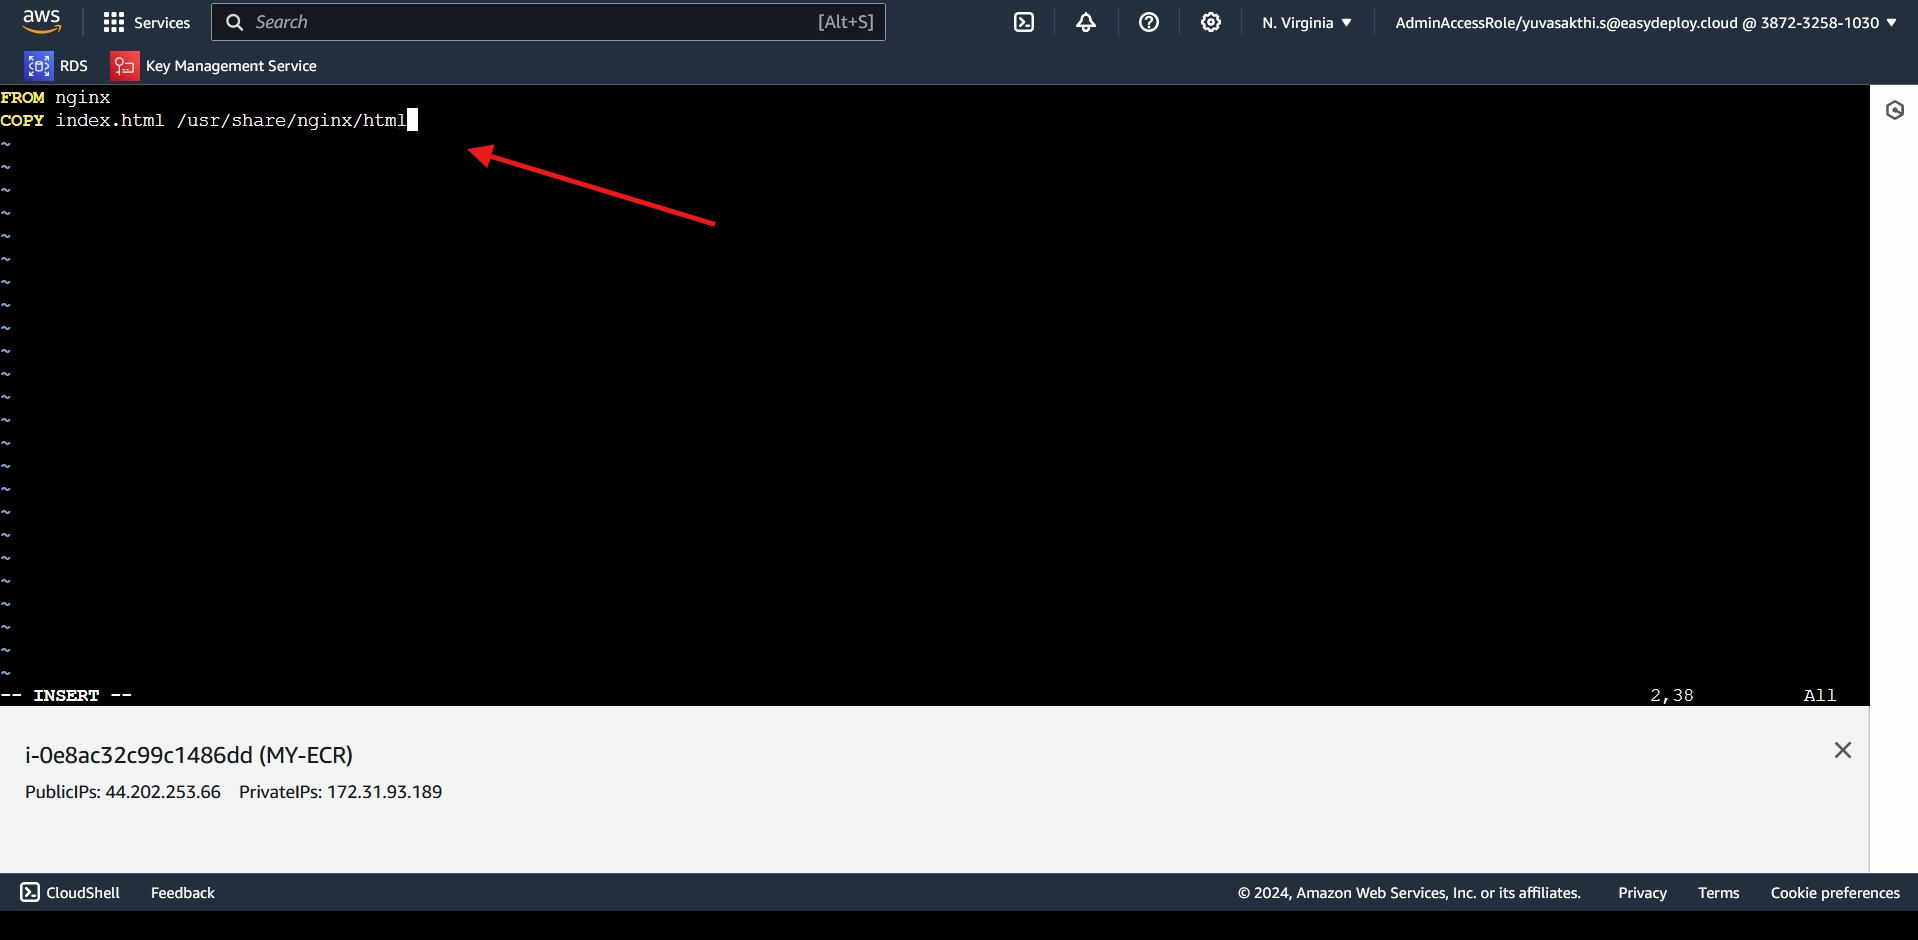
copy the file we created to the default path of nginx > save the file.
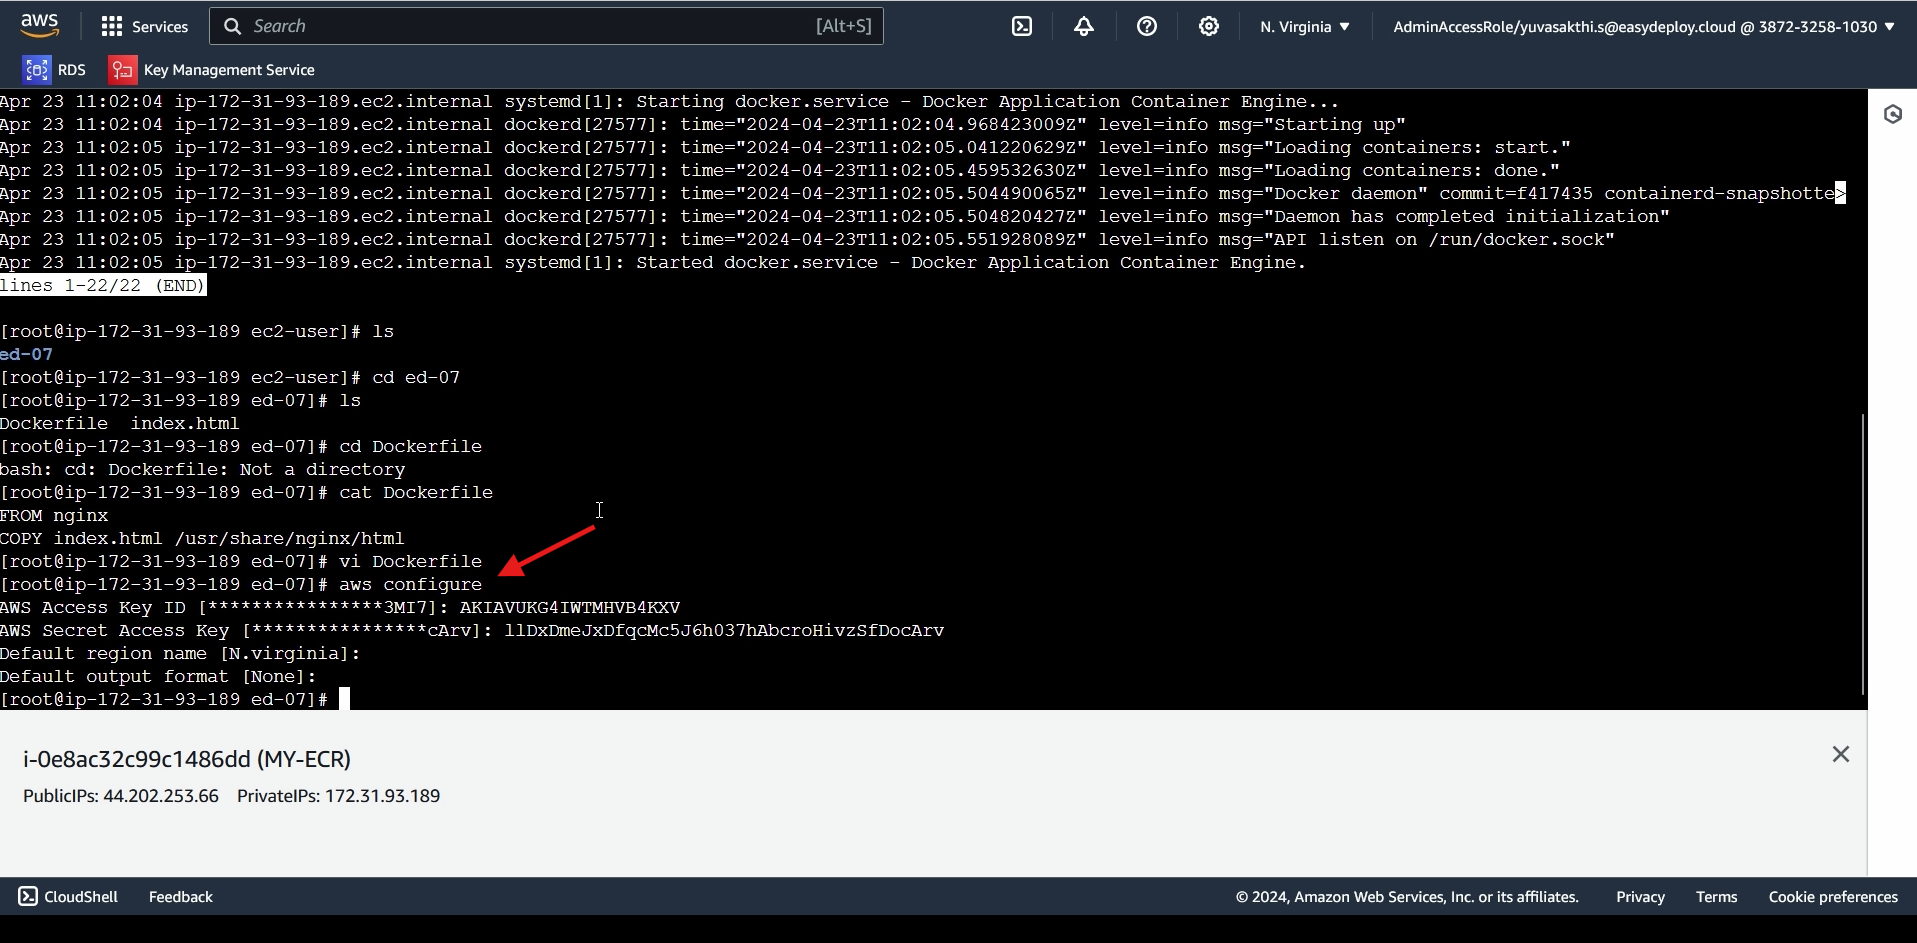
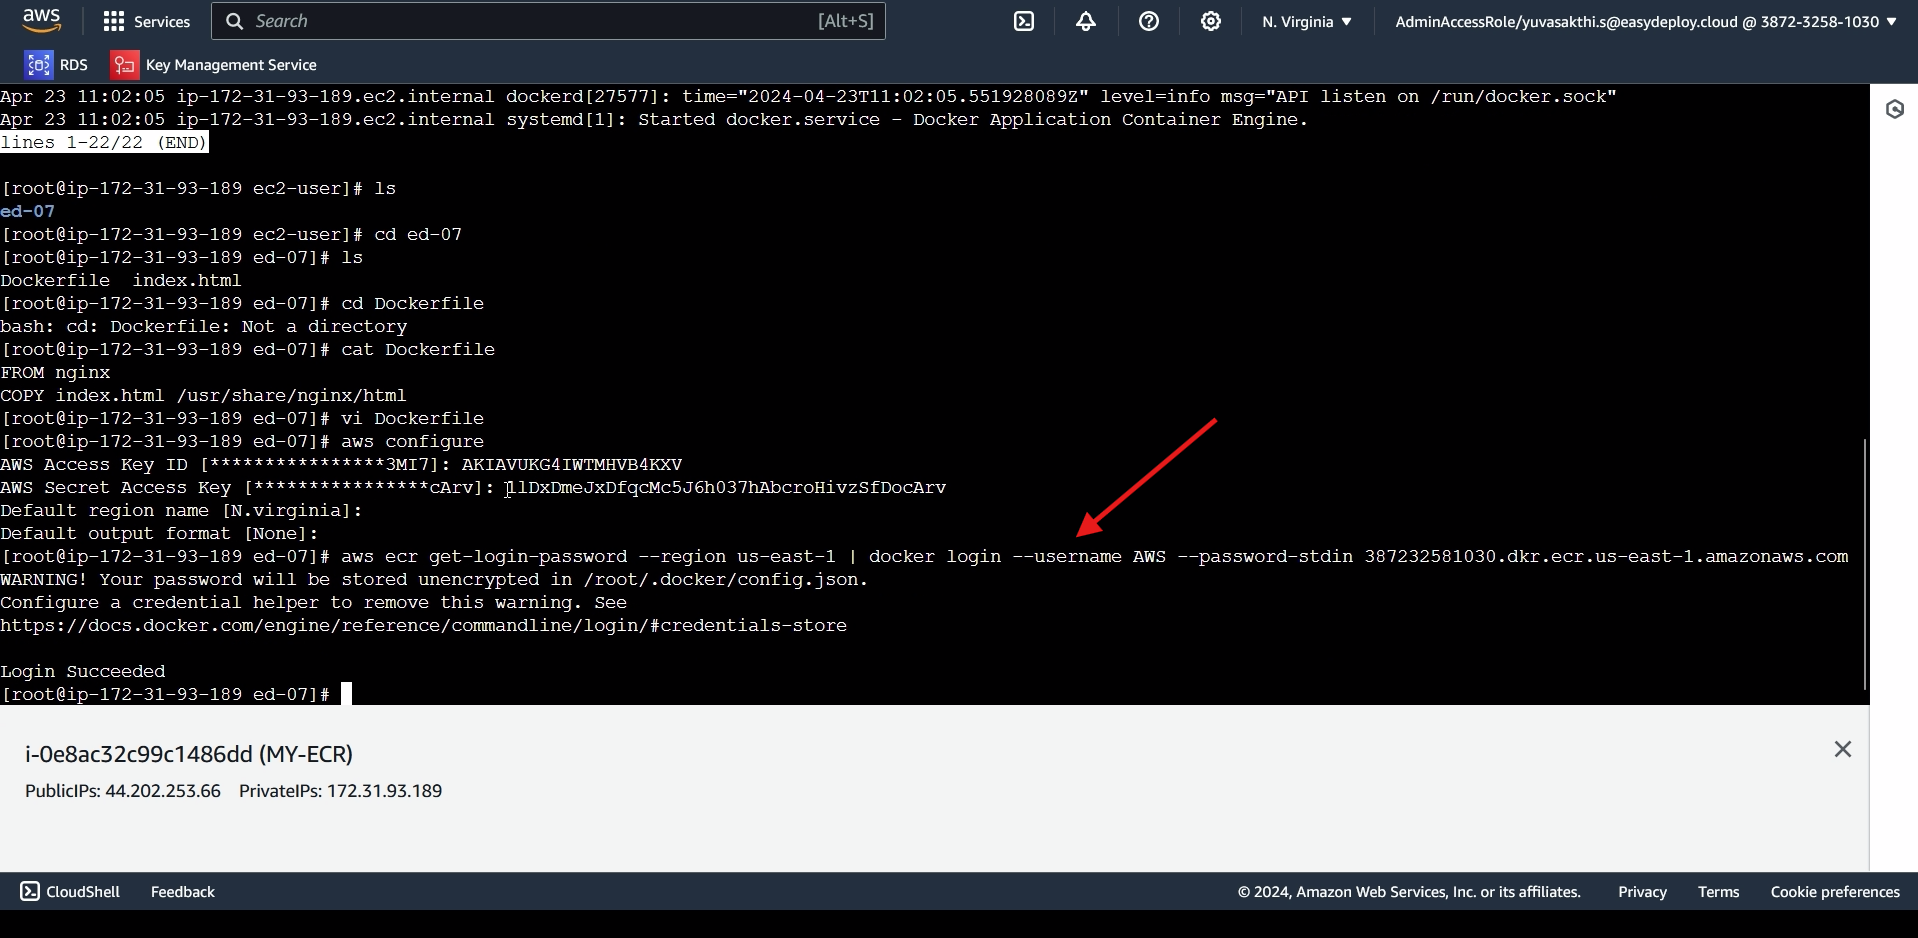
Next we should Configure AWS credentials. Give the access key, secret key and region.
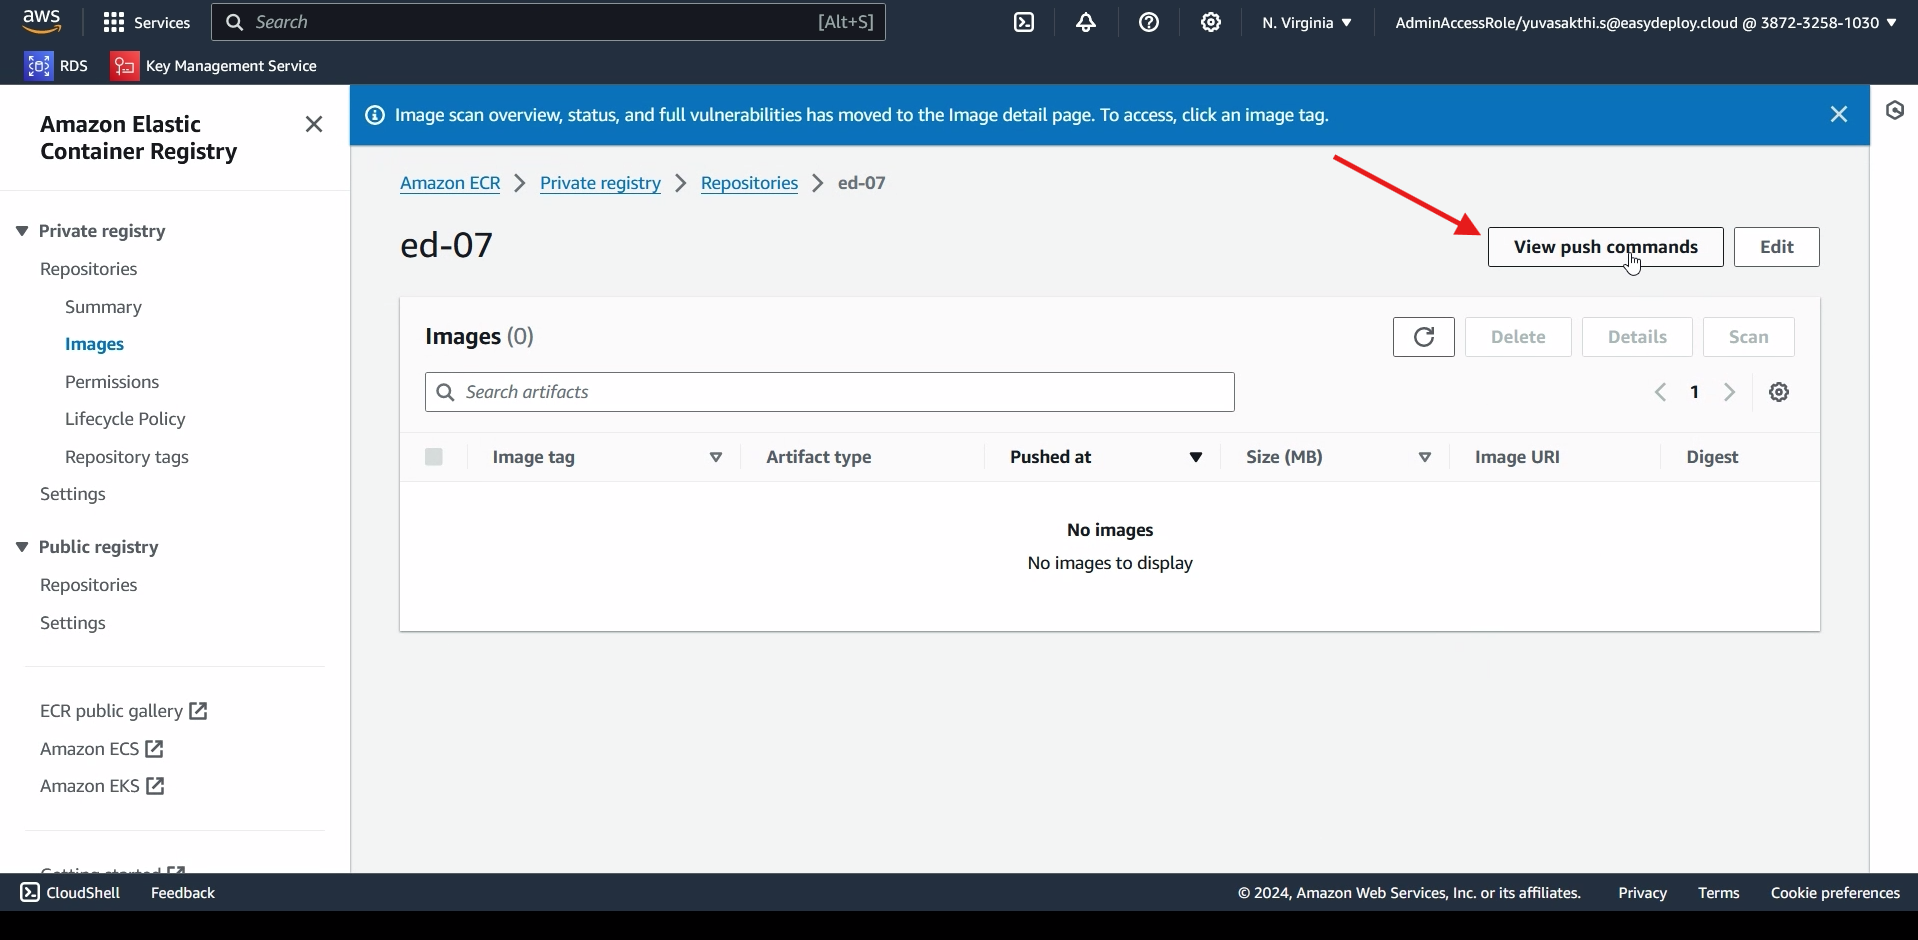
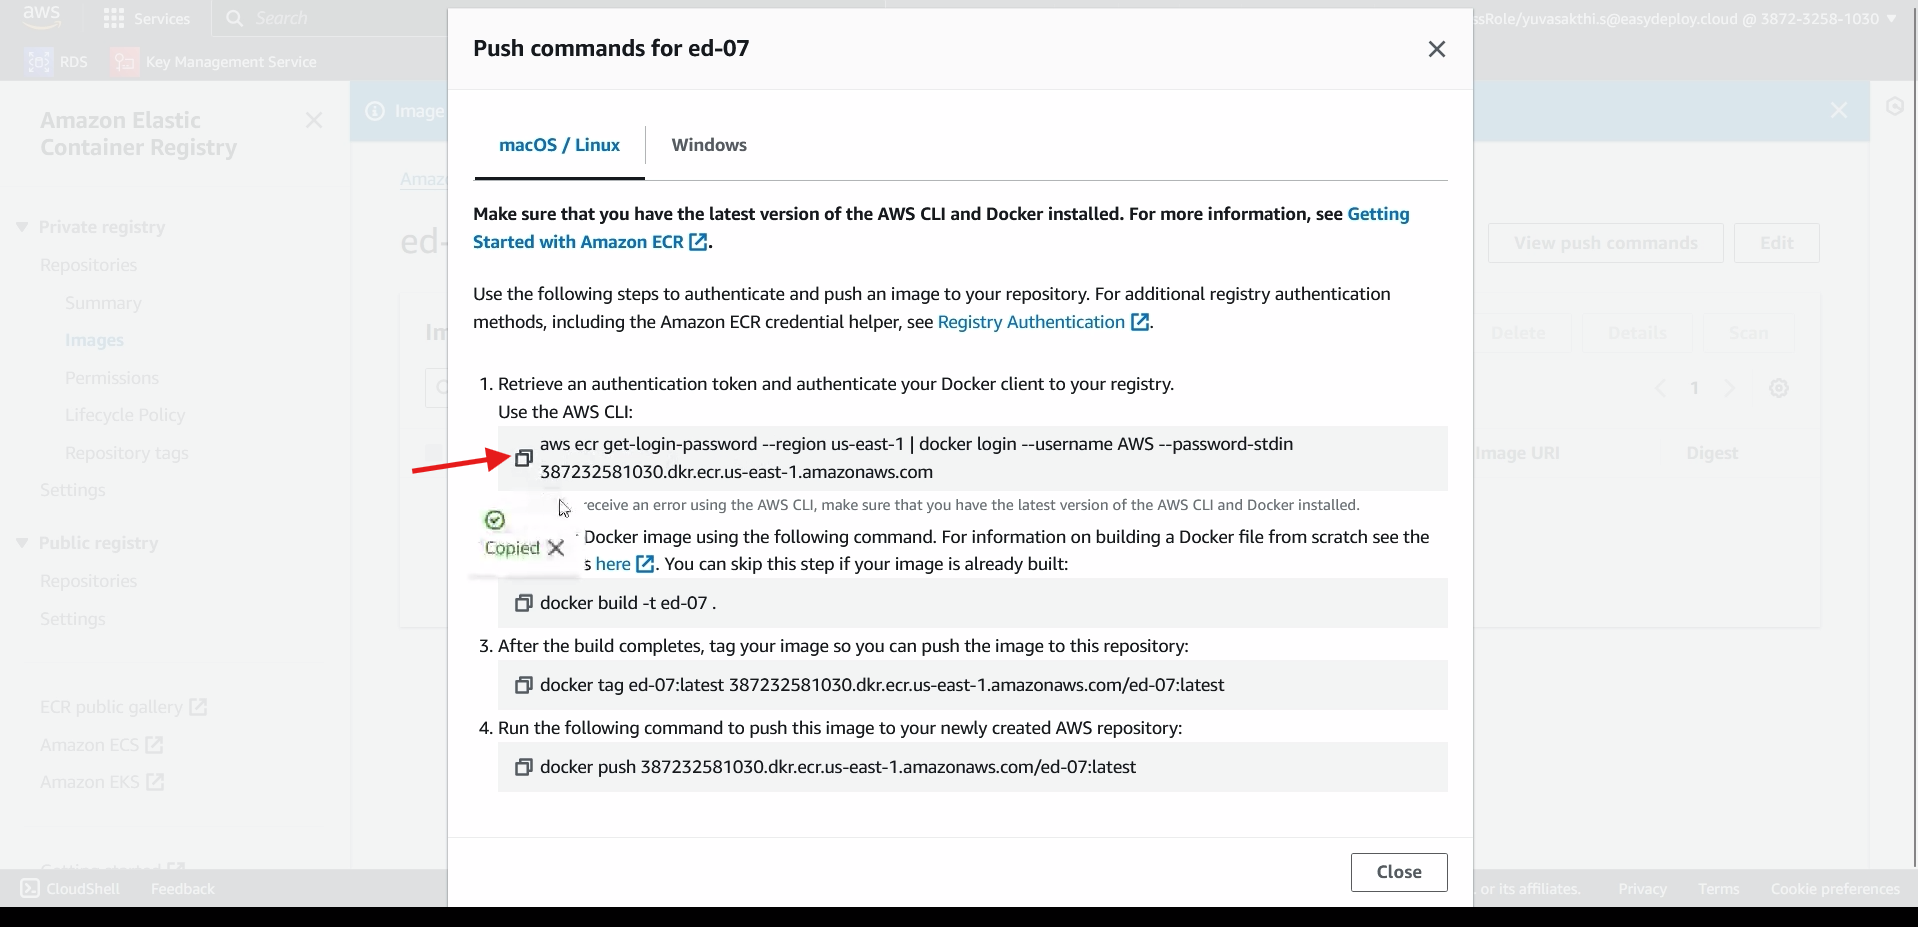
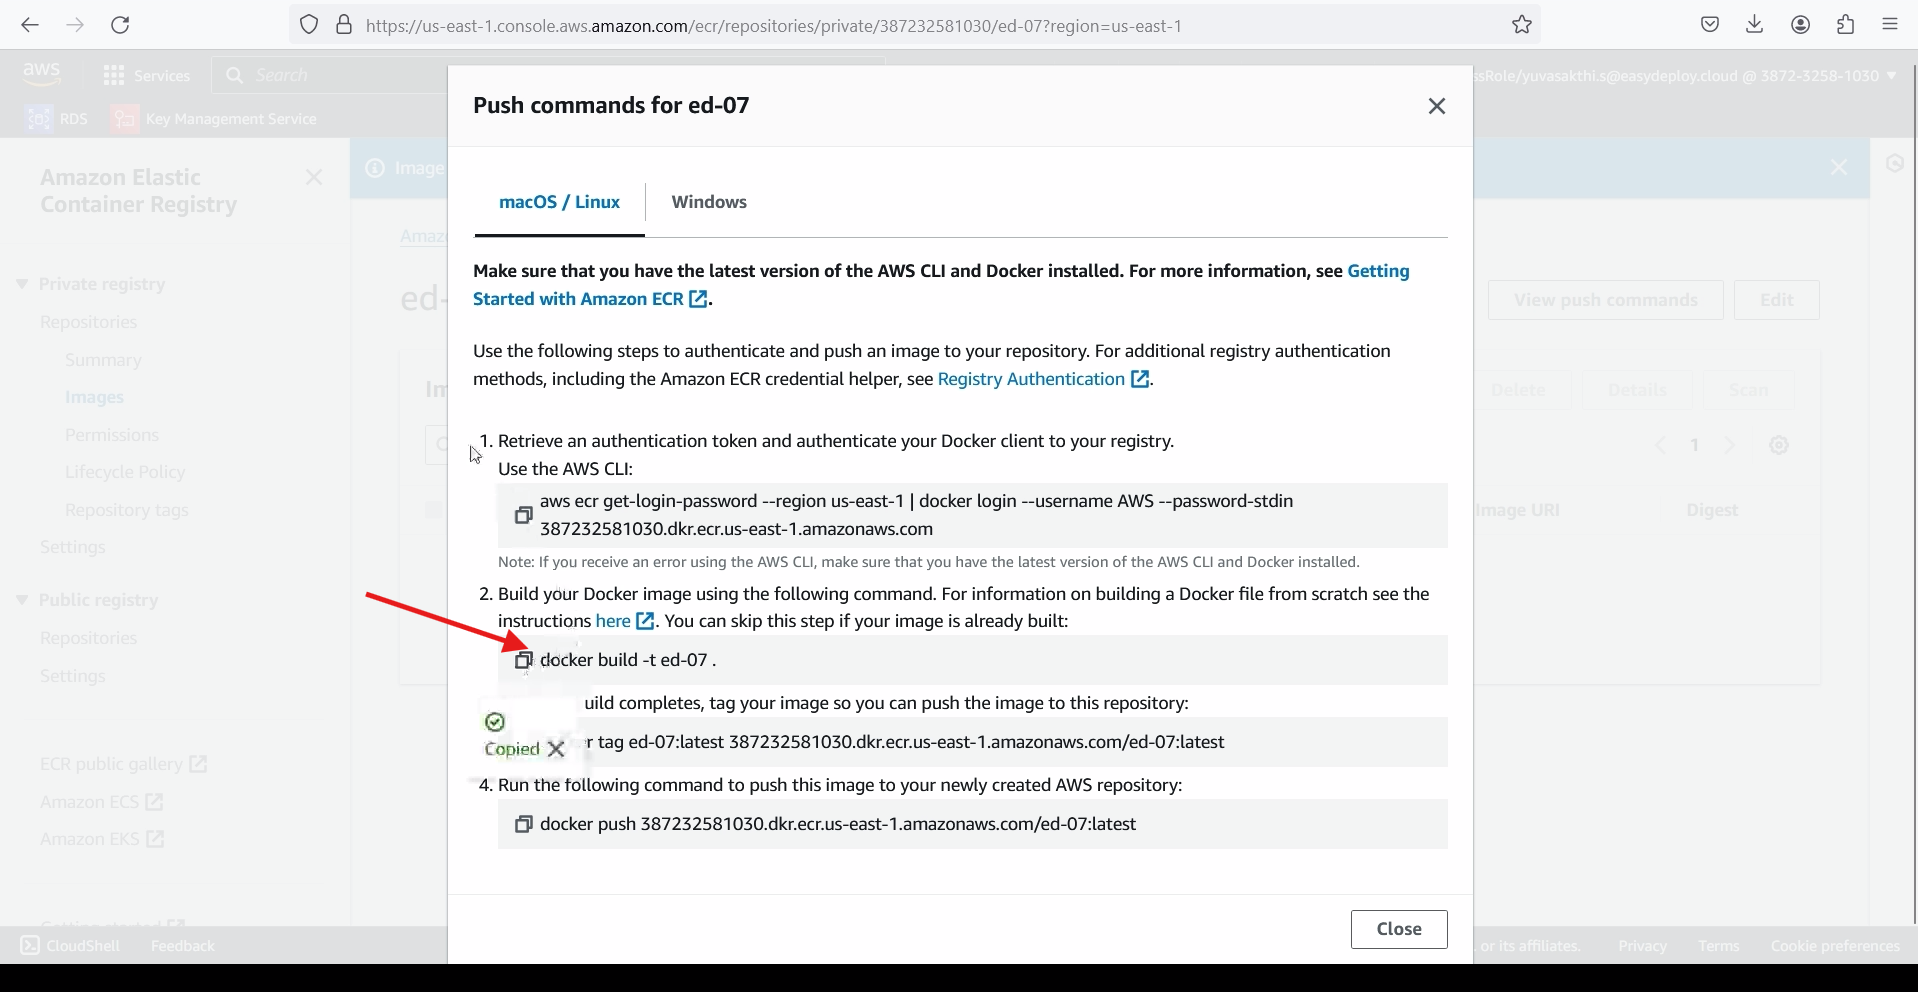
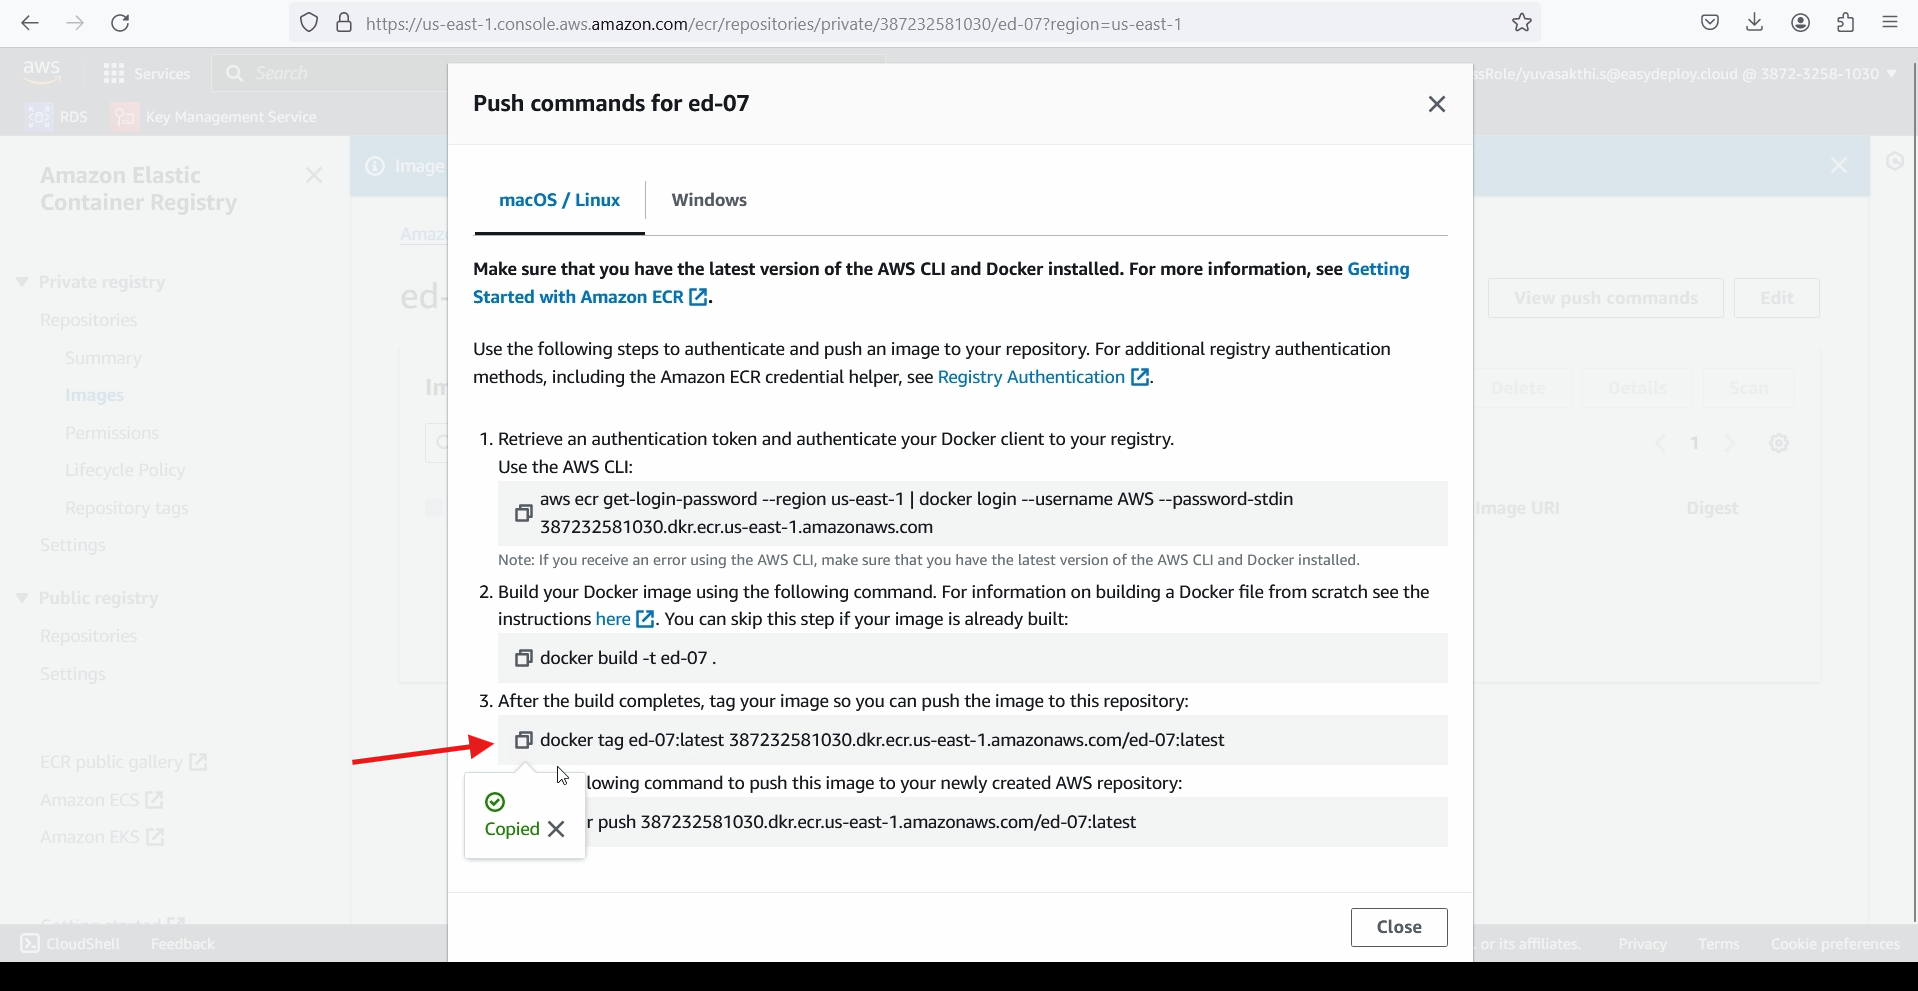
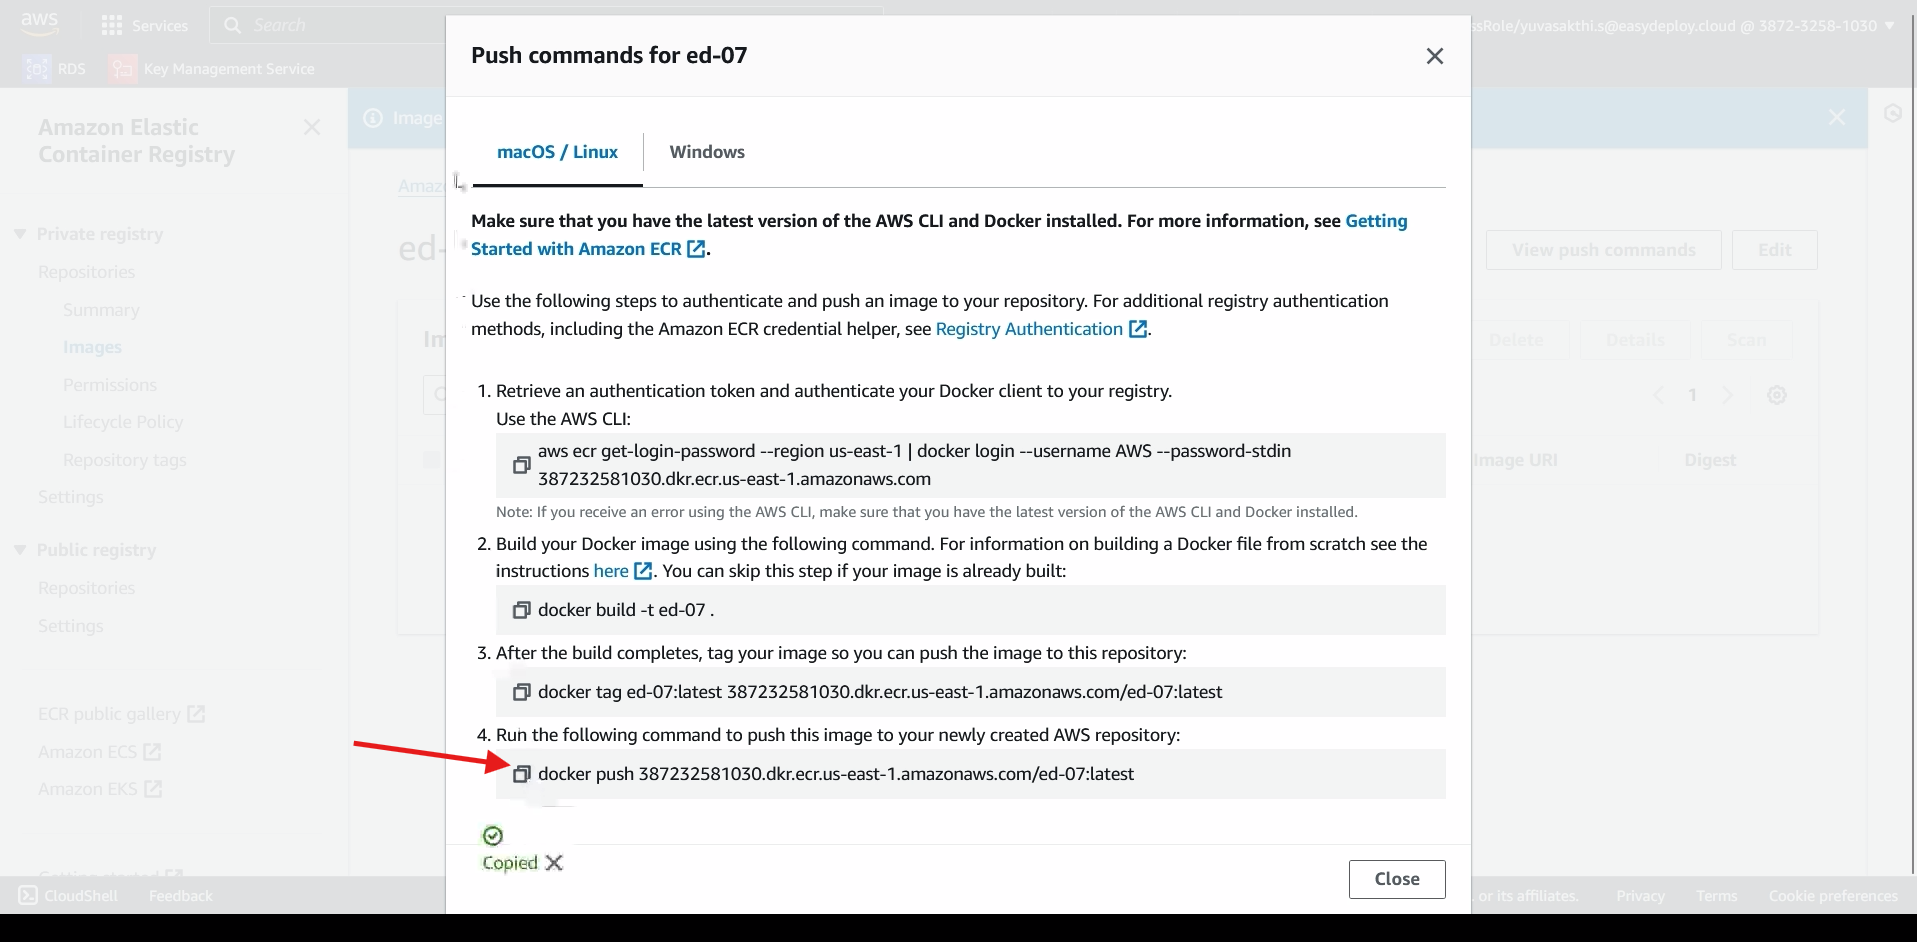
Go inside AWS console > go inside ECR > open the repository we created > click on view push commands.
Copy the First link.
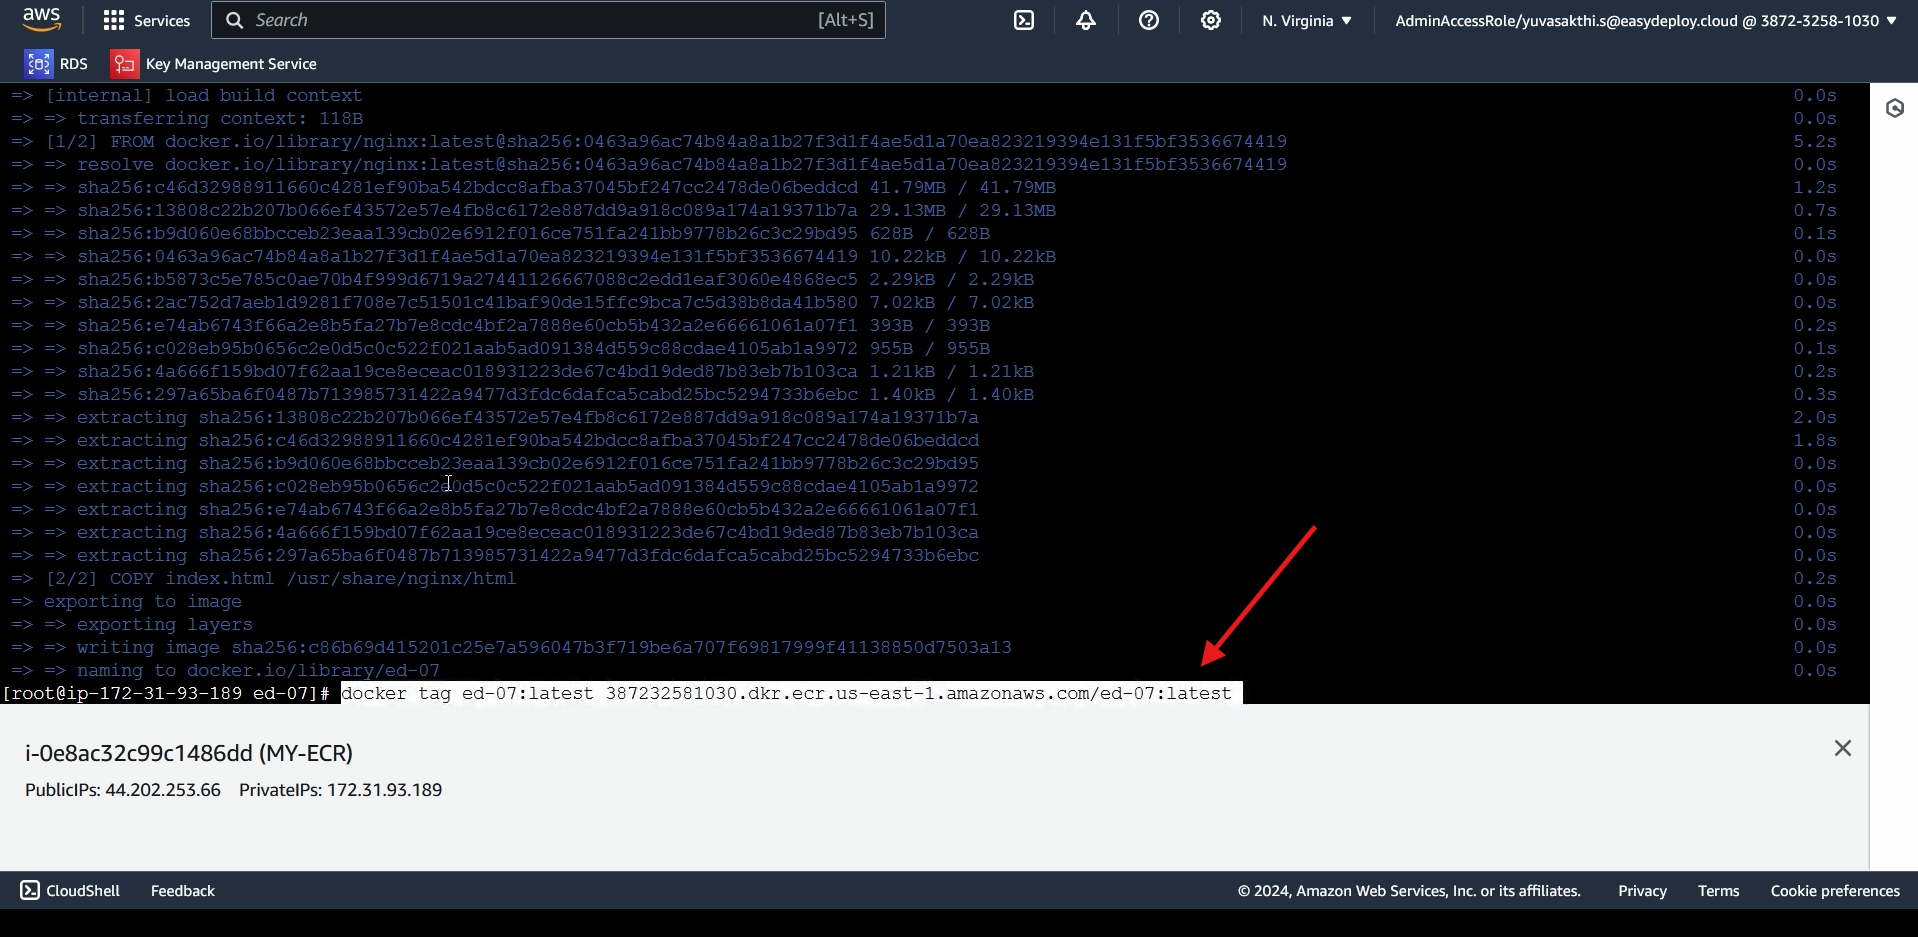
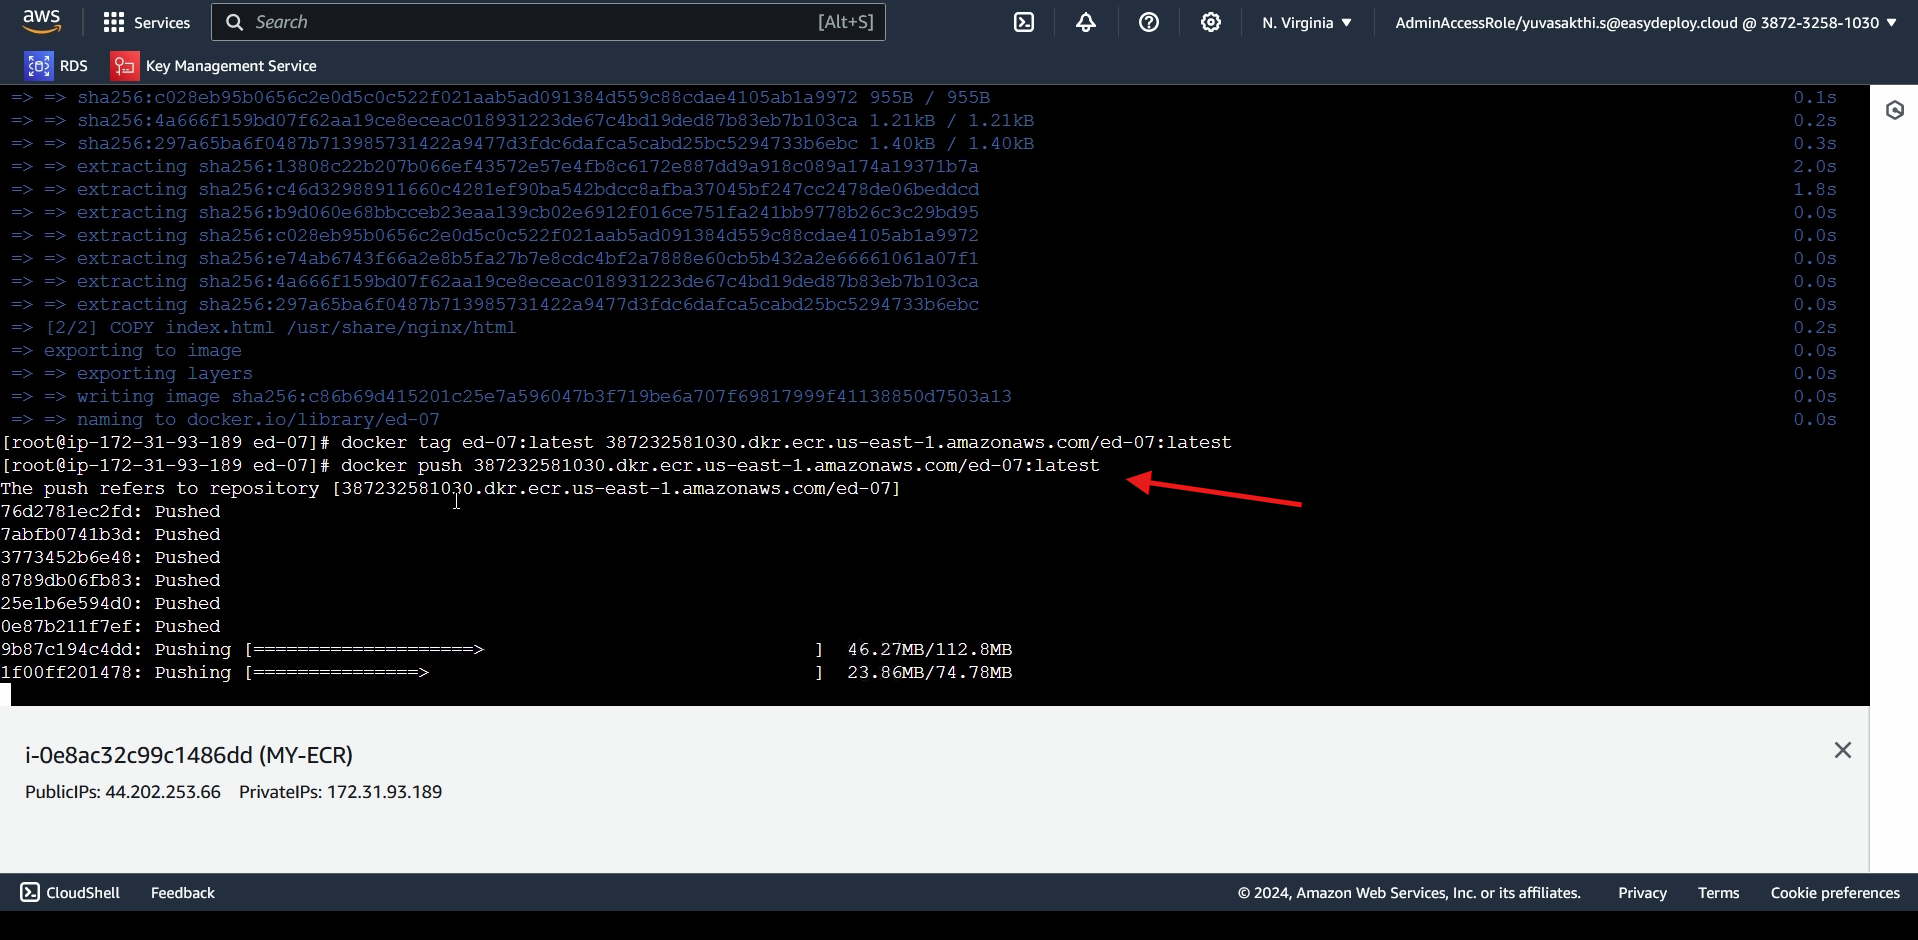
paste the link in instance command line.
DO YOU HAVE ANY QUESTIONS?
Should you required help in performing the above steps, feel free to contact at our email id [email protected]
Website – www.easydeploy.io/contact-us

