INTRODUCTION:
In this article we will run cloudformation from codepipeline using S3 – CodePipeline is a continuous integration and continuous delivery (CI/CD) service provided by Amazon Web Services (AWS). It automates the process of building, testing, and deploying your code changes.CodePipeline allows you to create custom pipelines to fit your specific development workflow. It also integrates with various AWS services and third-party tools, making it versatile and widely used for automating software release processes.
WHAT IS CLOUDFORMATION:
AWS CloudFormation is a service that allows you to define and provision infrastructure resources in a declarative way, using templates. These templates are written in JSON or YAML format and describe the desired state of your AWS infrastructure, including resources such as EC2 instances, databases, load balancers, IAM roles, and more. CloudFormation simplifies and streamlines the process of managing AWS infrastructure, making it easier to provision and maintain resources in a reliable and consistent manner.
PREREQUISITES:
- AWS account.
- AWS account with Cloudformation and S3 full access.
- Basic knowledge about Codepipeline.
INTENDED AUDIENCE:
- Engineer
CLOUDFORMATION TEMPLATE:
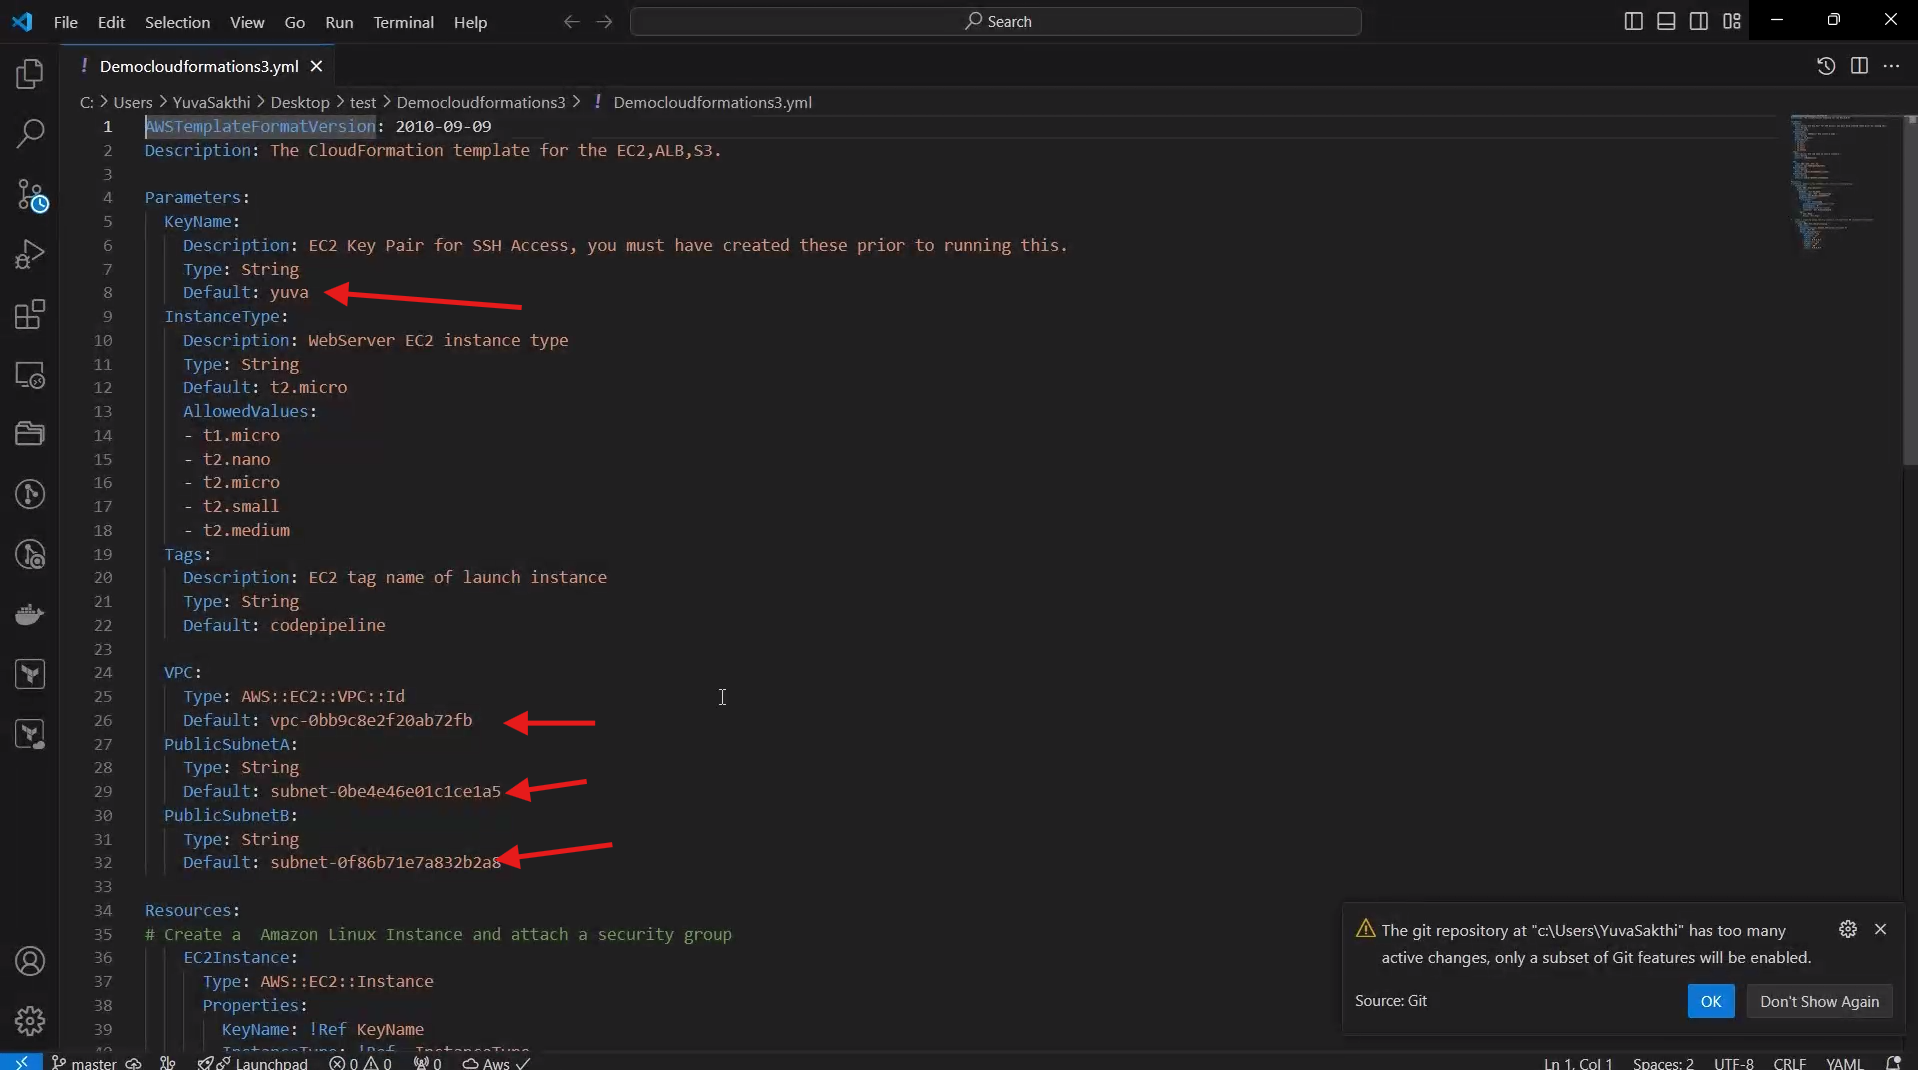
This is the template of the cloudformation. you can replace the key pair with your own key pair. if you already have an vpc you can give the vpc id, public subnets id. you can also change the imaged id. Check this Repository for Template https://github.com/Sakthiyuva/cloudformation-codepipeline.git
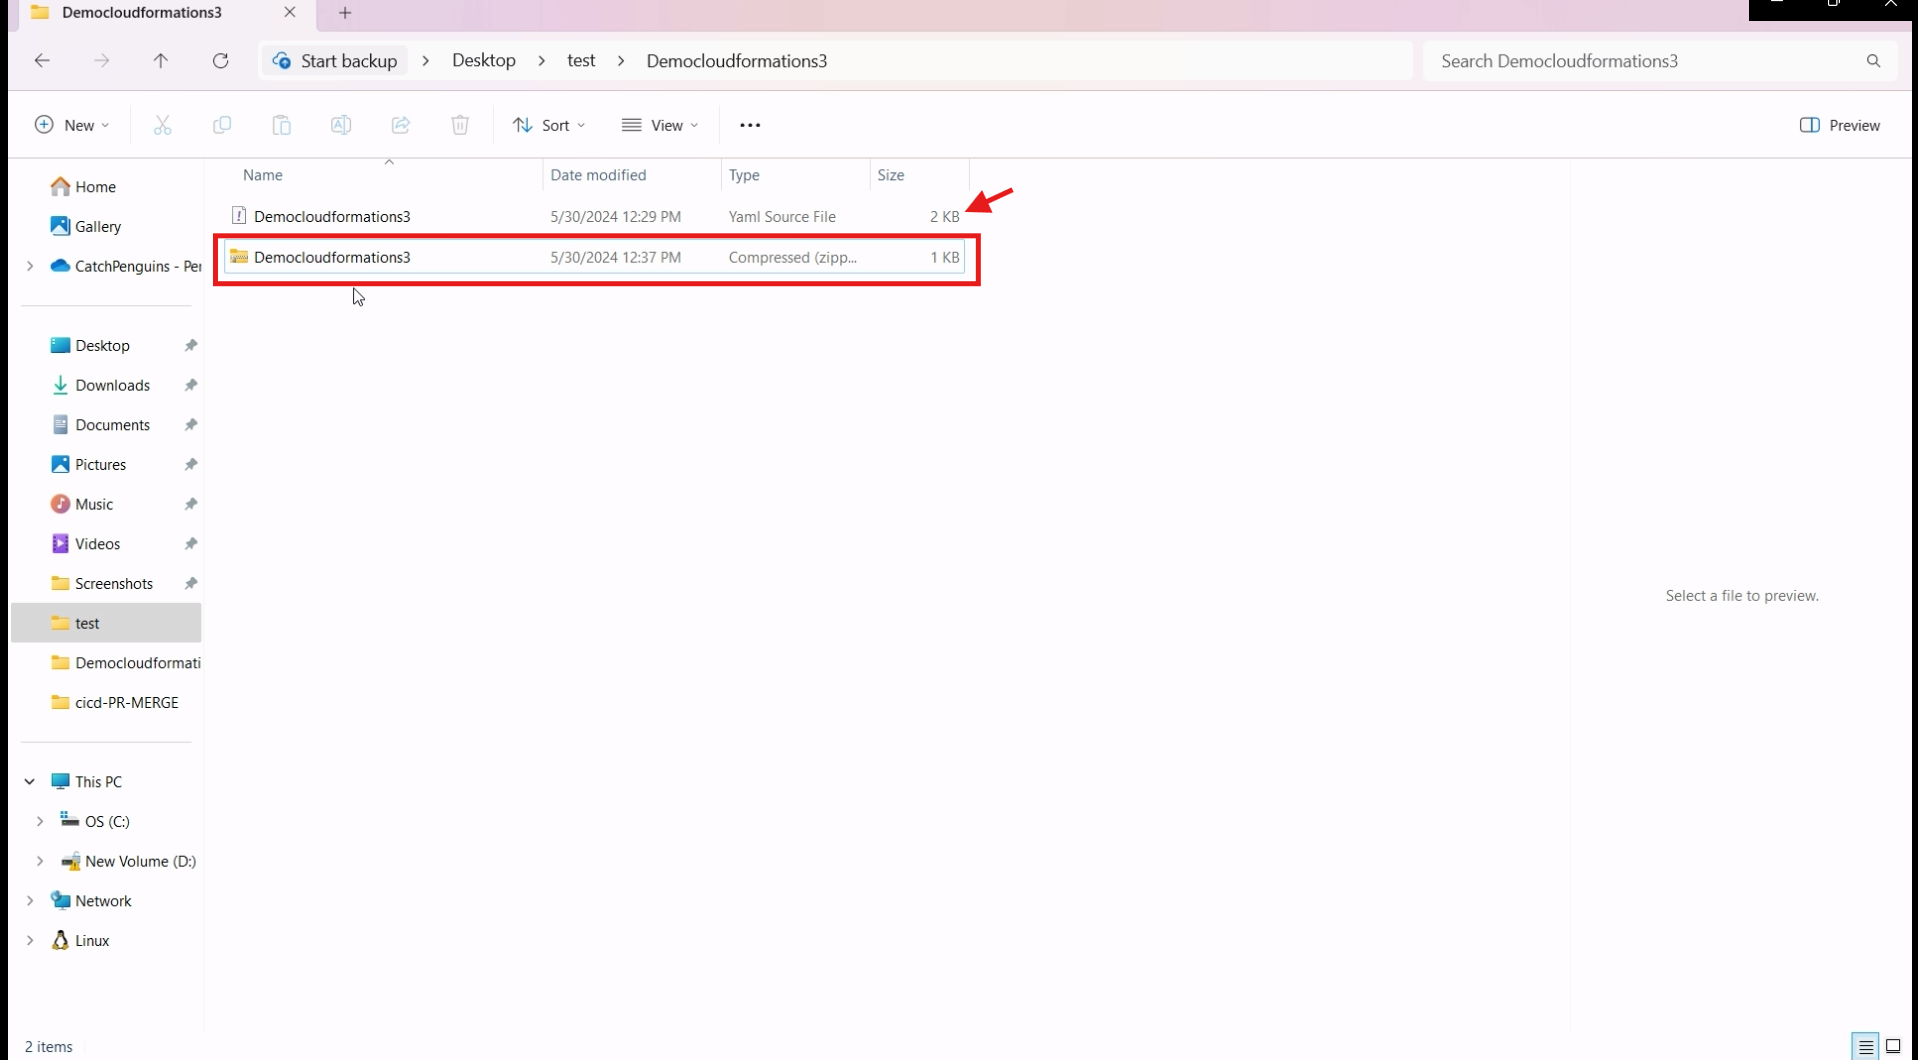
compress the template file to an zipped file.
CREATING BUCKET:
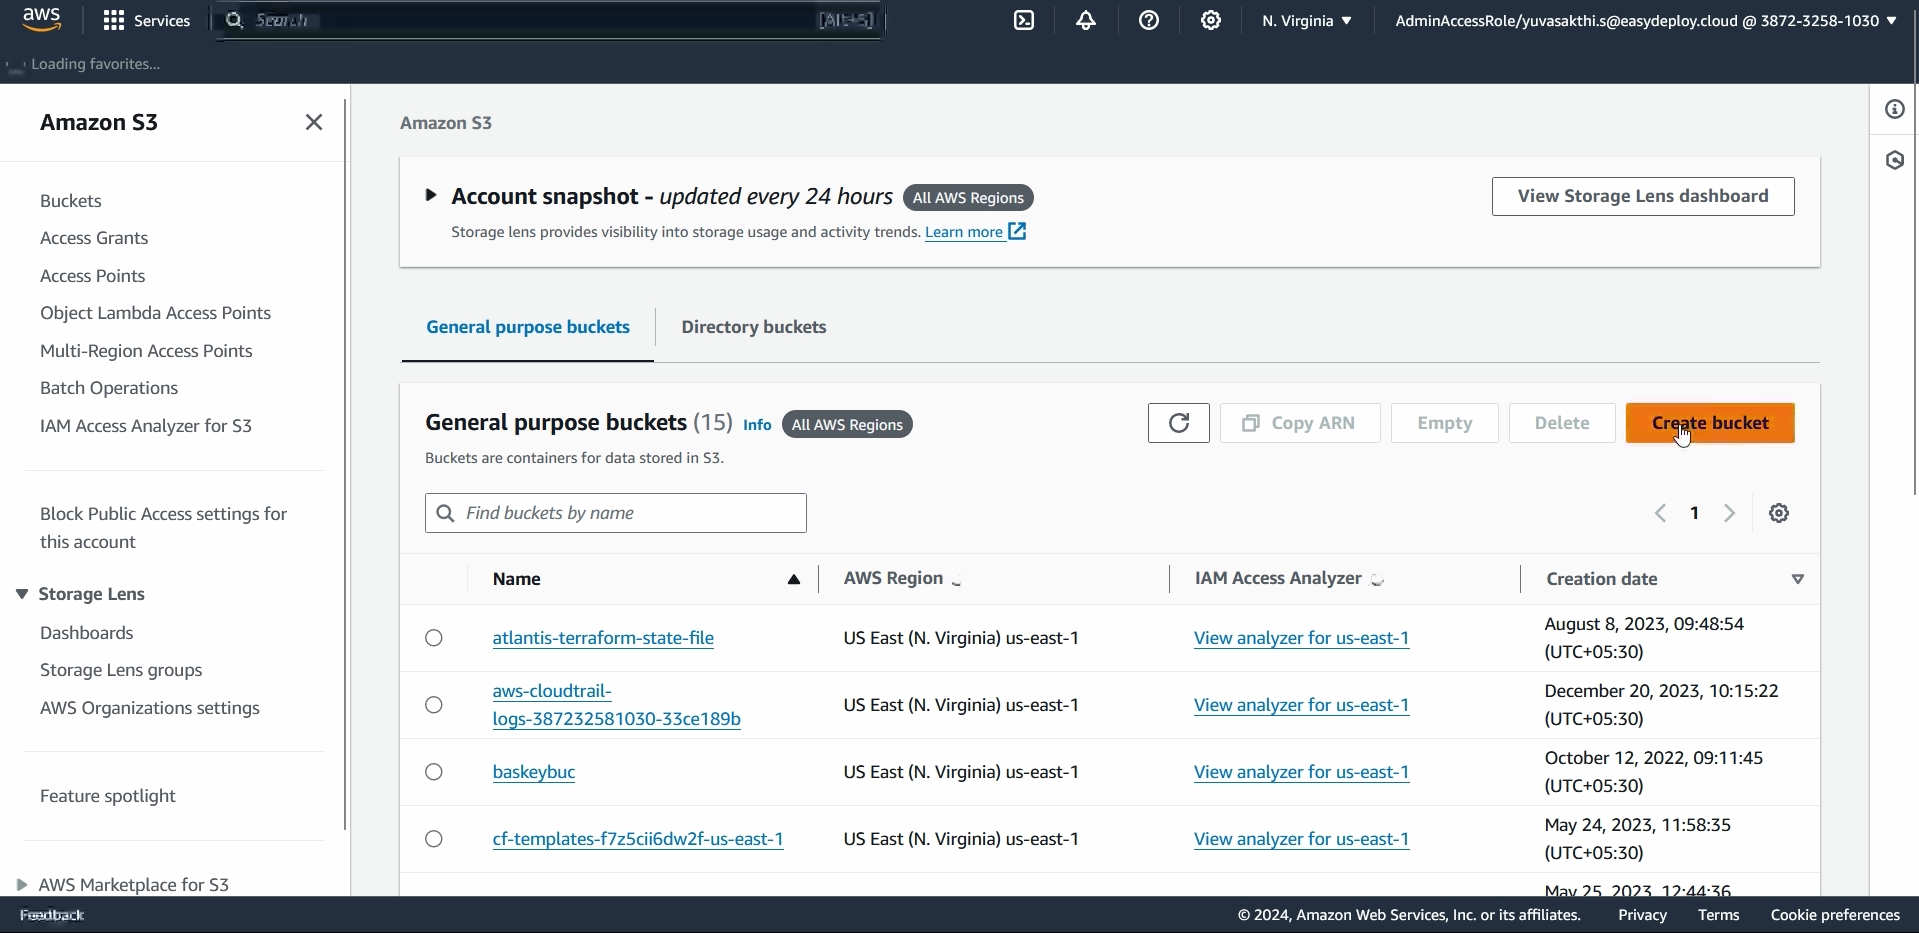
click on create bucket.
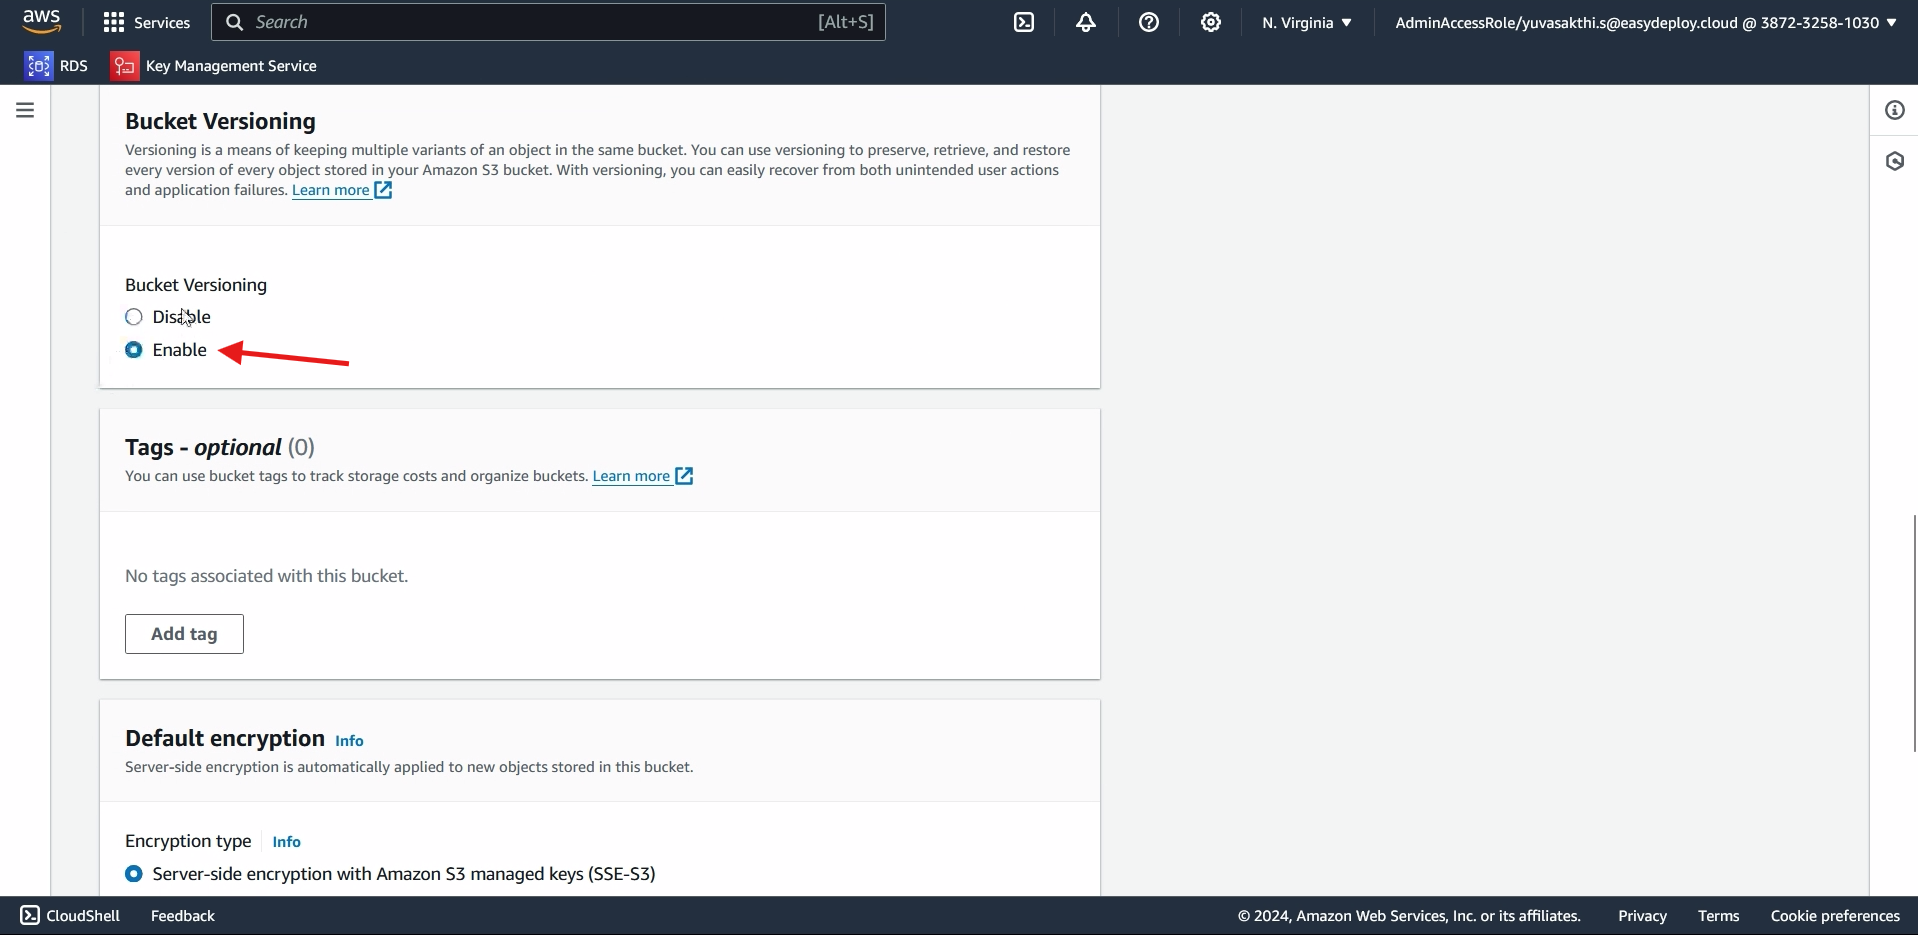
After giving name to the bucket, enable the bucket versioning > create bucket.
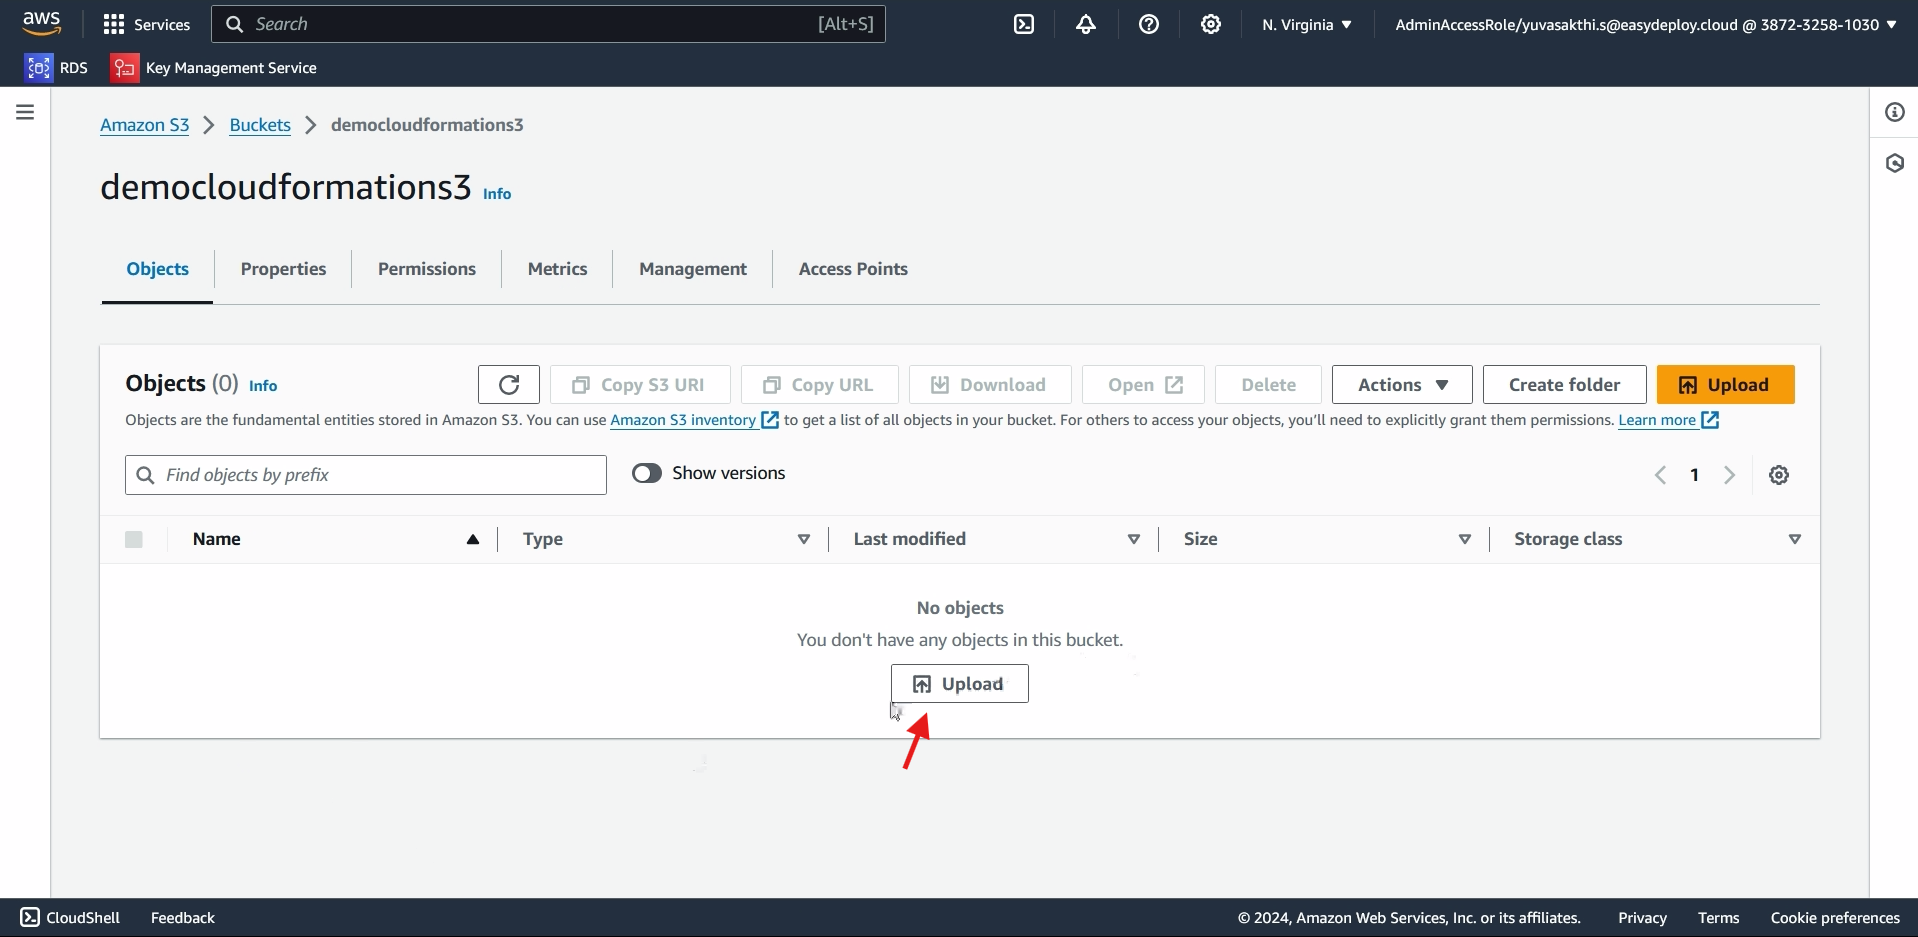
Go inside the bucket we created > click on upload
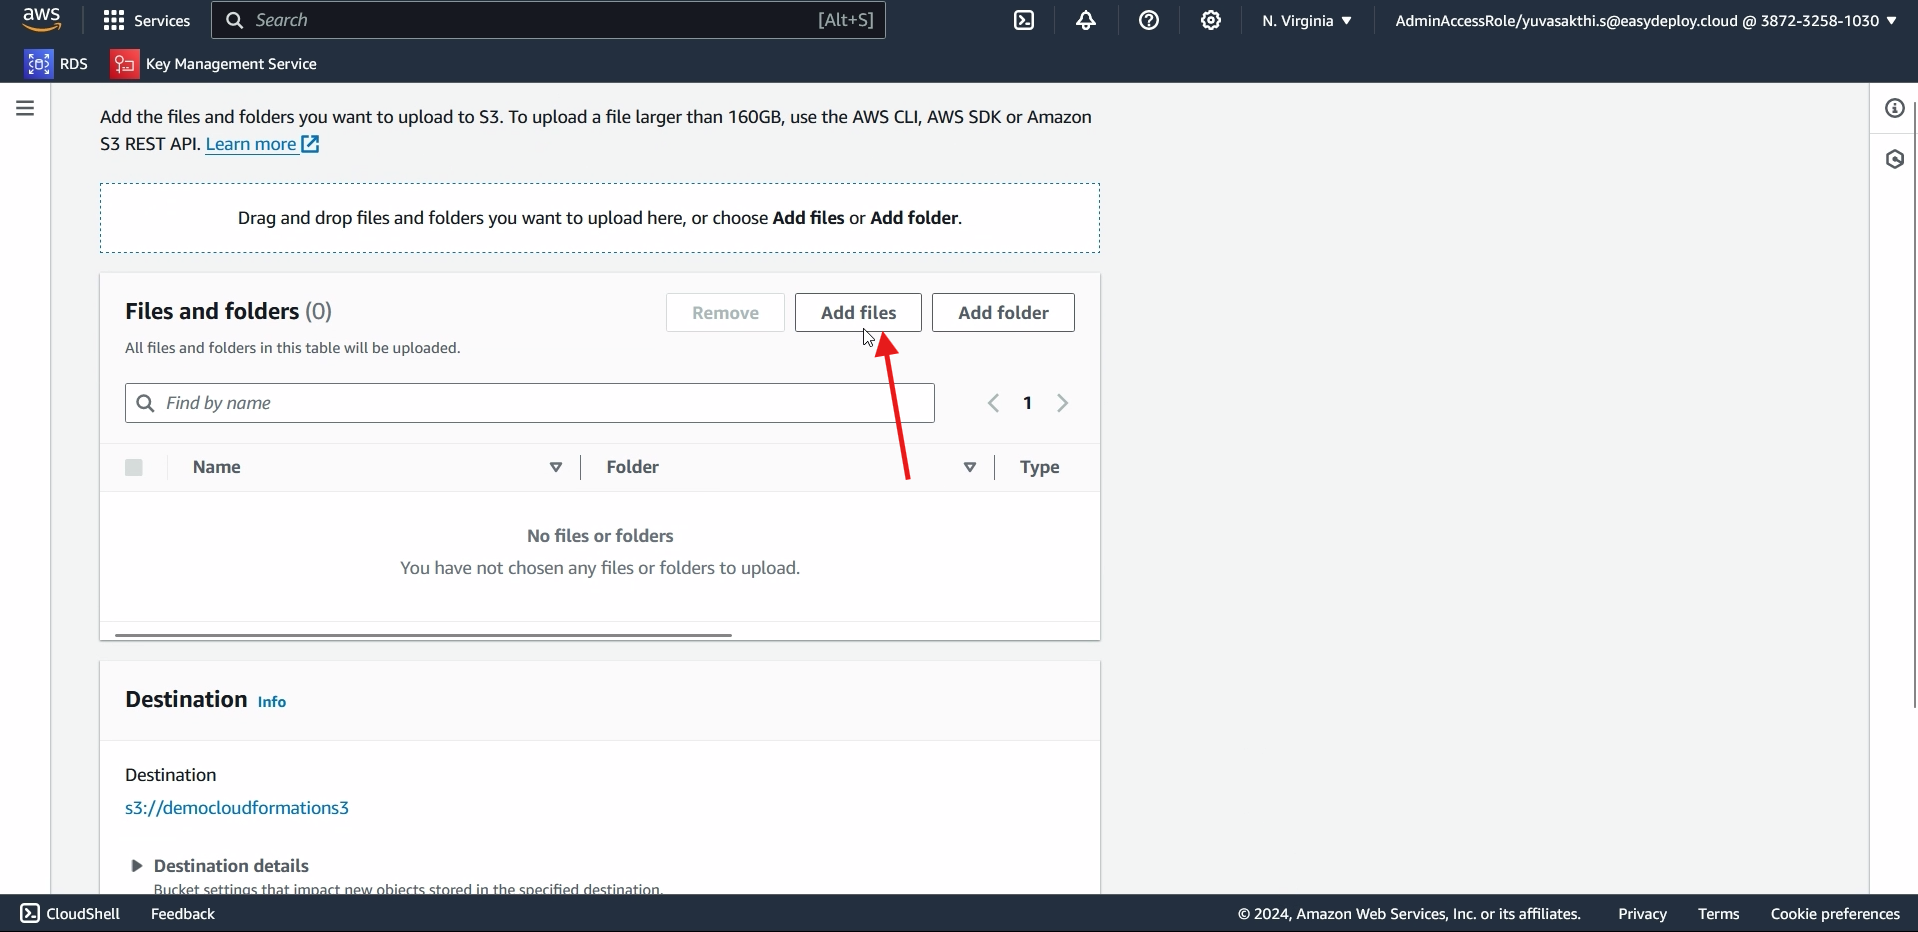
Now click on Add files.
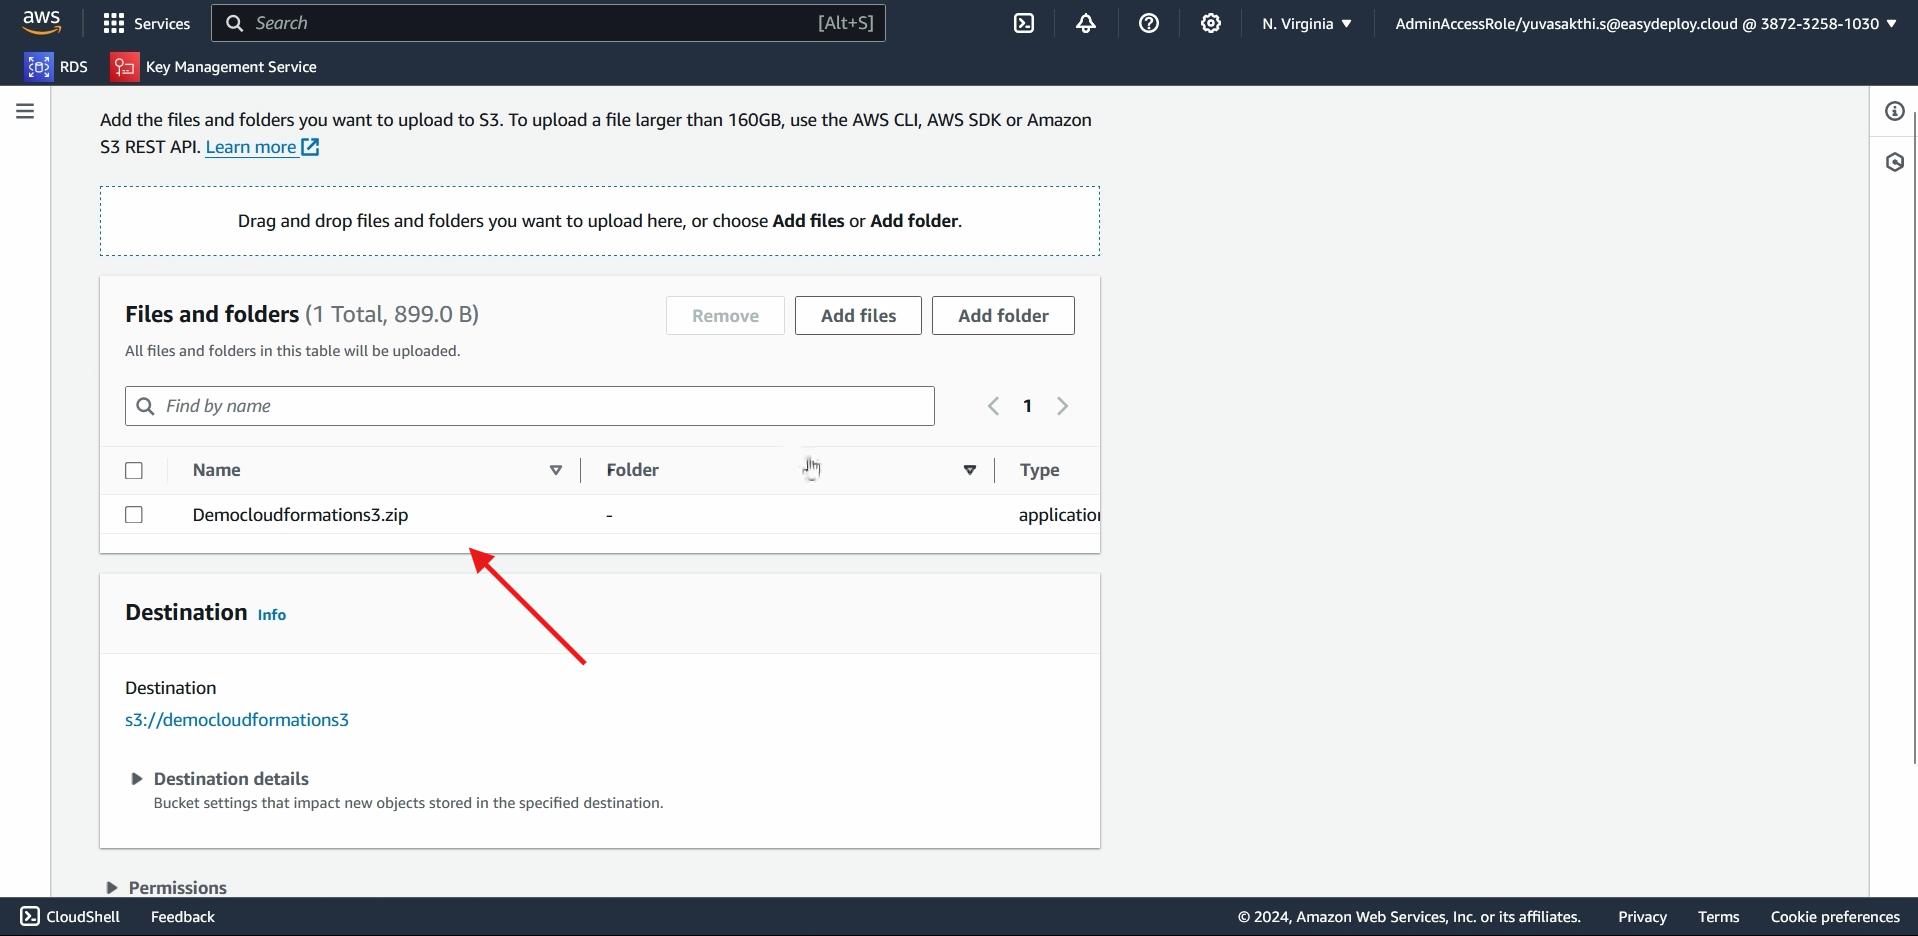
Upload the file which we zipped > click on upload.
CREATING ROLE FOR CODEPIPELINE:
Go to the IAM console. now we should create an role for codepipeline > click create role.
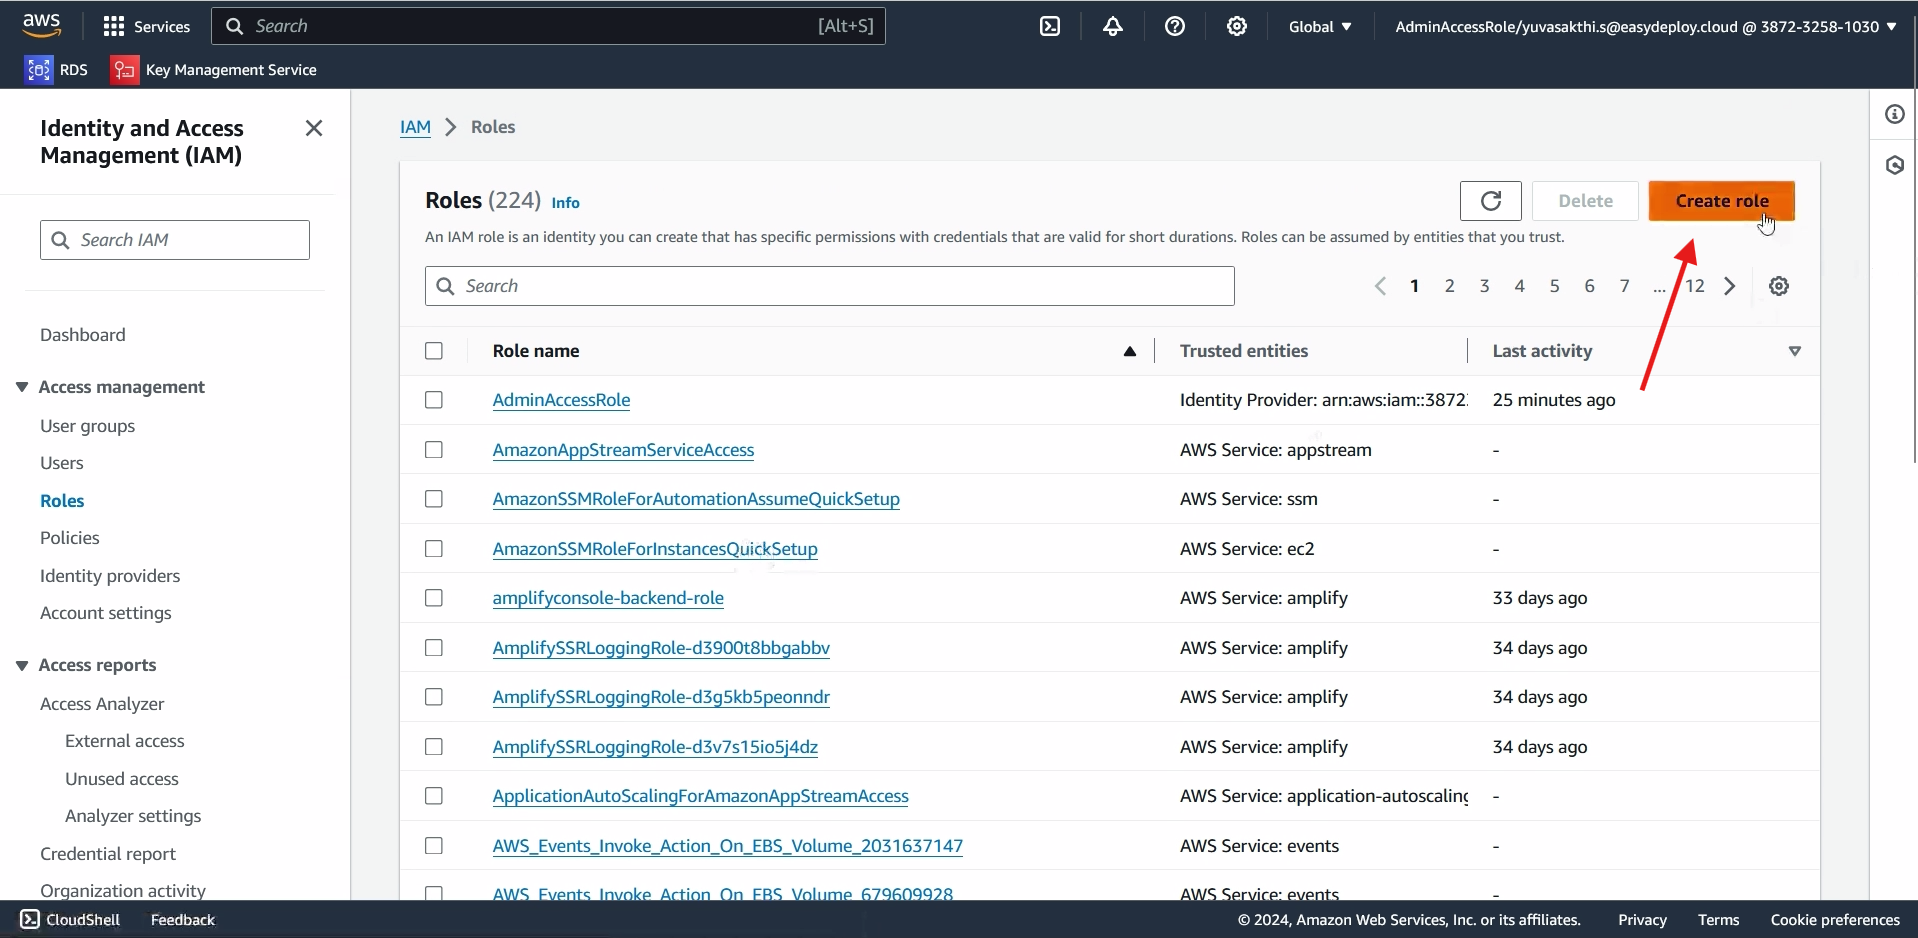
As we dont have Codepipeline in role, we are selecting EC2 in service. Later we will change EC2 to Codepipeline > click next. 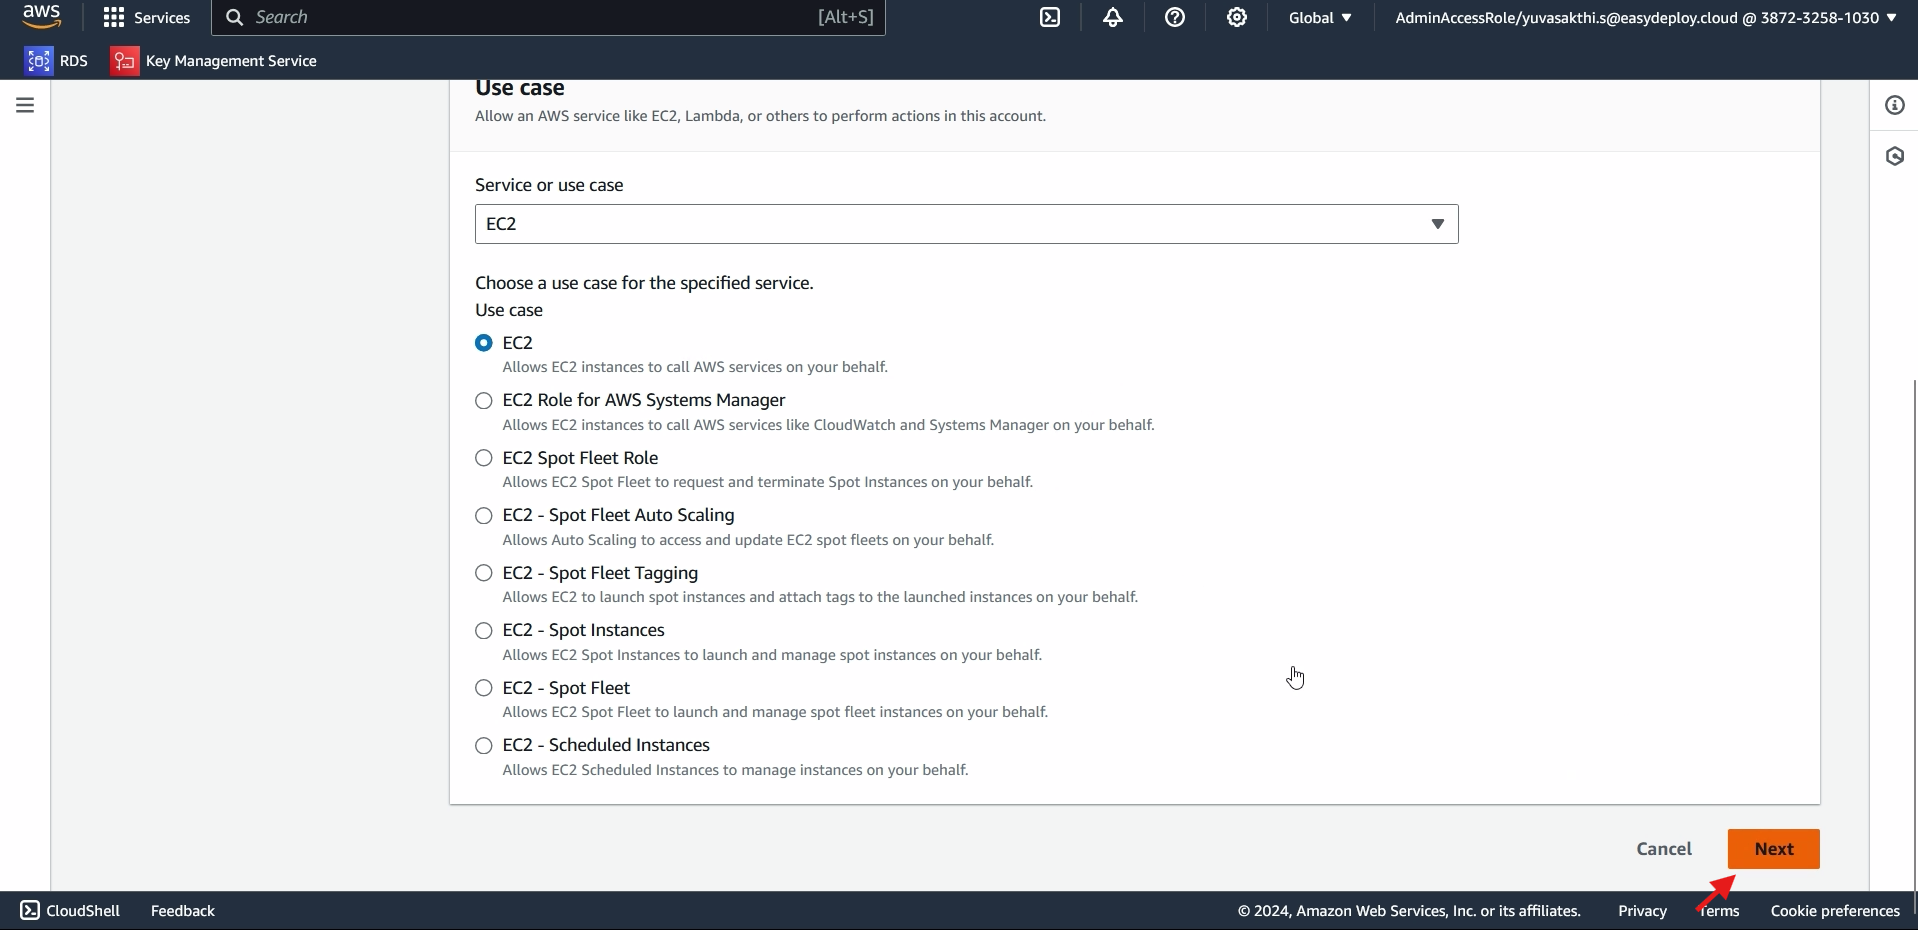
Dont add any policy > click next > Give name to the policy > create Role.
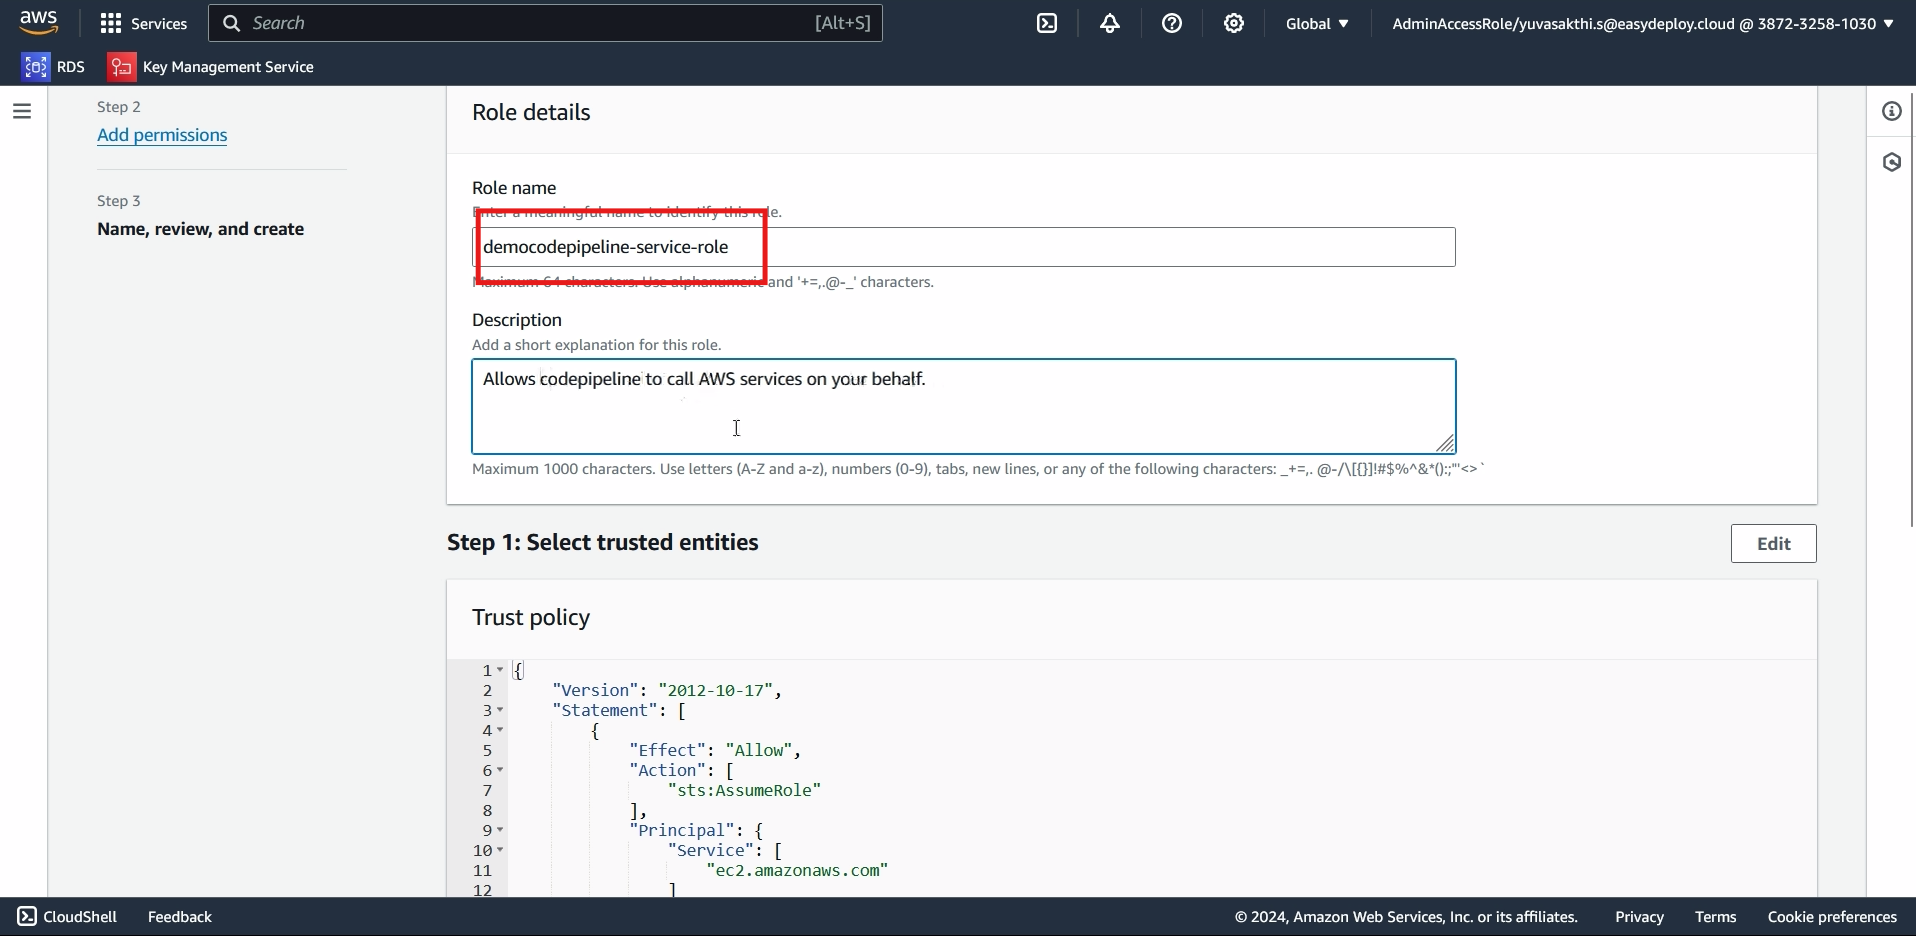
Go inside the role we created > Go inside the Trust relationship > Edit Trust policy.
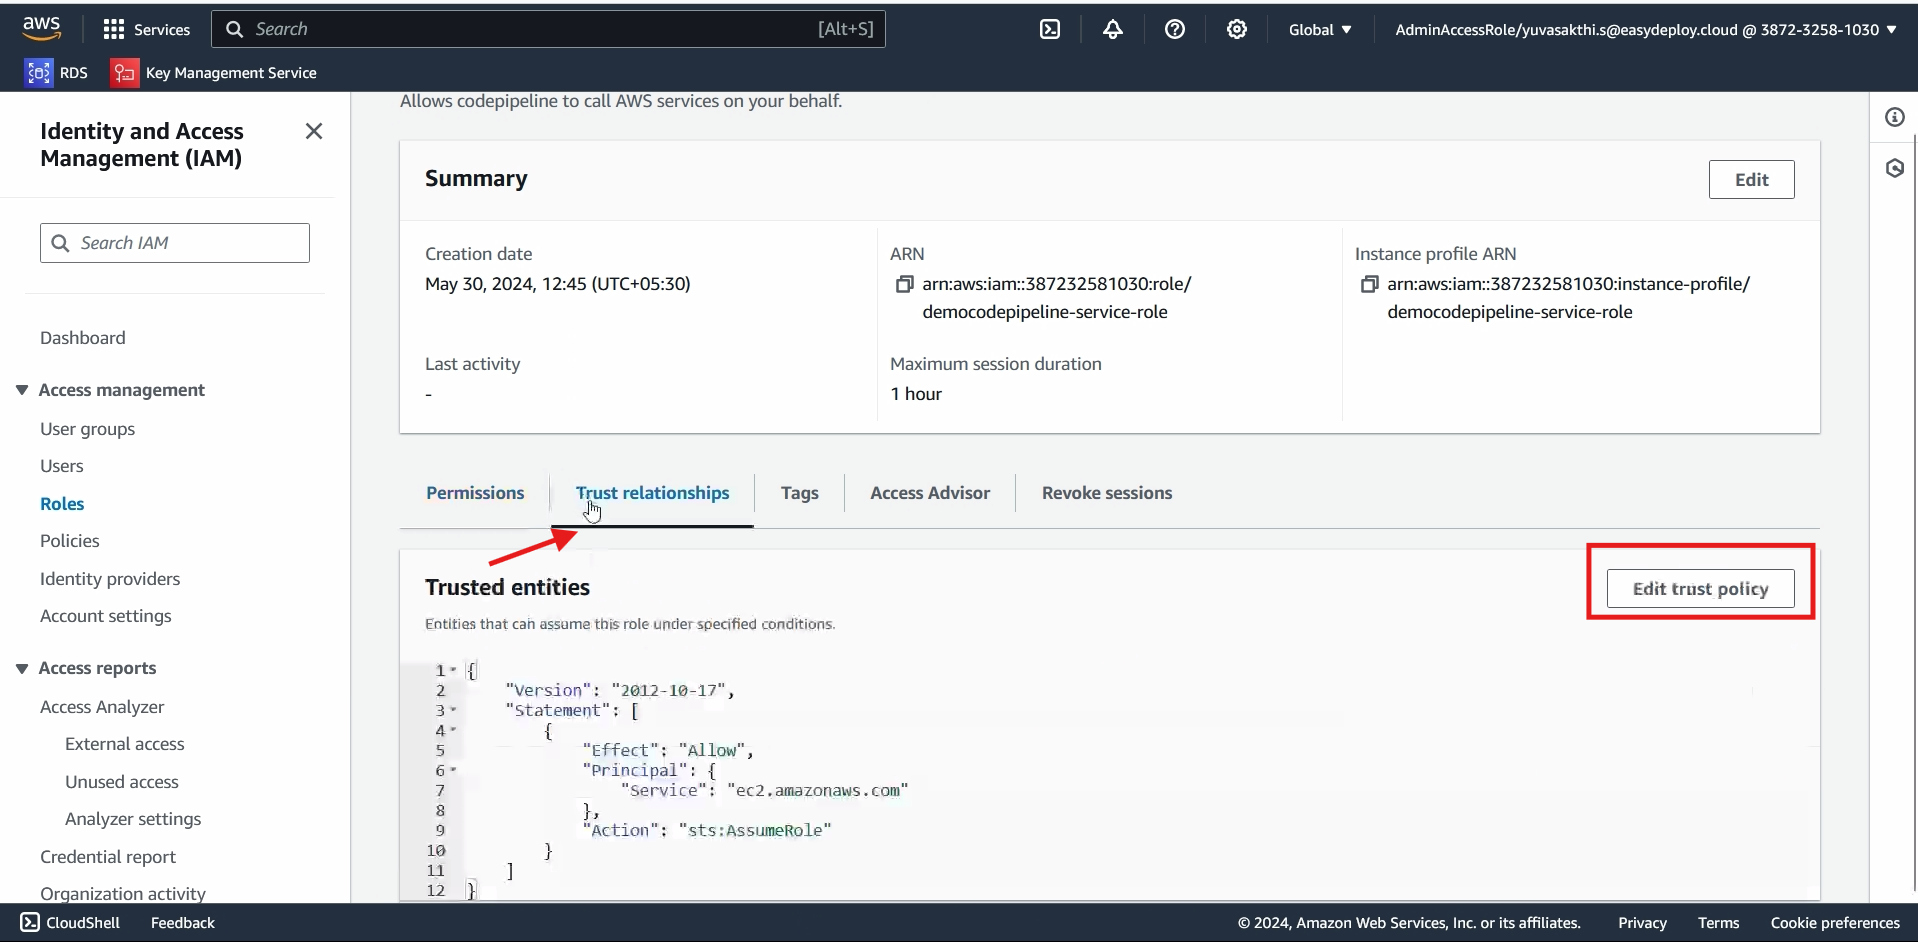
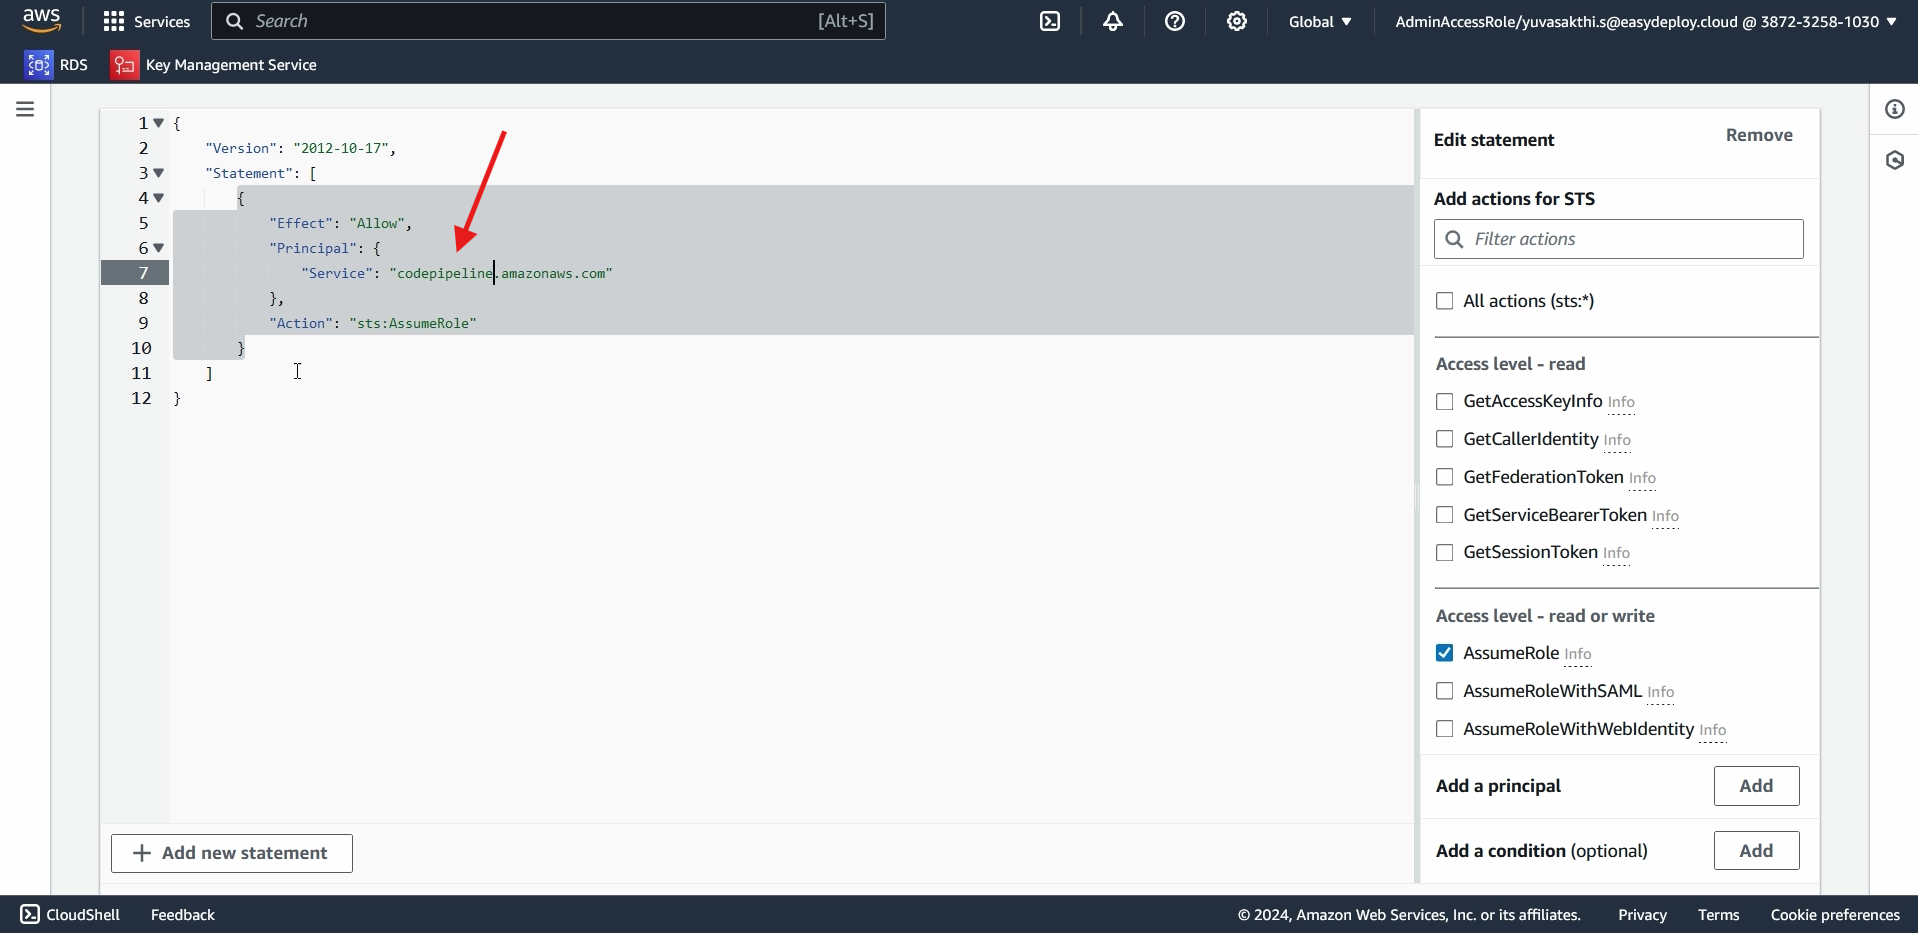
Change the name from ec2 to codepipeline > Update policy.
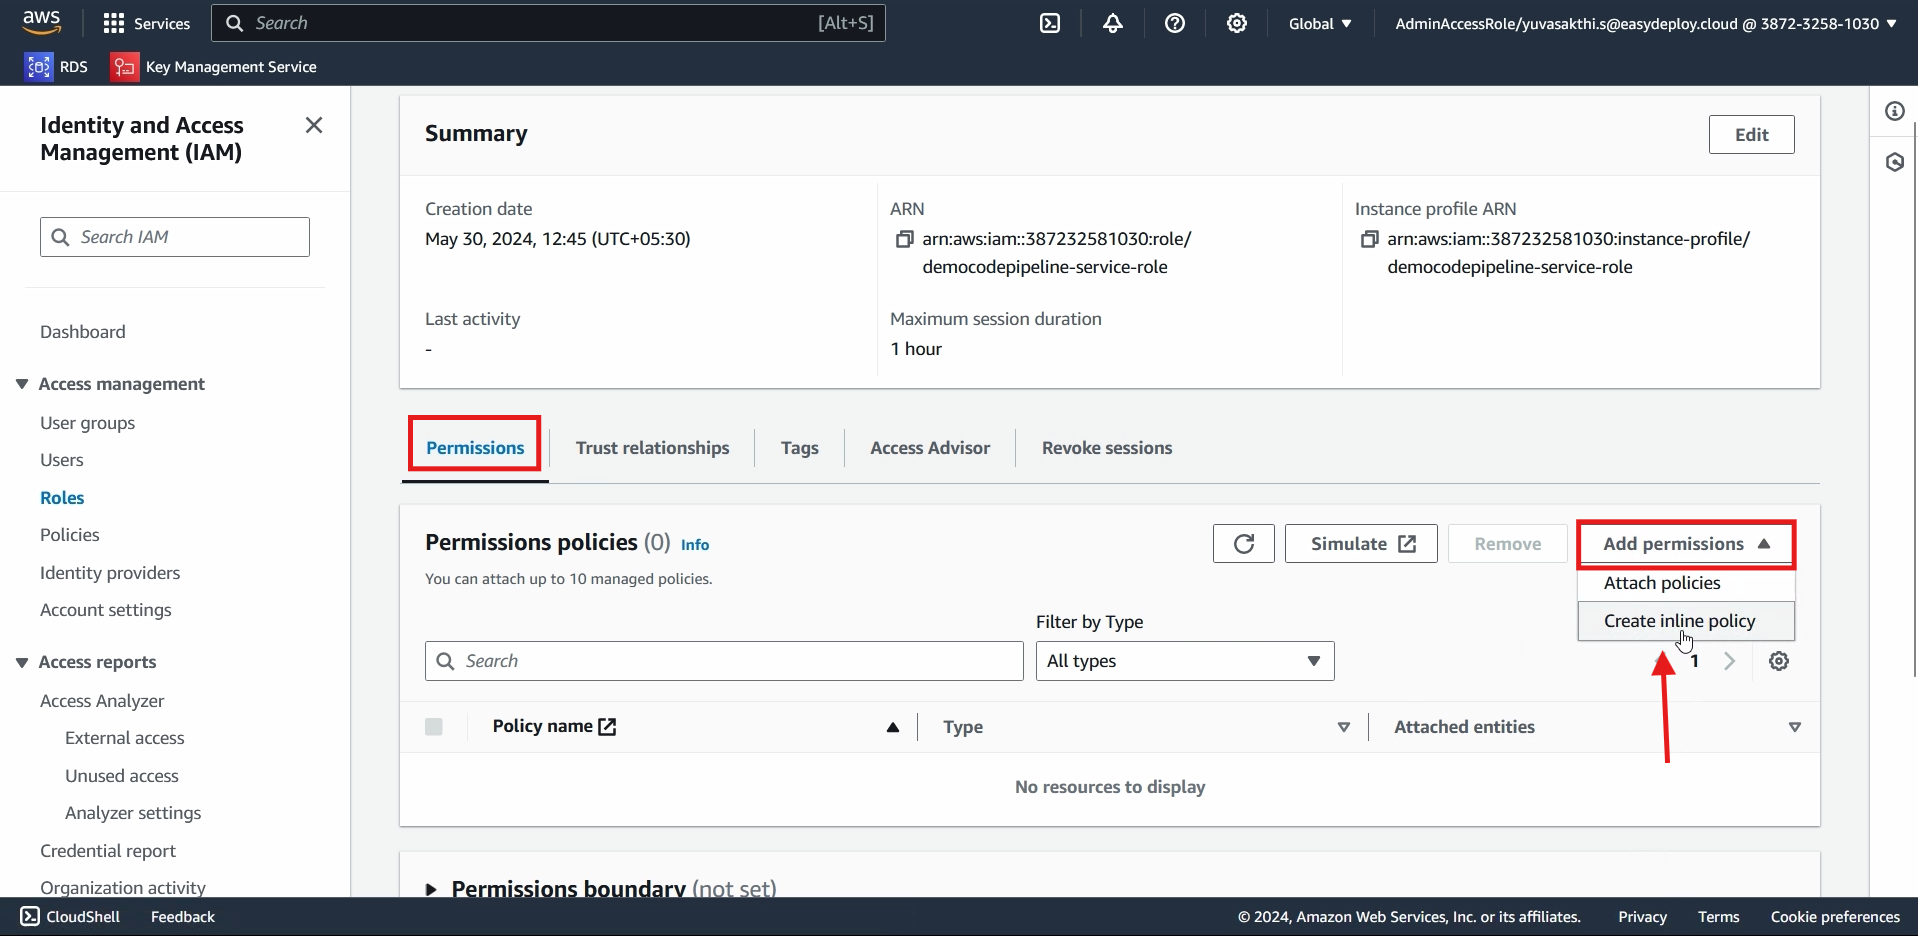
Go to permissions > click on add permissions > create inline policy.
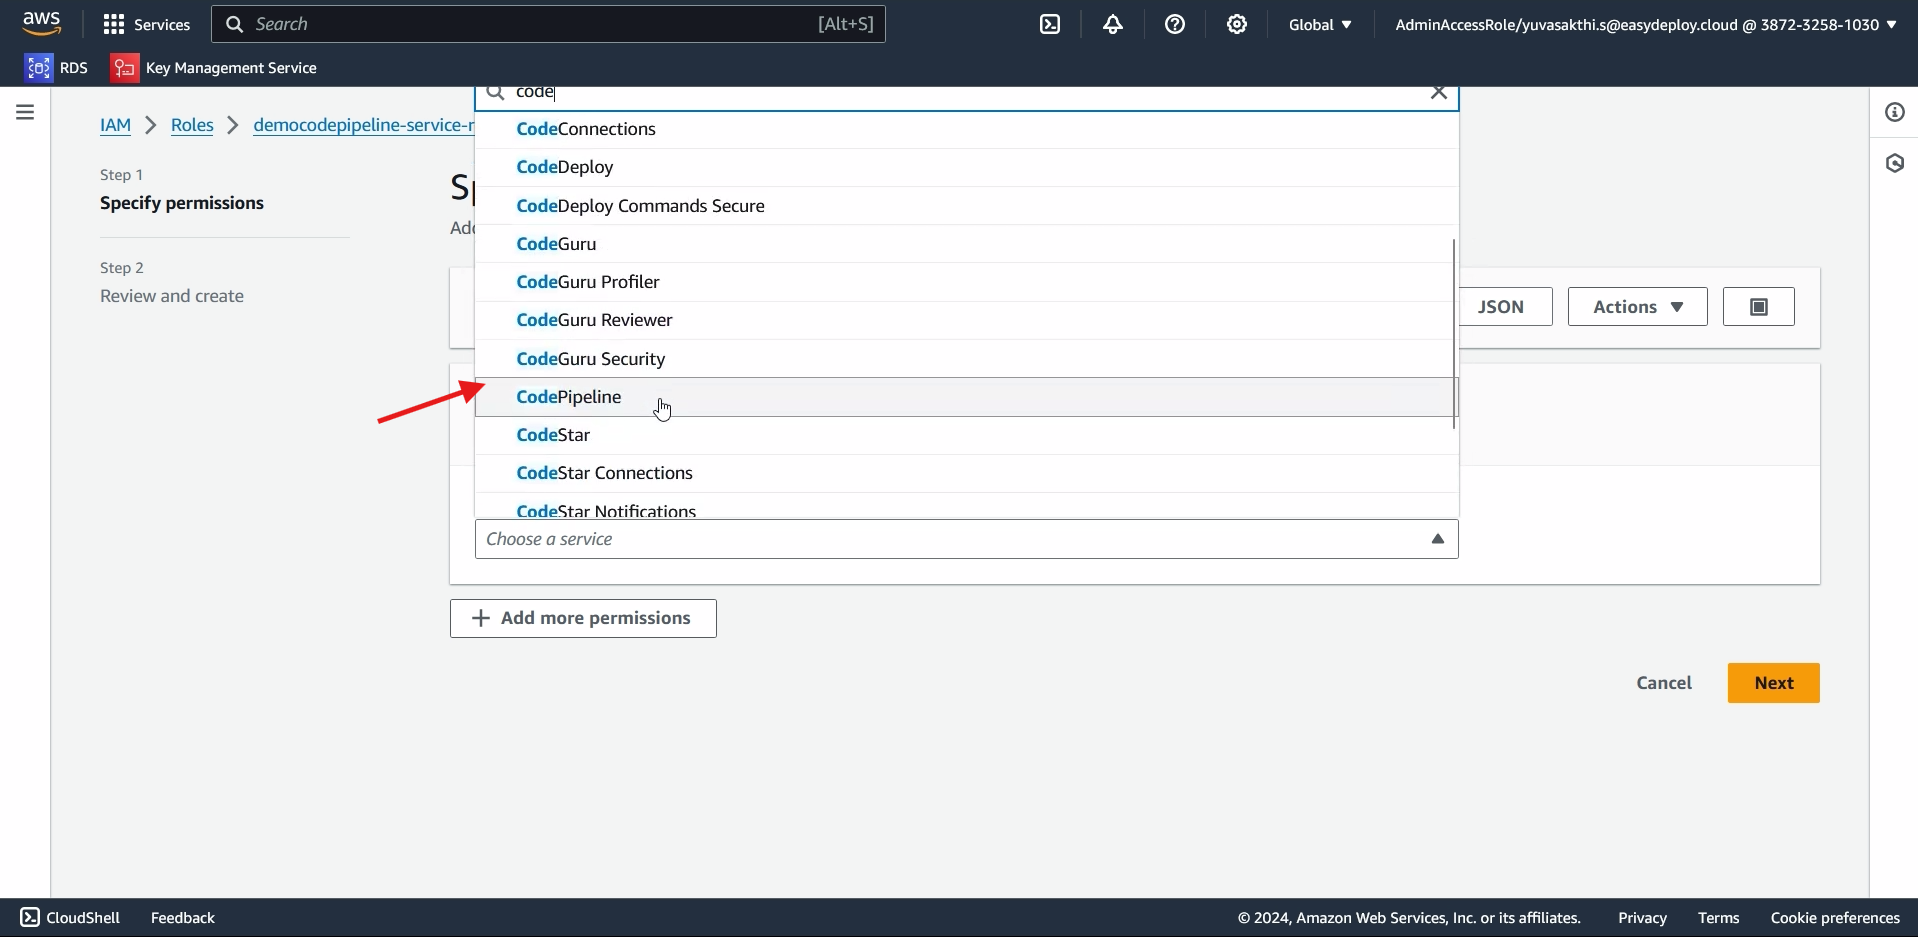
In service select codepipeline > click on JSON
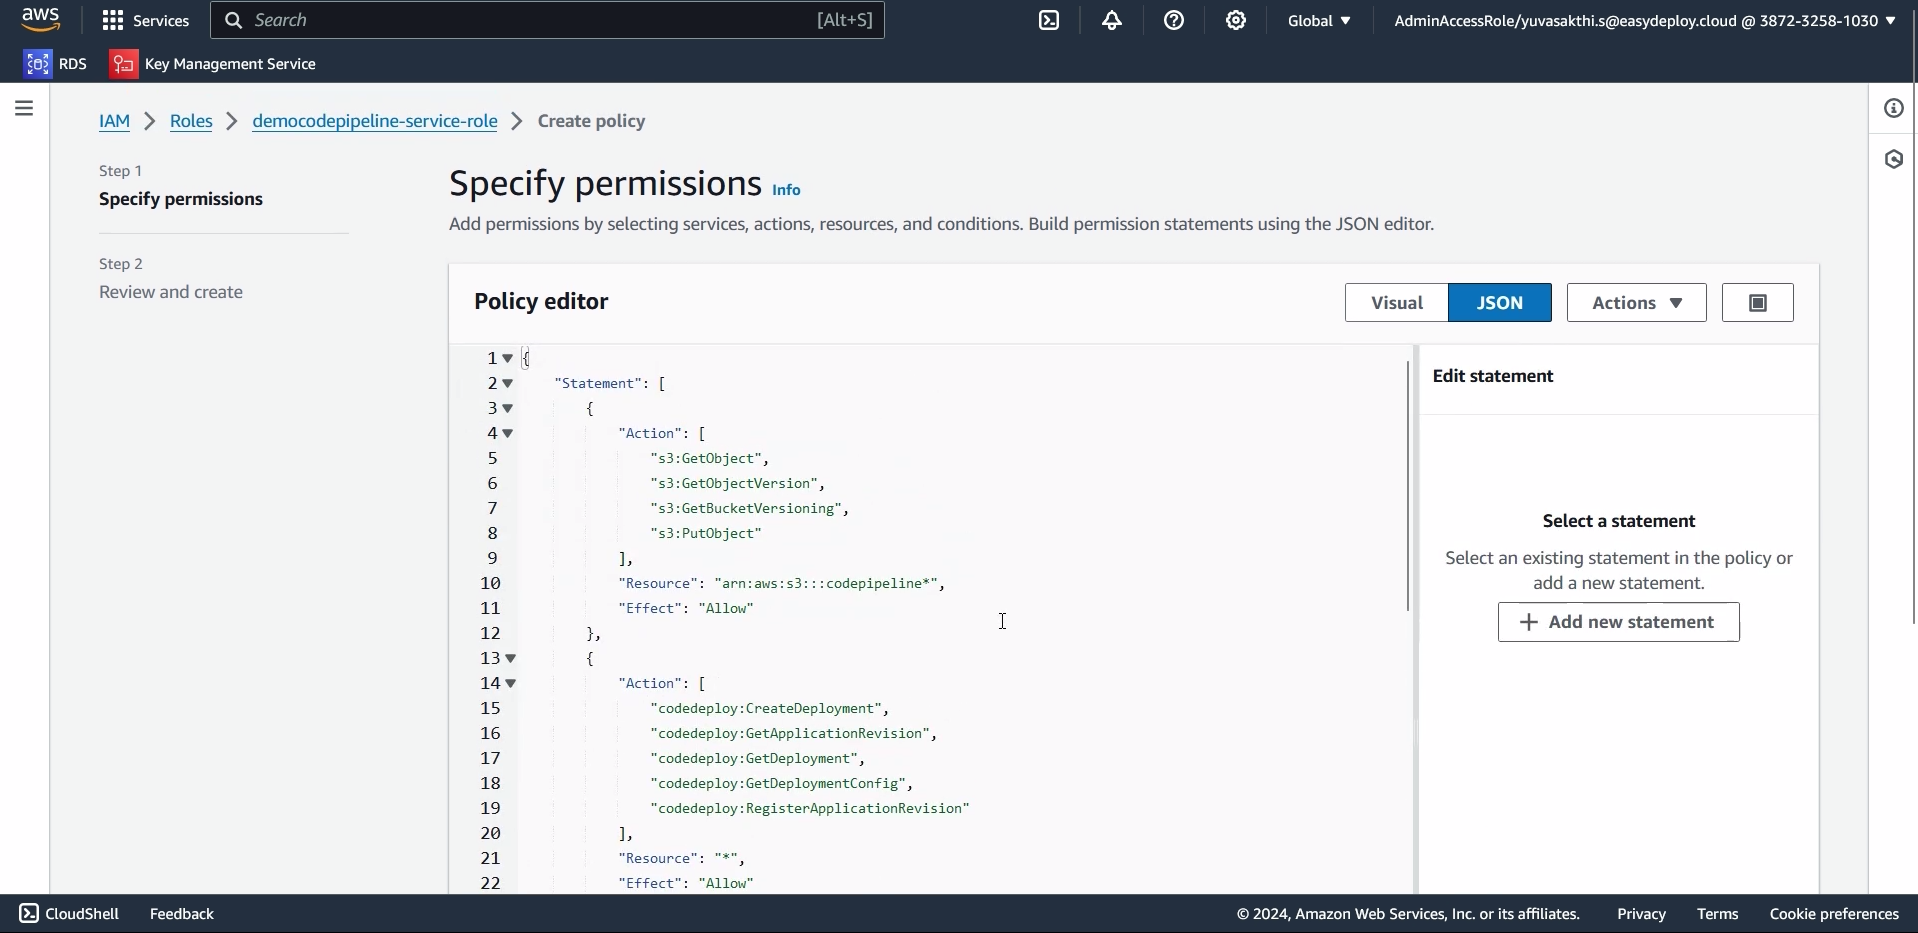
Paste the inline policy > click next.check the repository for the inline policy
https://github.com/Sakthiyuva/cloudformation-codepipeline.git
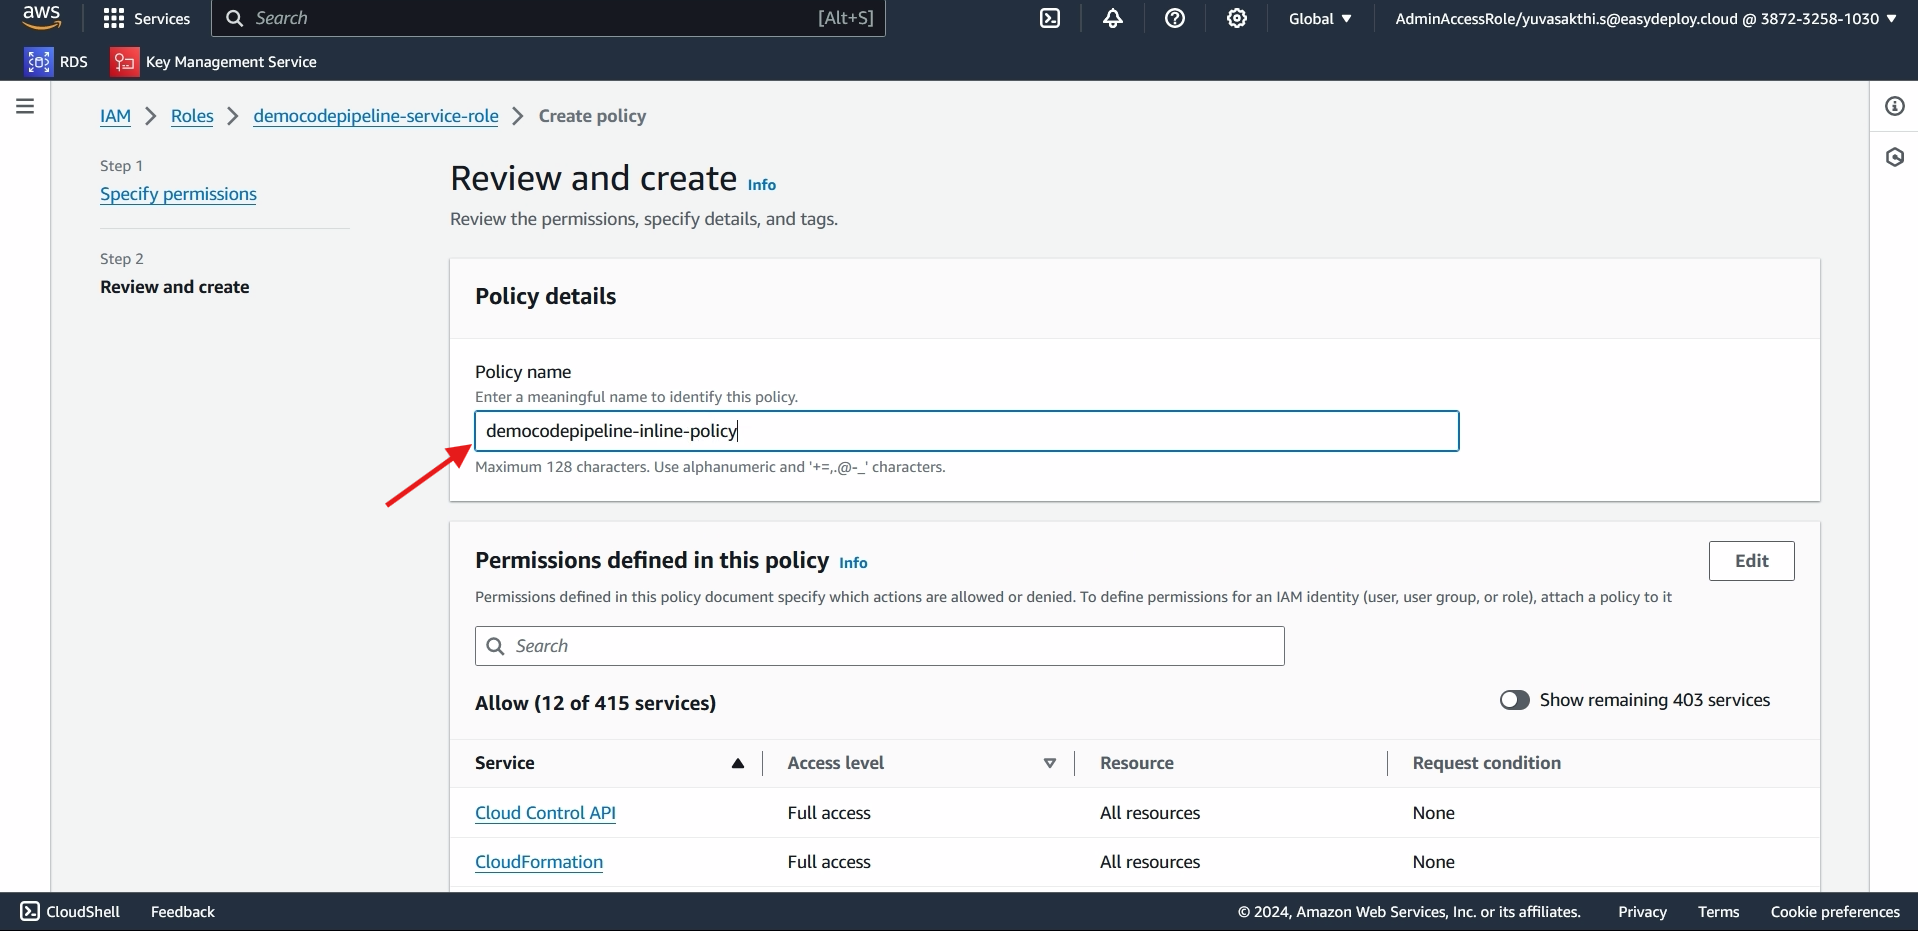
Give the policy name > create role.
CREATING ROLE FOR CLOUDFORMATION:
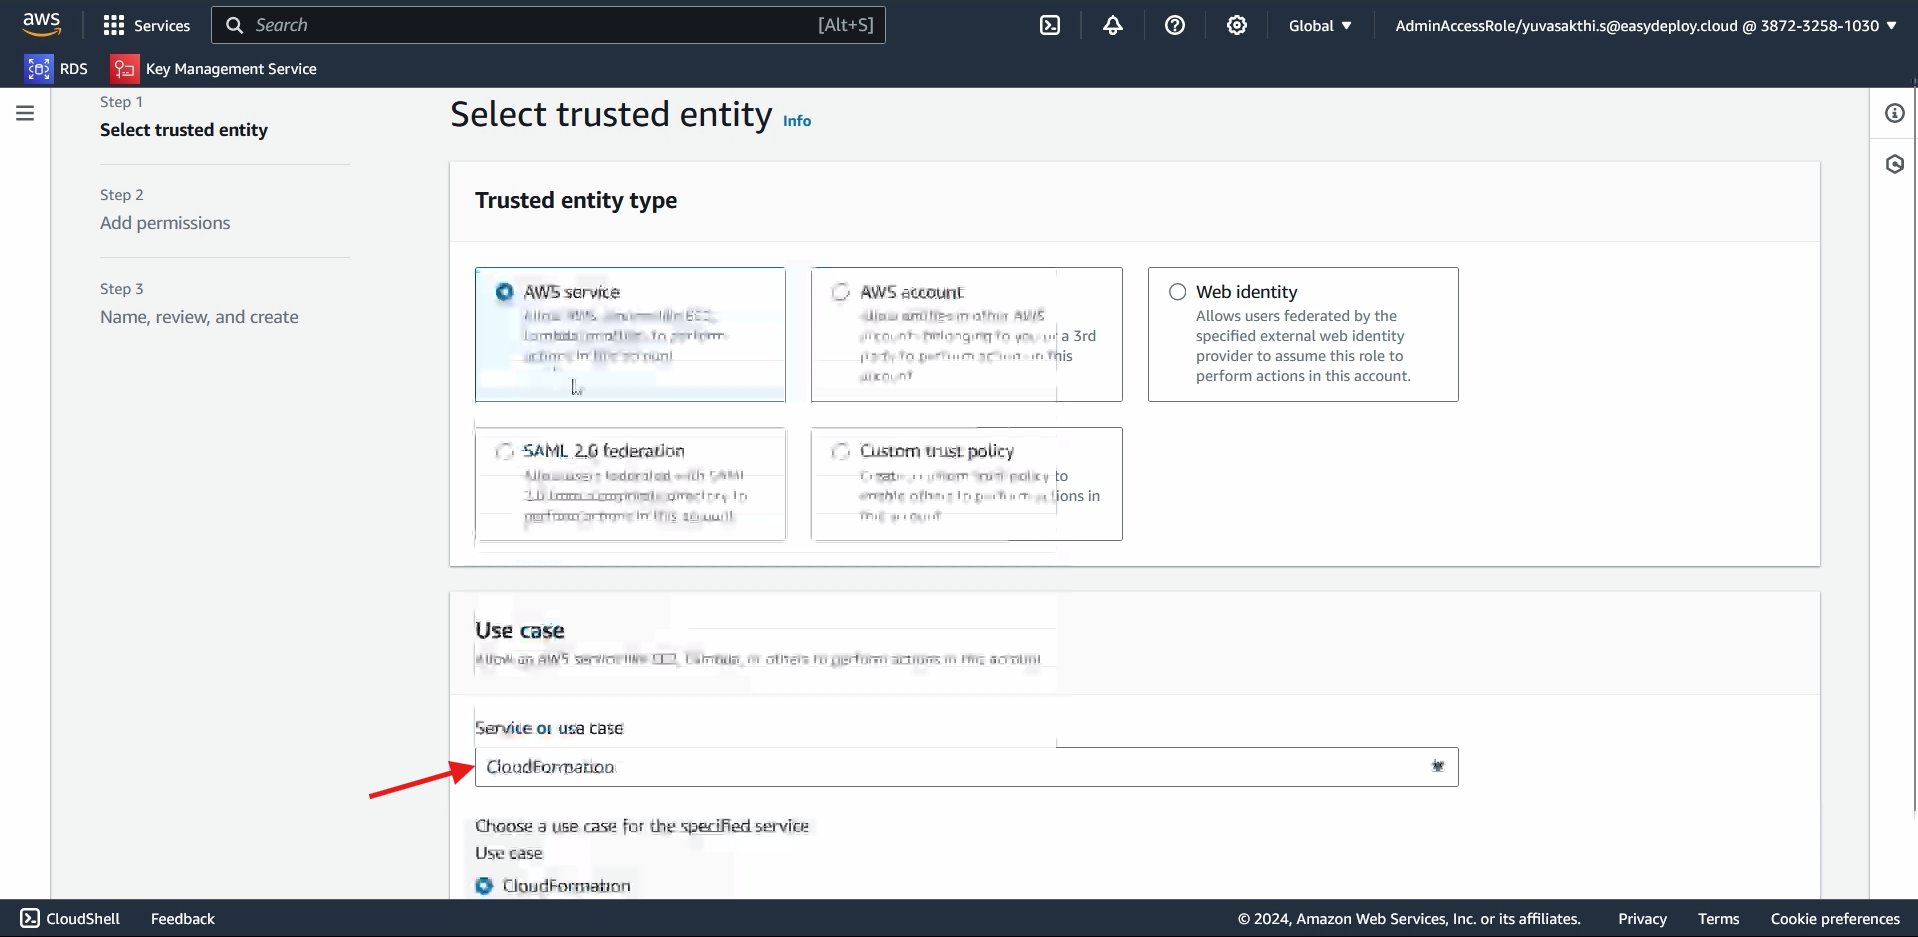
Next we should create role for cloudformation > select cloudformation in service > Next.
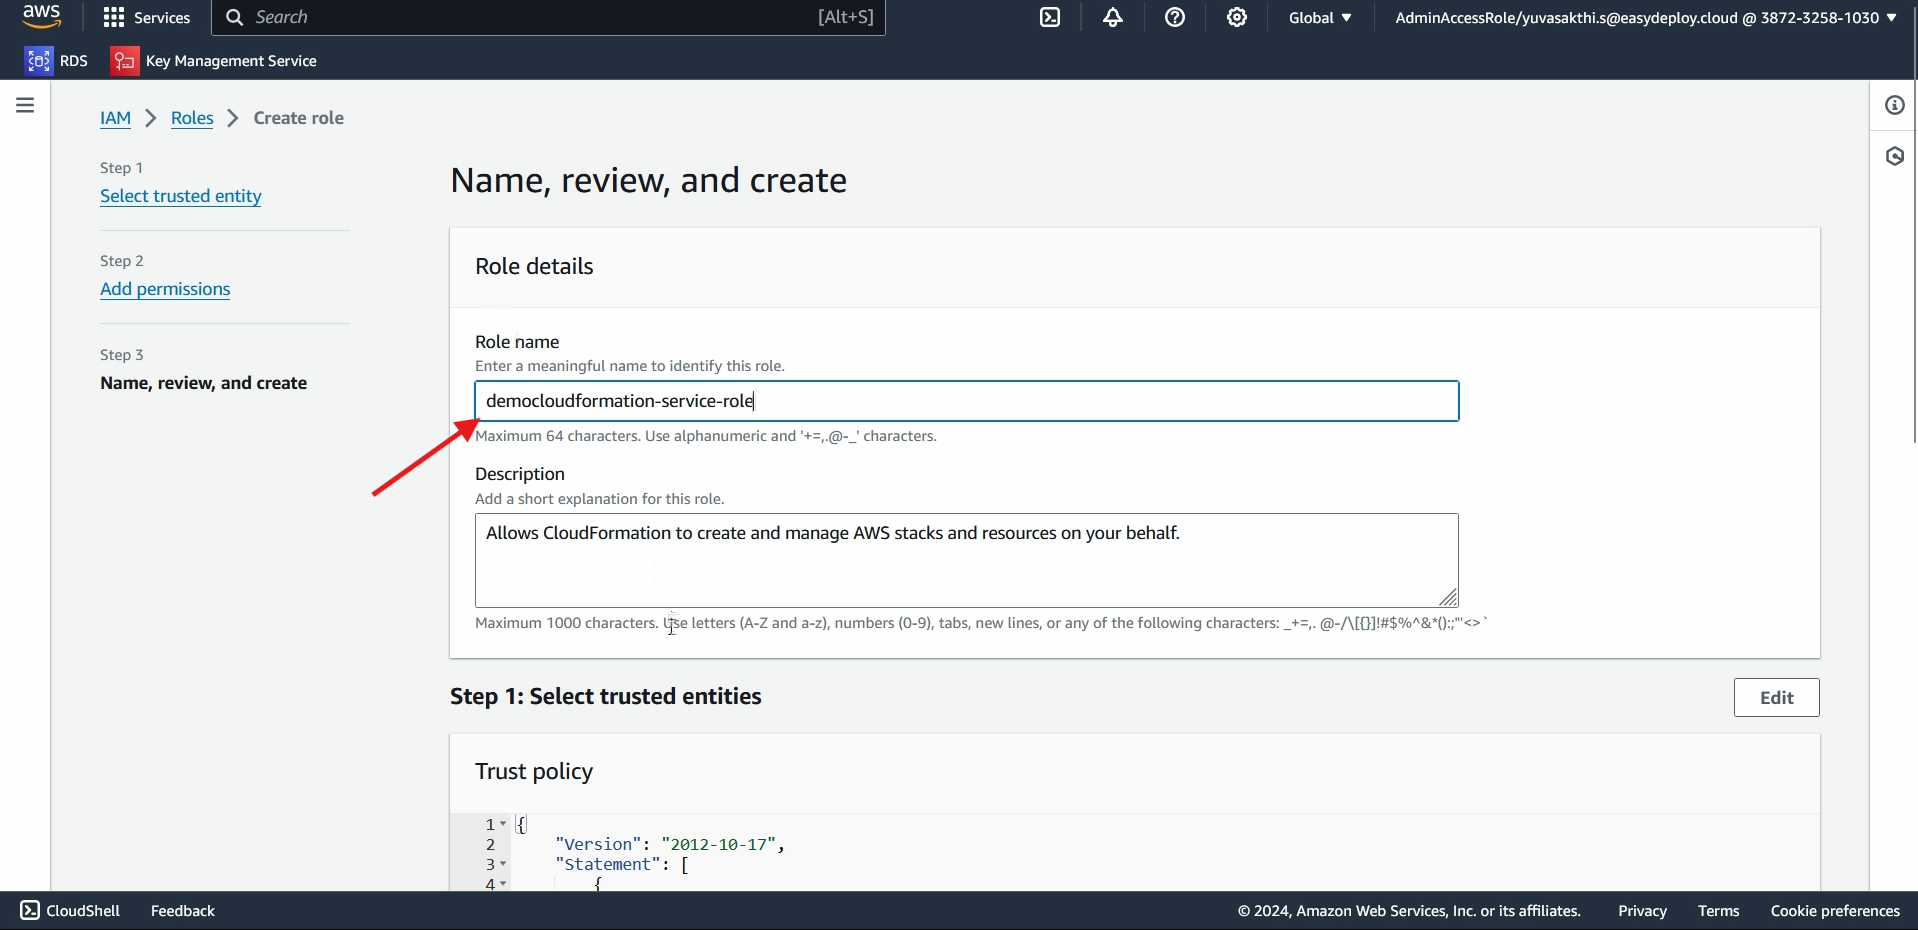
In policy select EC2 and S3 full access > Next > give name to the policy > create Role.
CREATING PIPELINE:
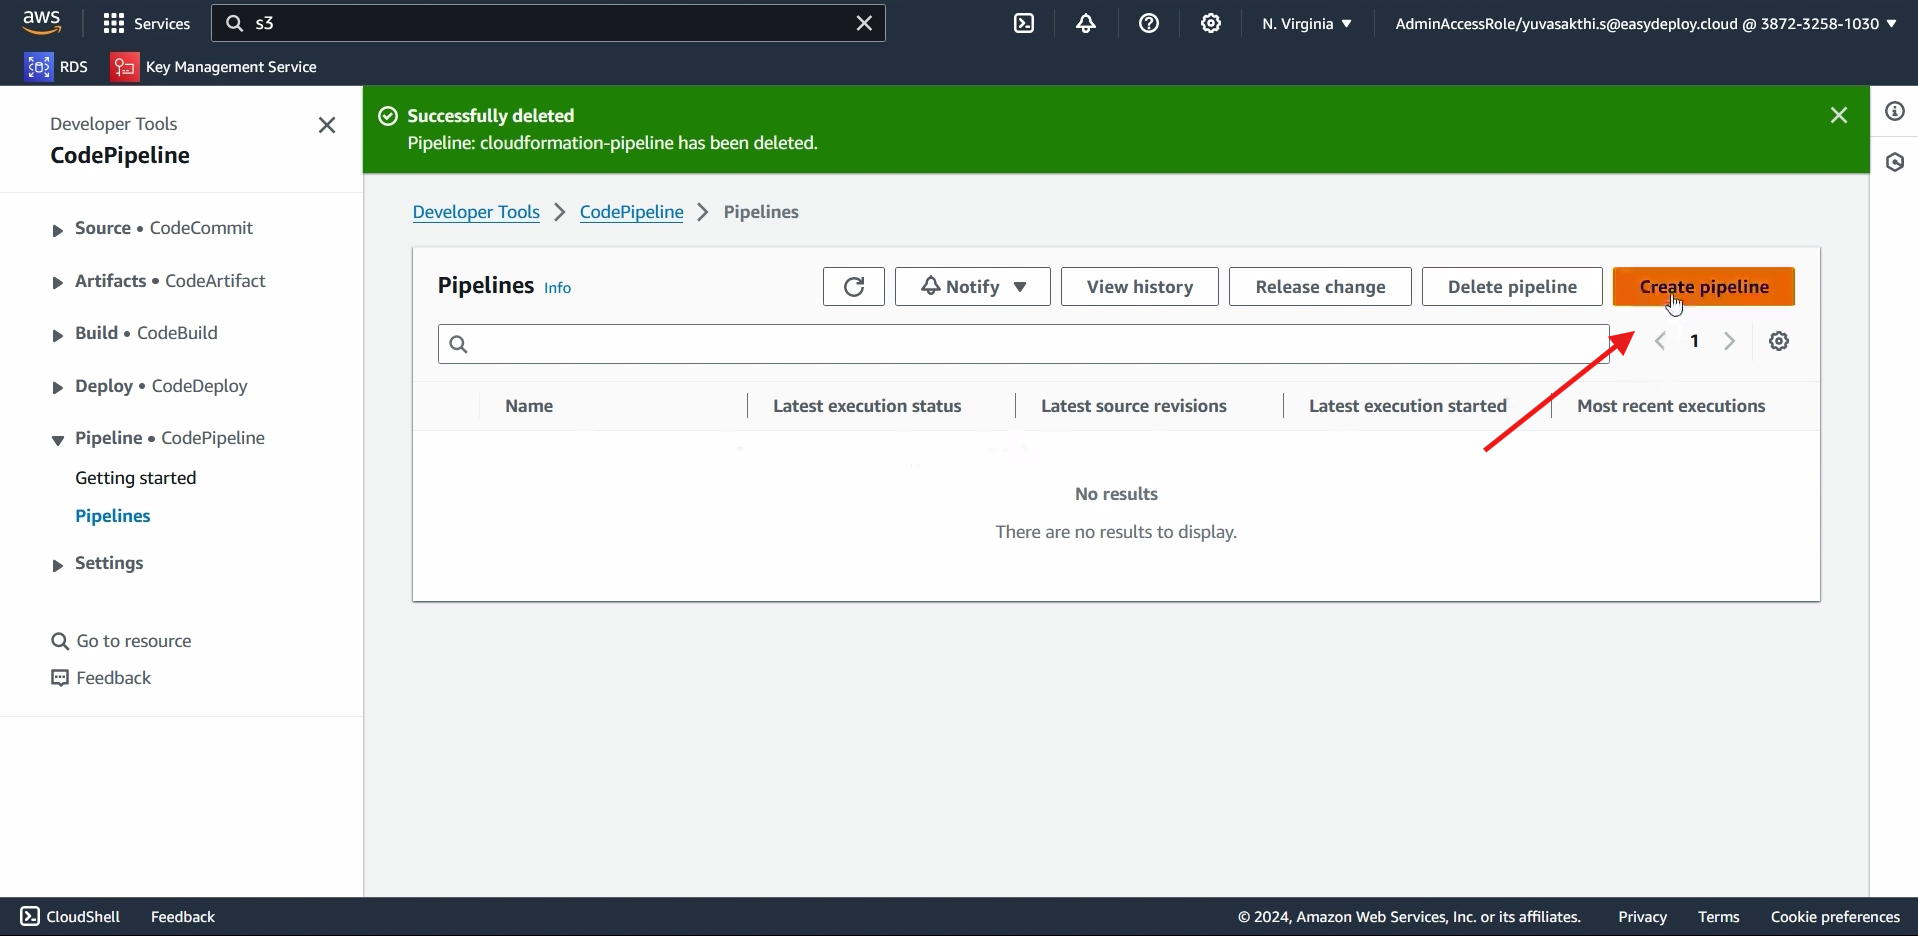
Now go to the codepipeline > click create pipeline.
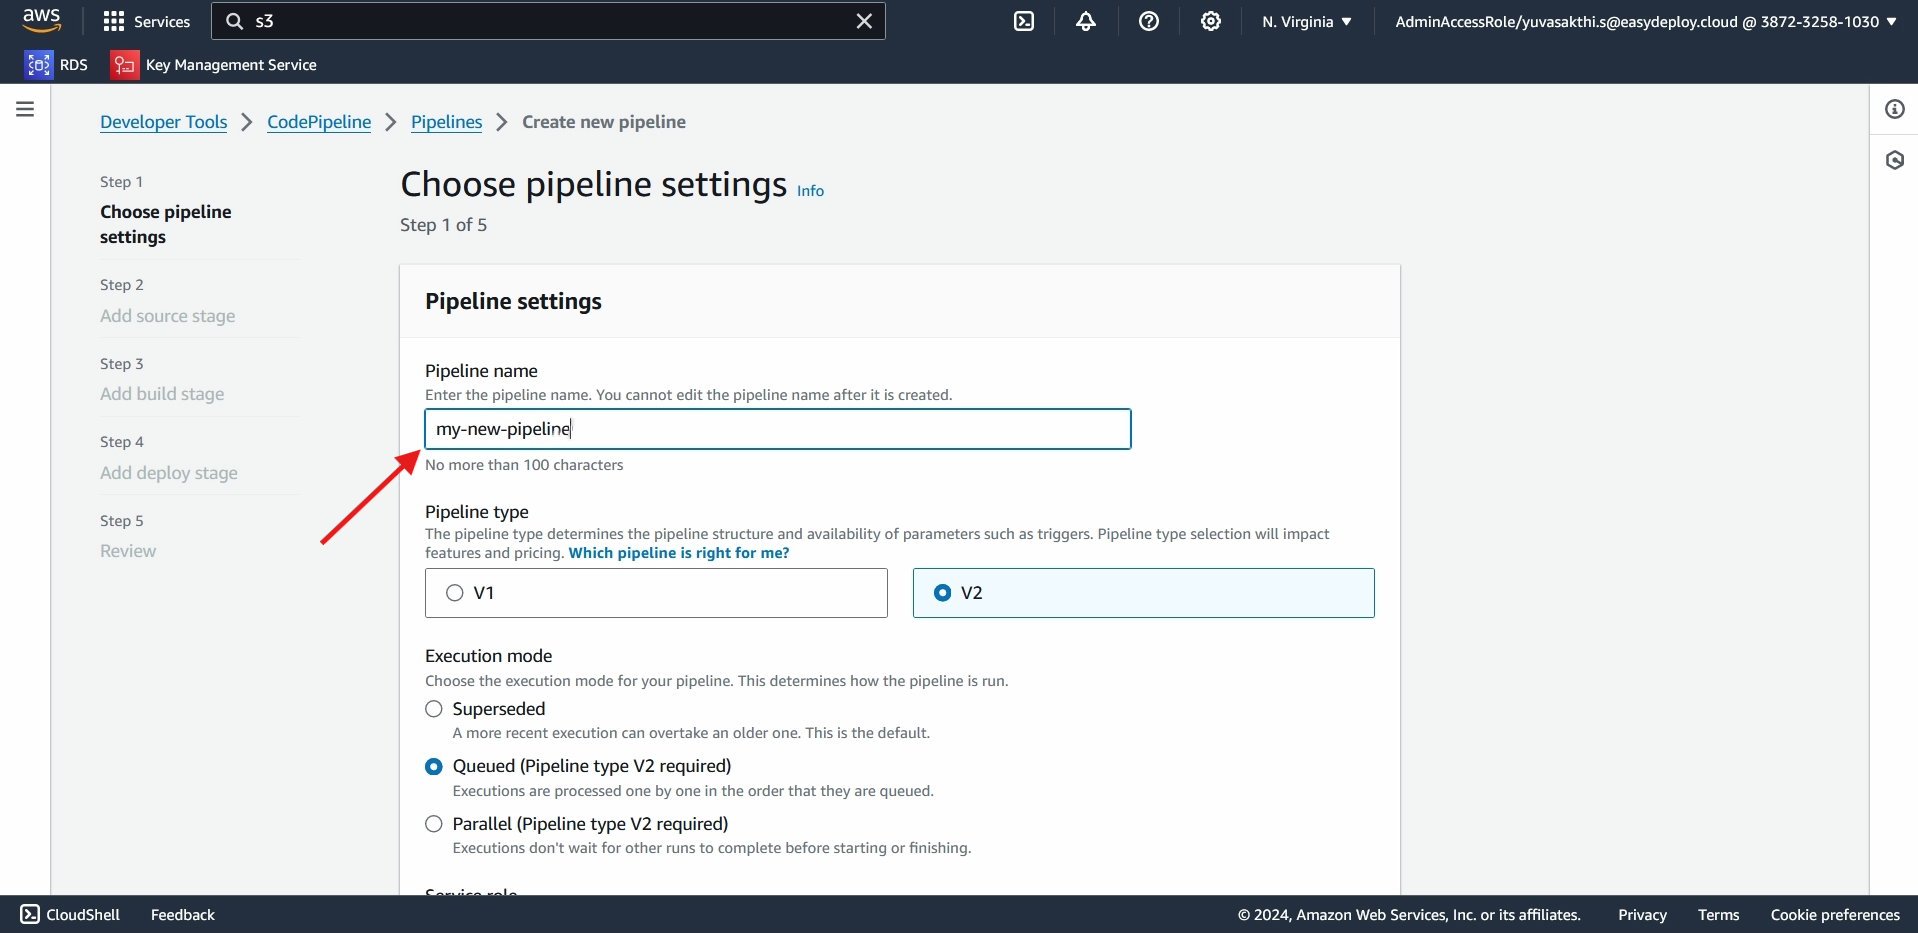
Give name to the pipeine > Next.
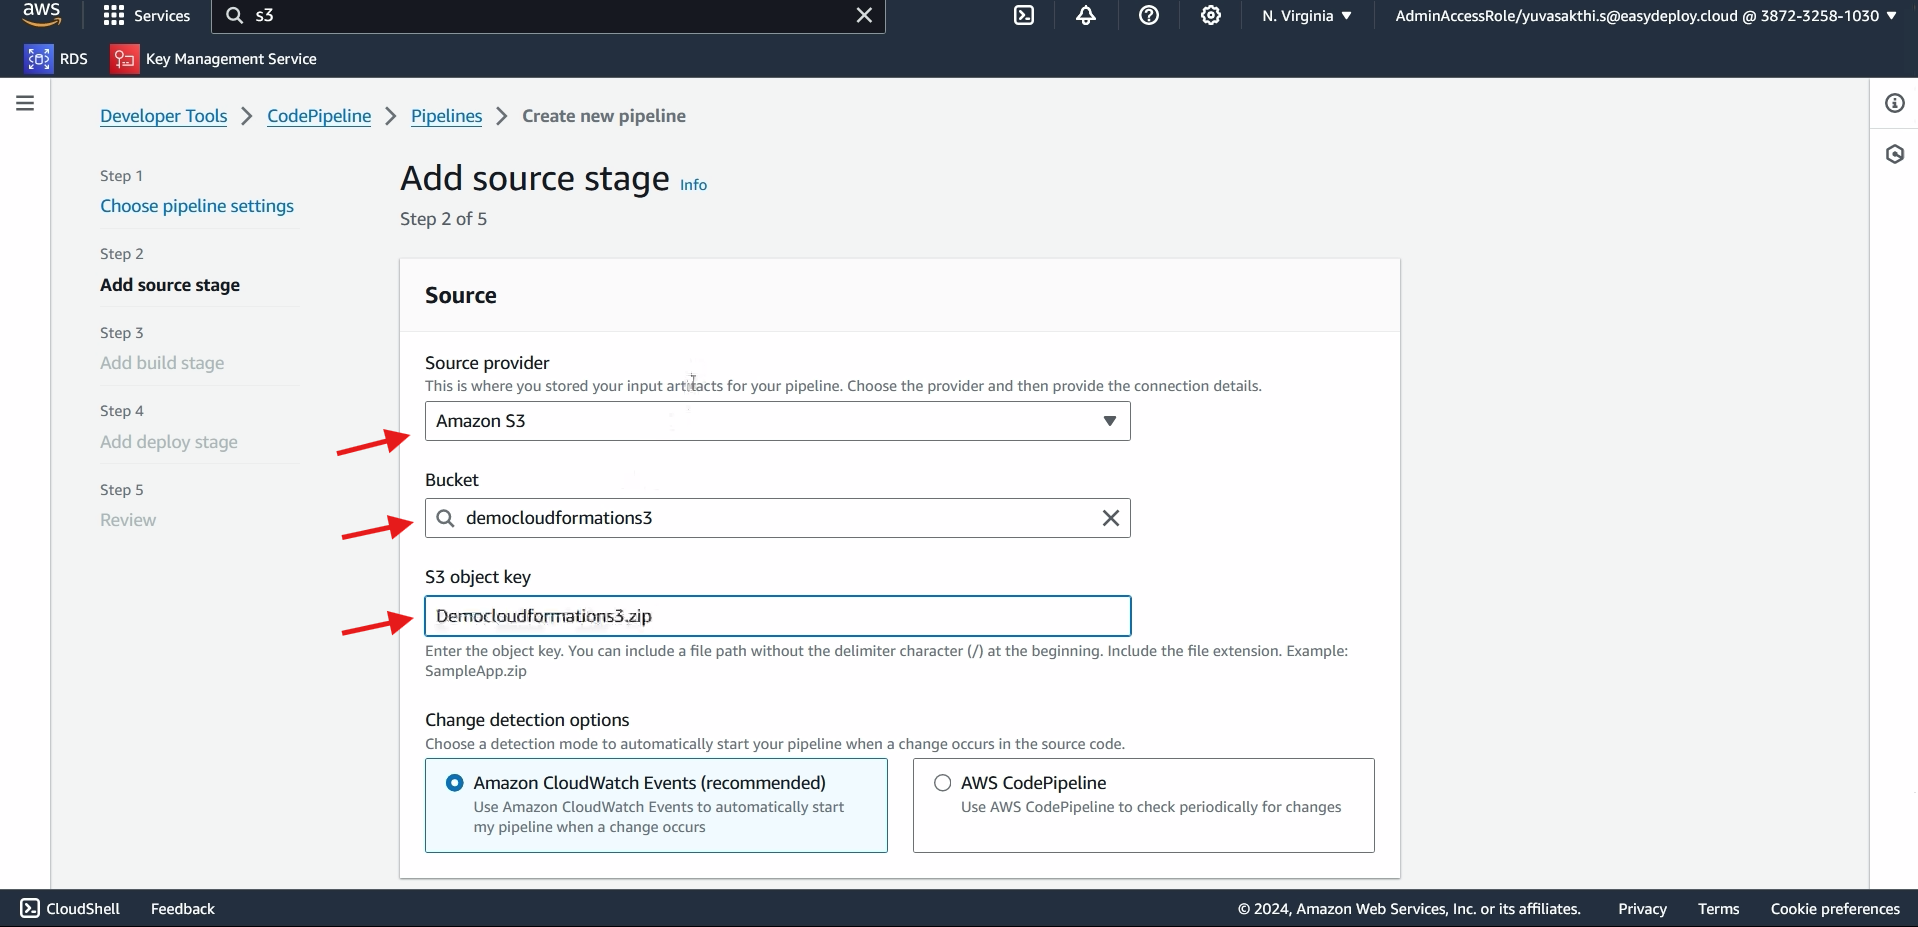
In source provider select Amazon S3 > select the bucket which you created > Give the object key of the bucket you created > Next
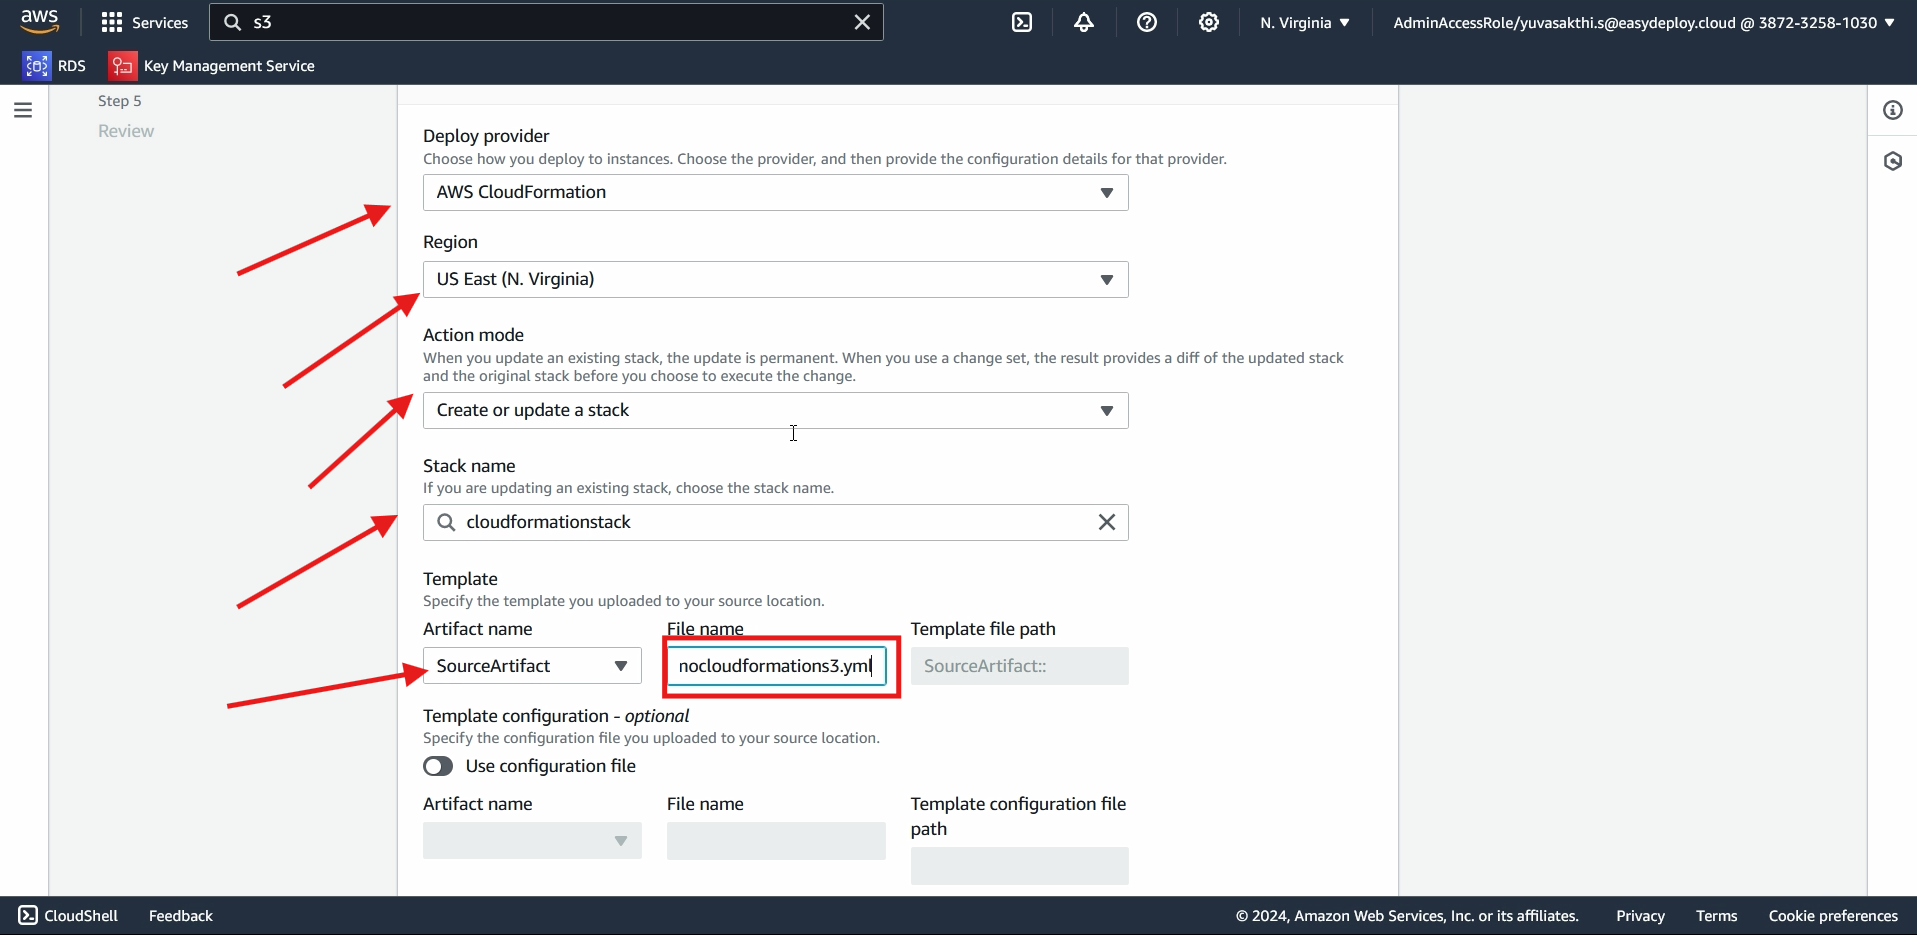
Skip the Build stage > select Deploy provider as AWS cloudformation > select the region where you are working > In action mode select create or update stack > In artifact name select SourceArtifact and give the File name > select the role we created > next.
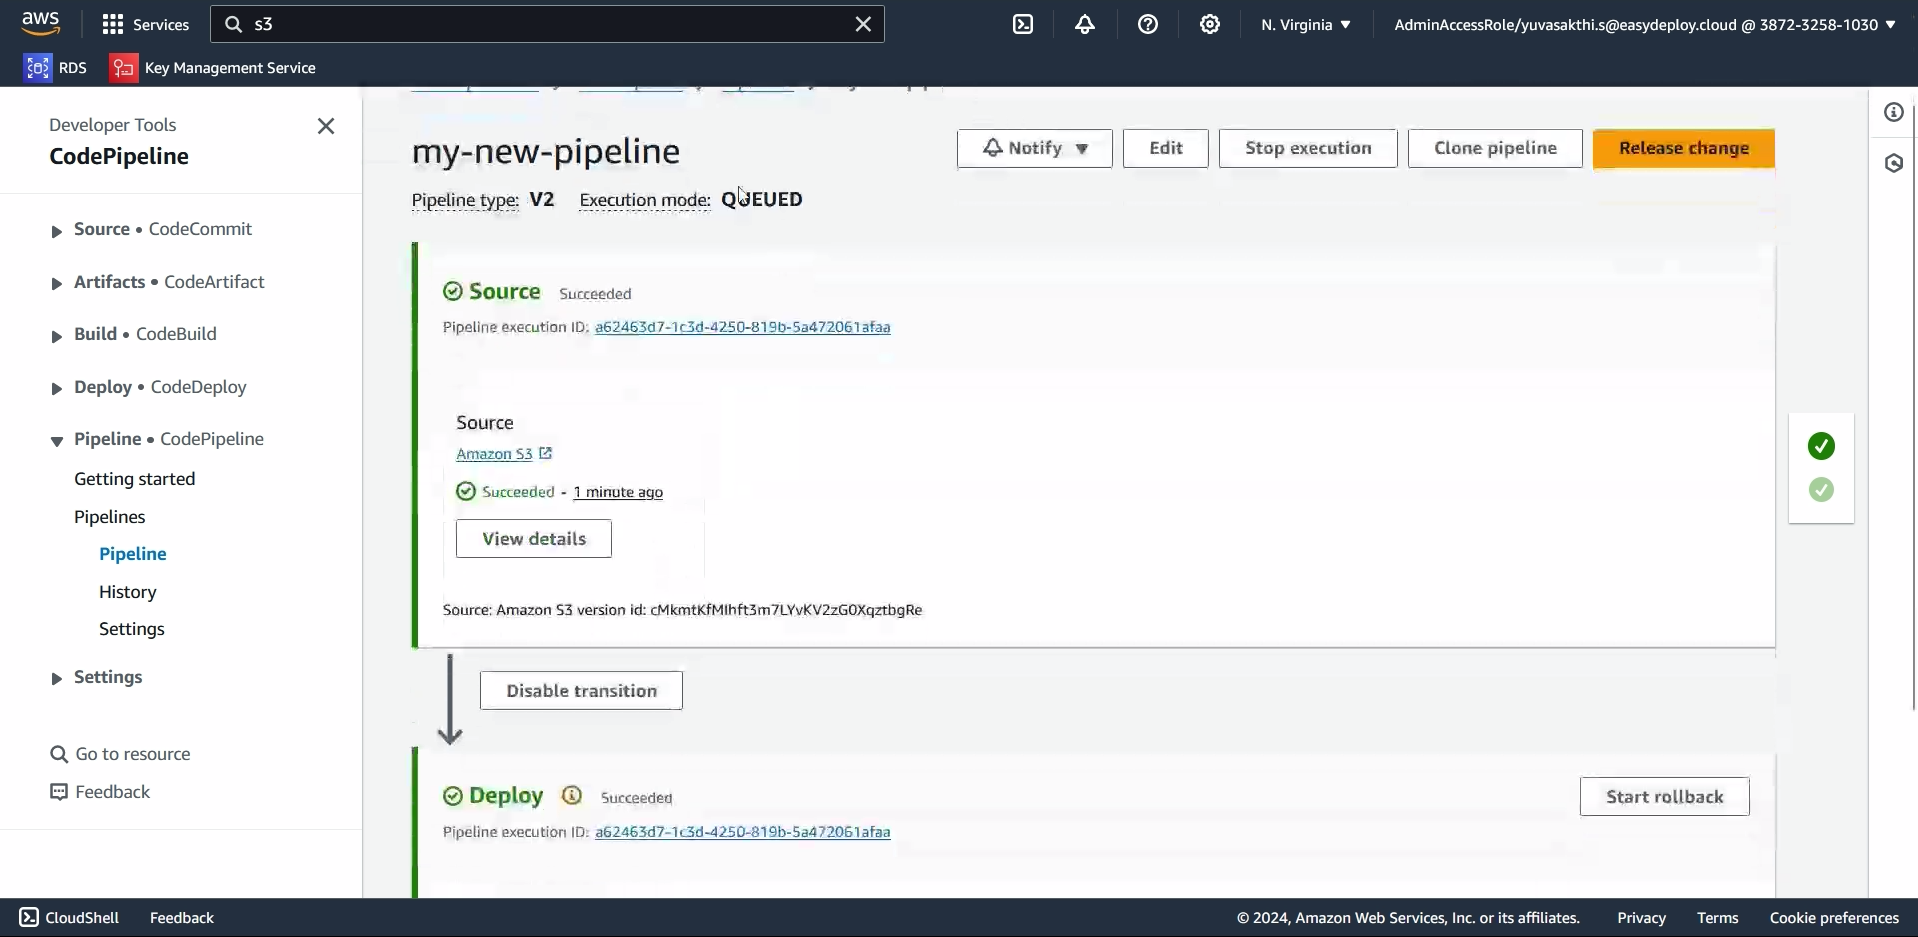
Create pipeline > pipeline is successfully deployed.
Go to ec2 instance. you can see that the instance is created.
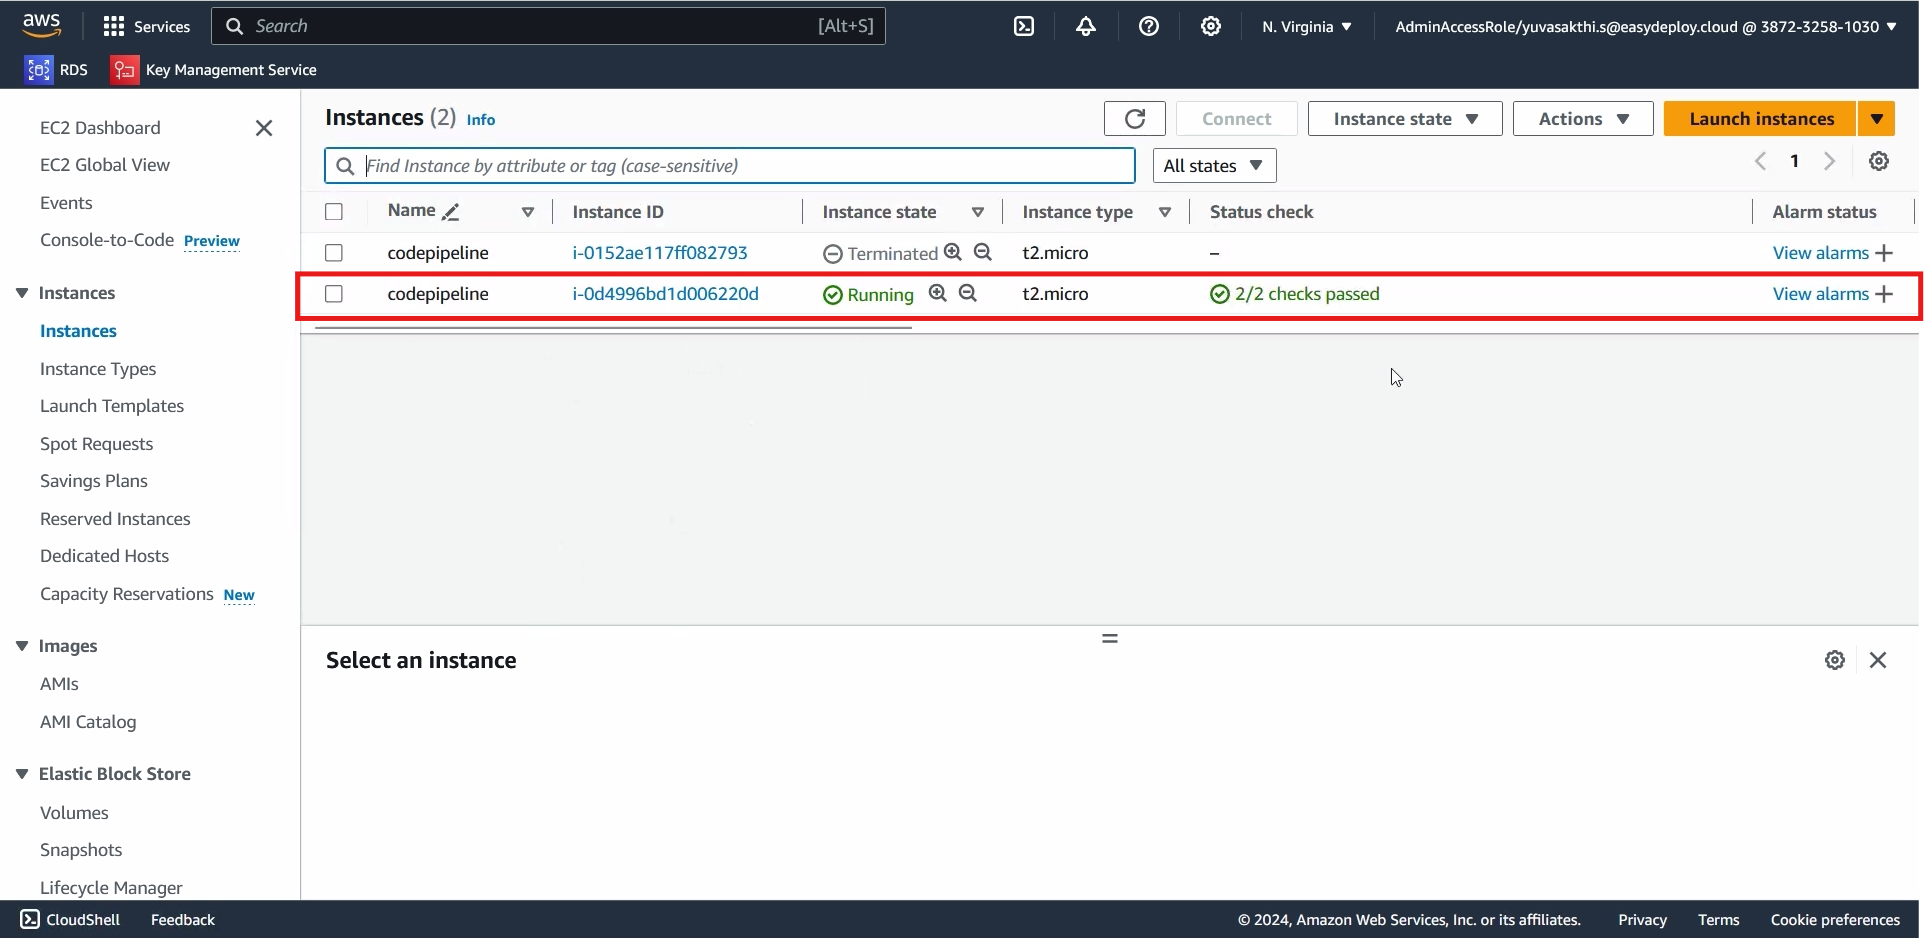
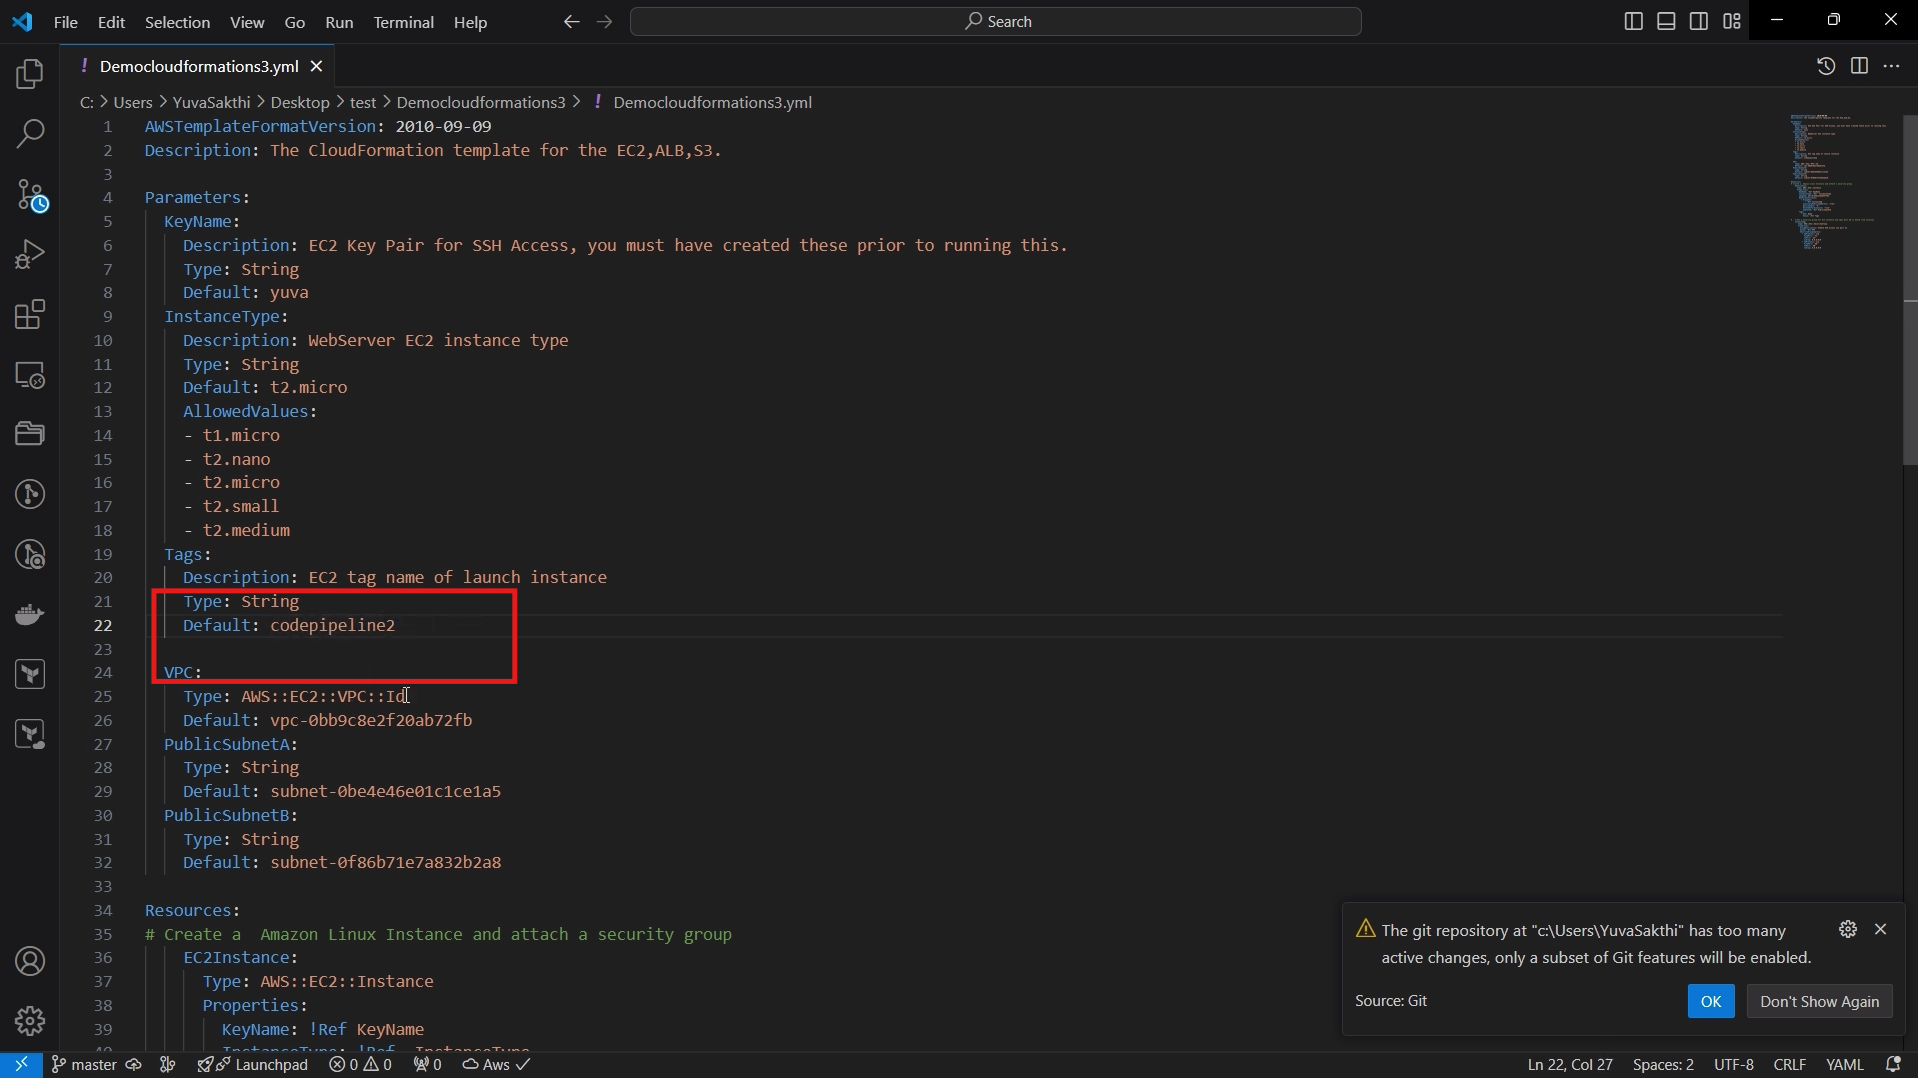
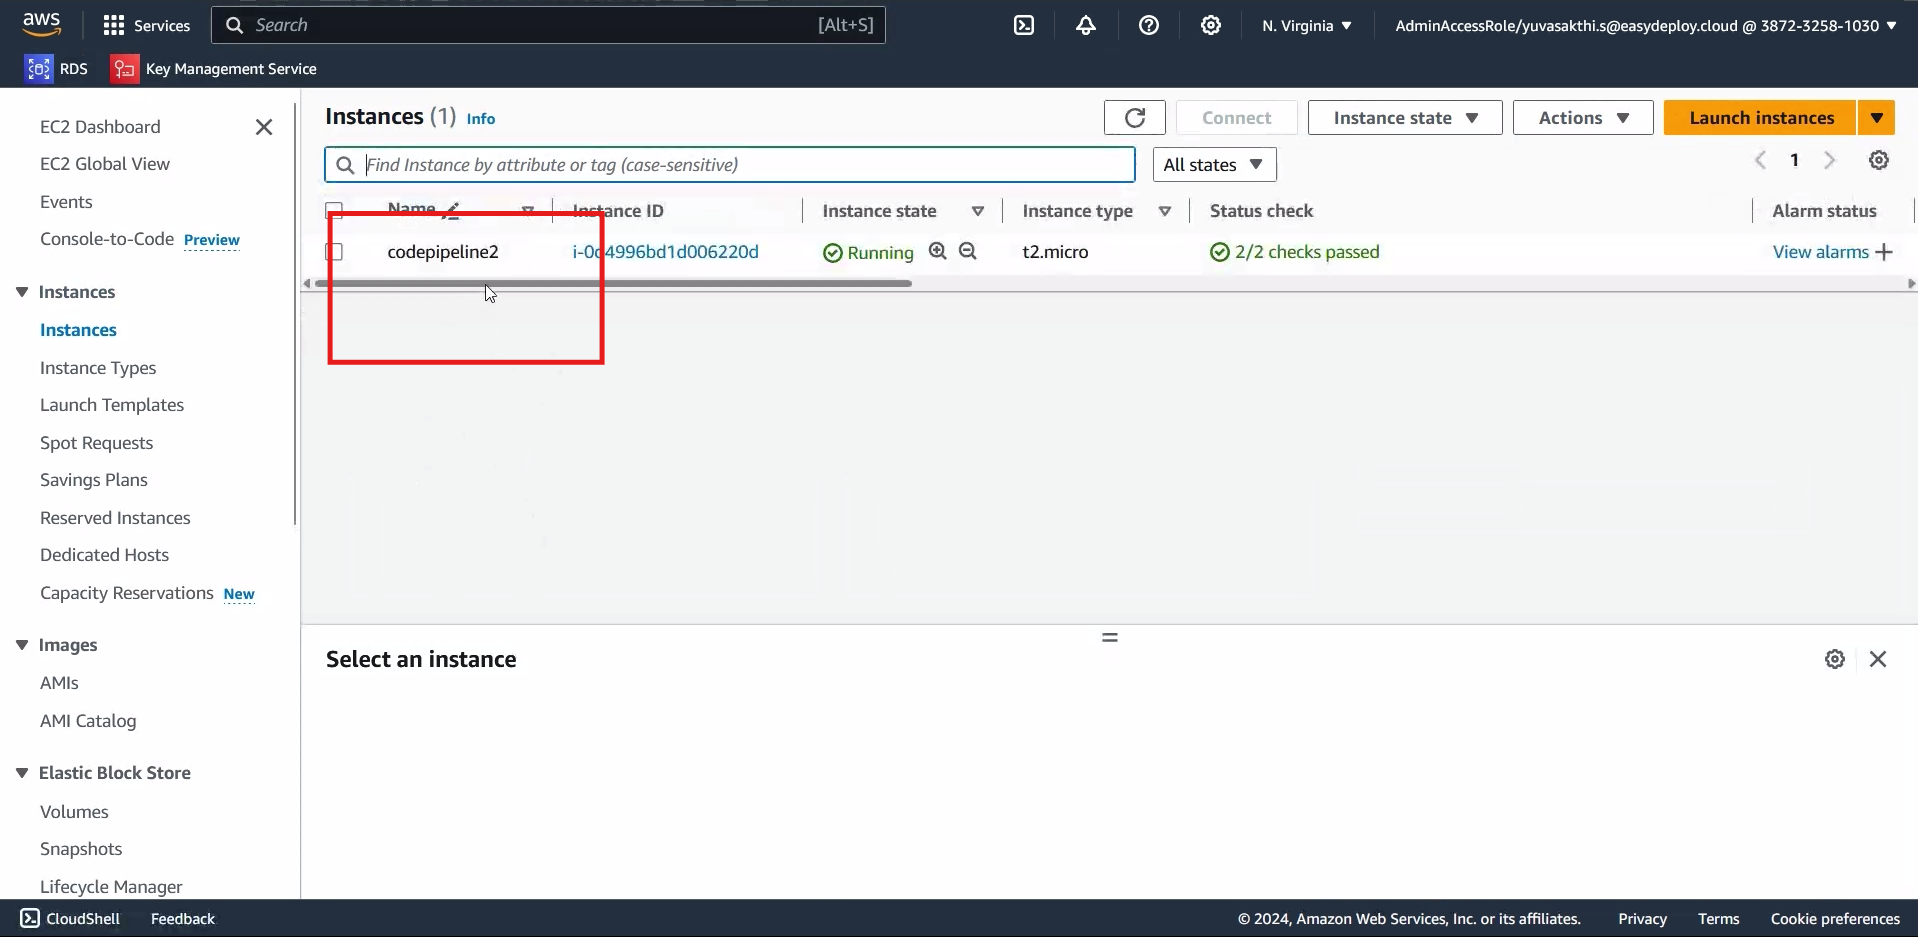
Now lets make some changes in Template and we can reupload it, lets see if the pipeline is automatically running or not.In template i have changed the instance name from codepipeline to codepipeline2 > save it.
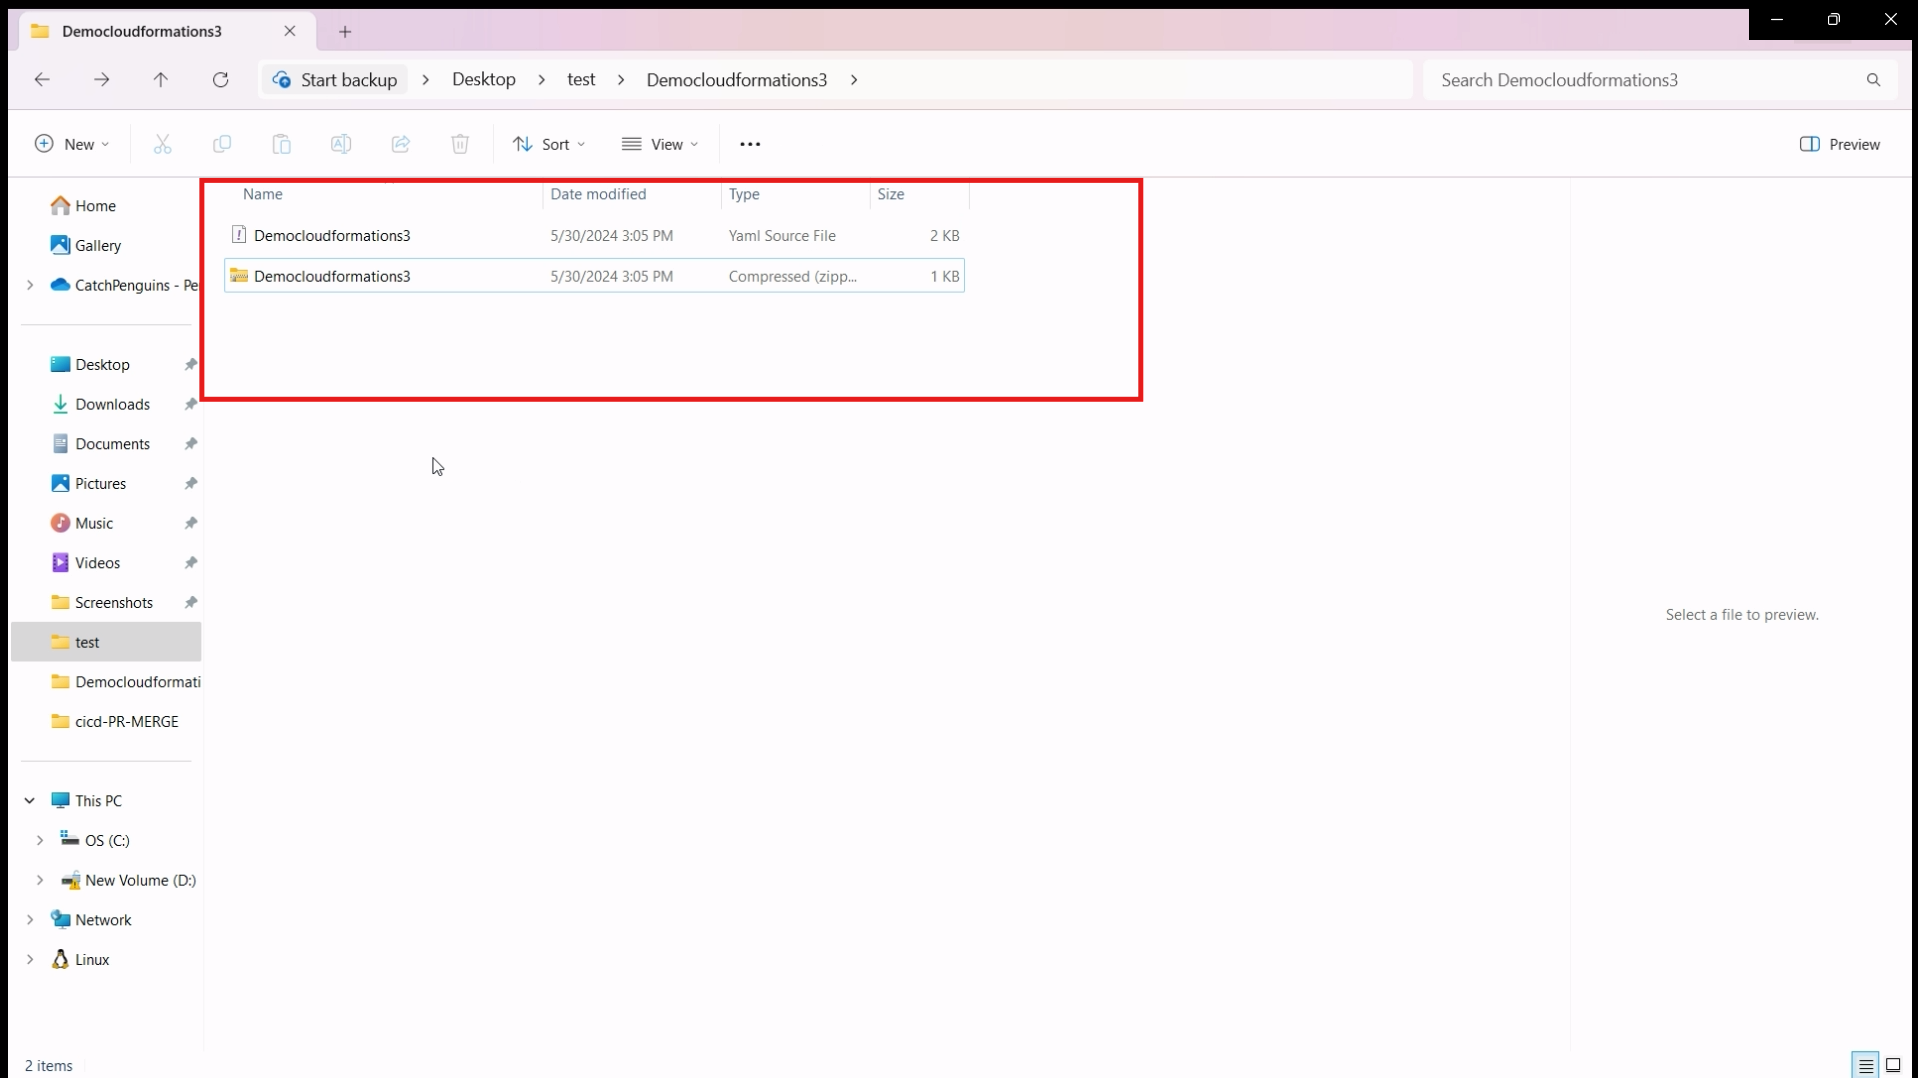
Zip the template file.
Now go to the bucket we created > click on upload > add files.
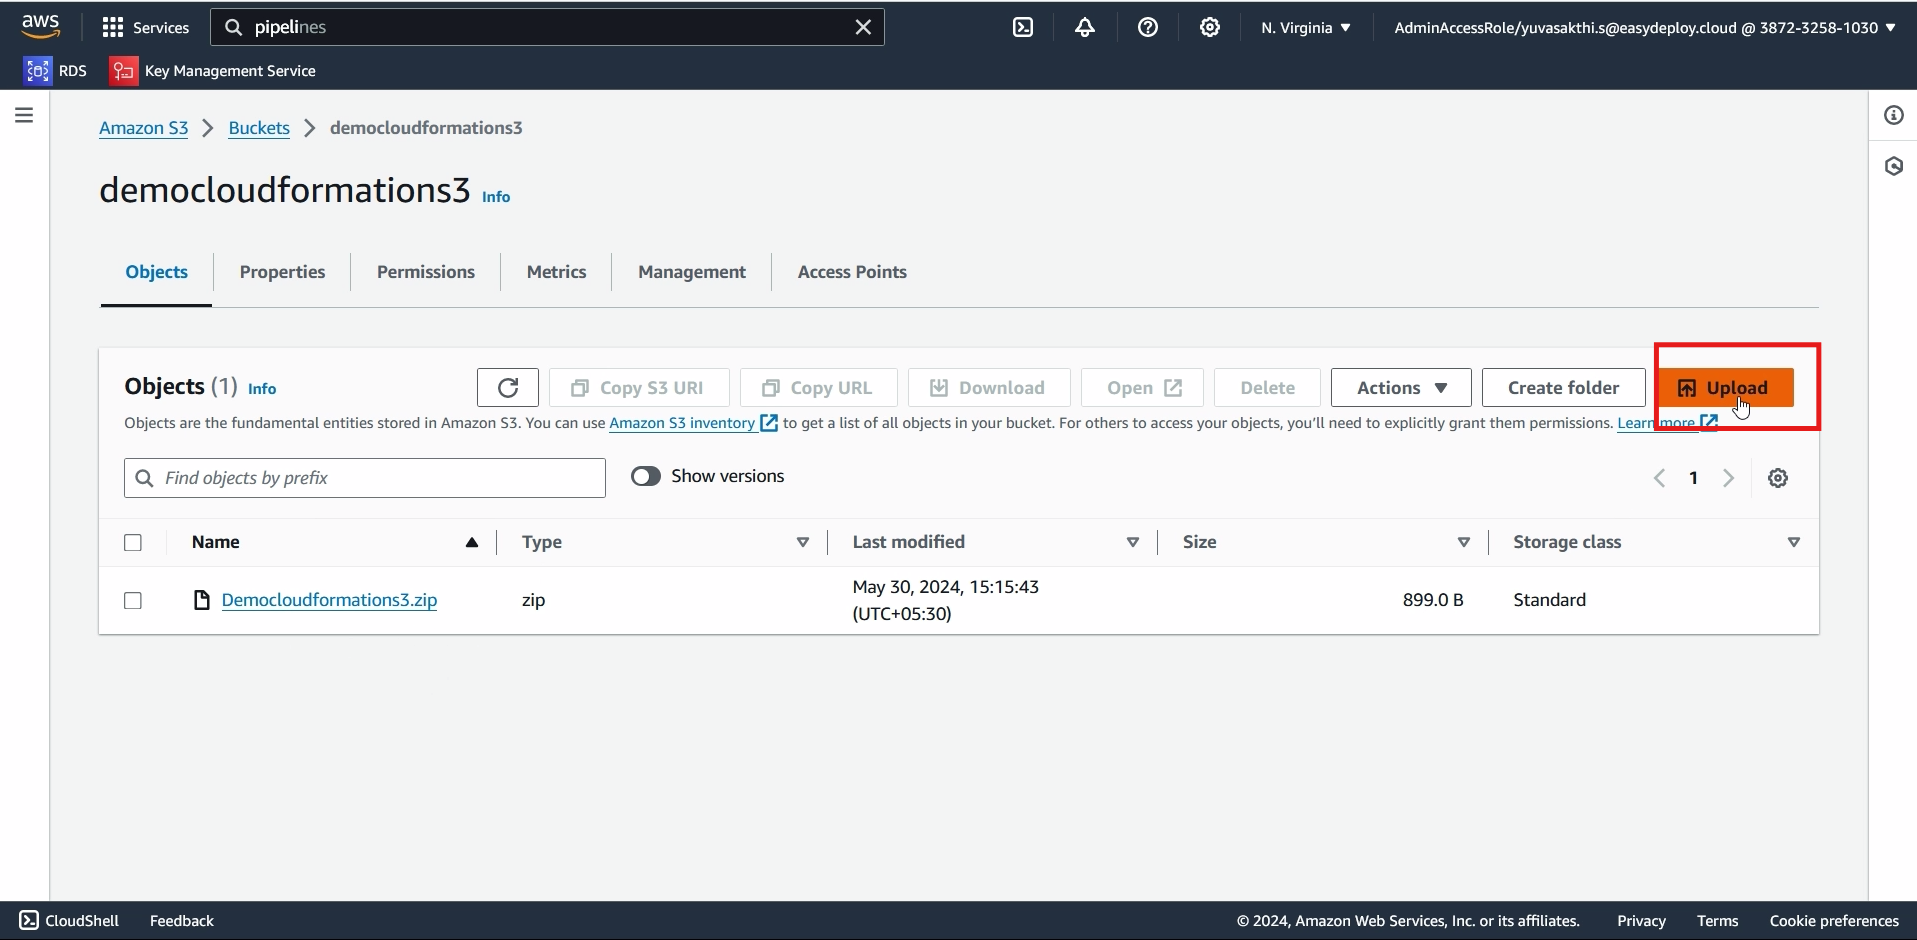
upload the file which we zipped.
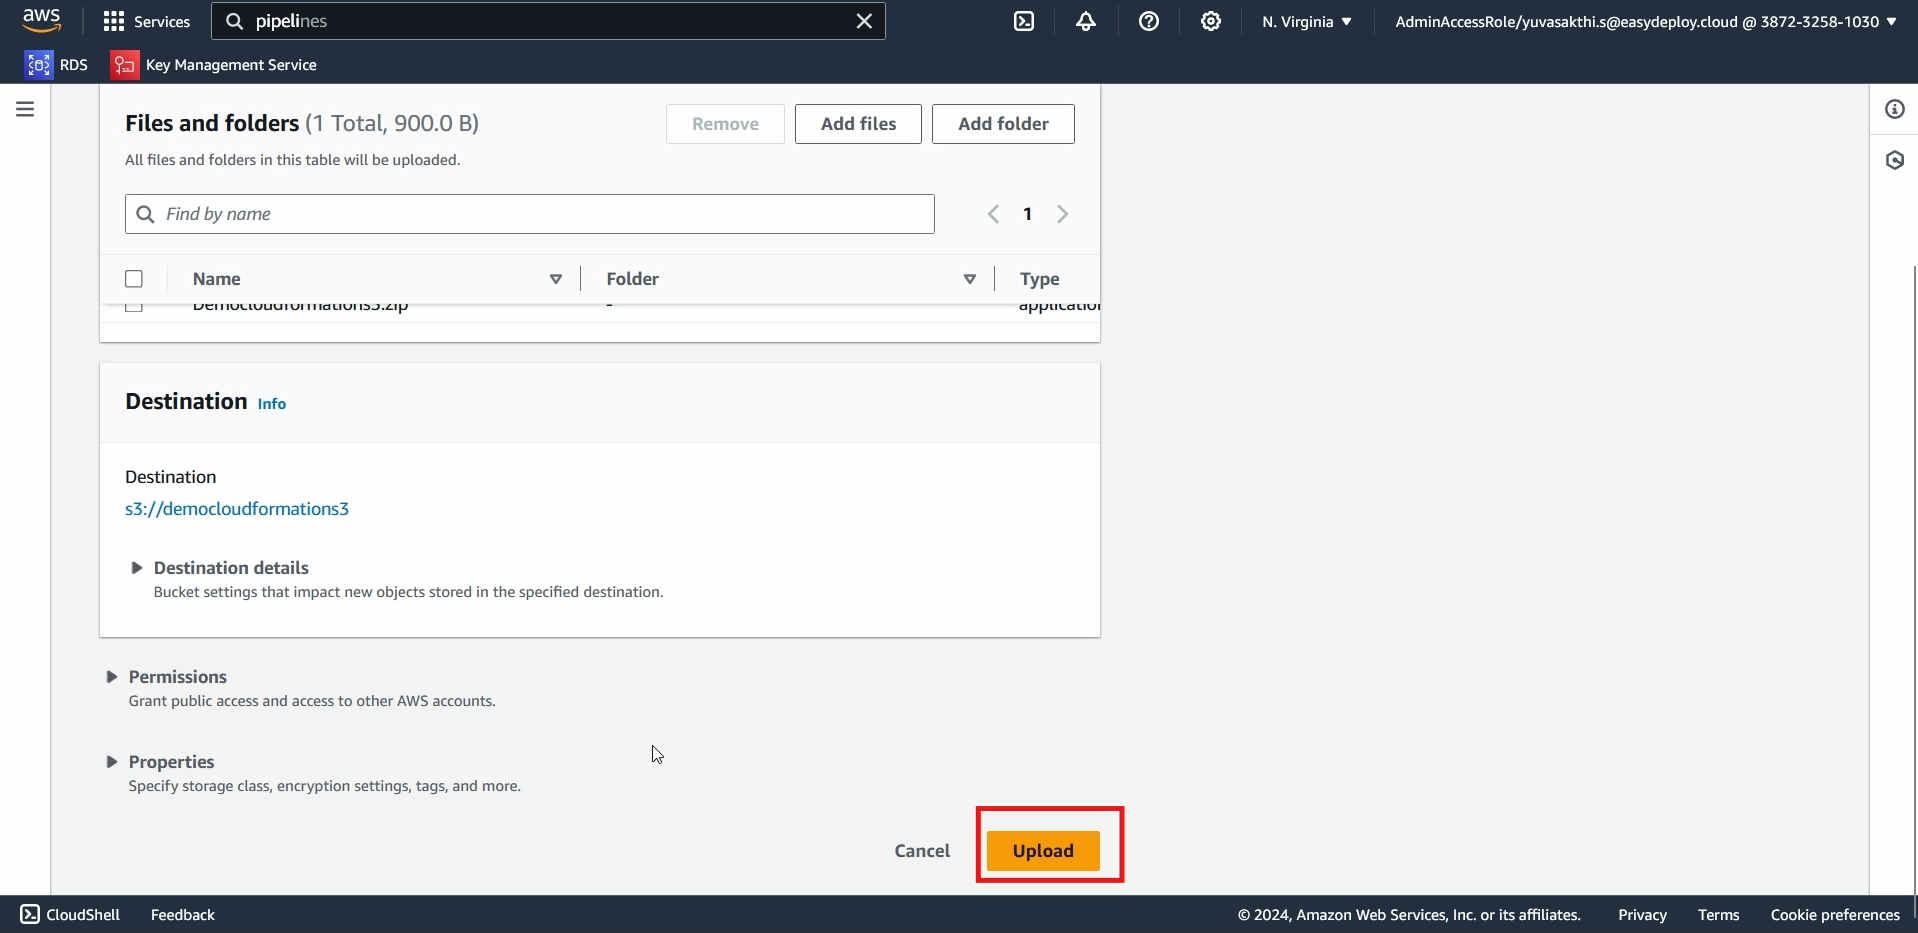
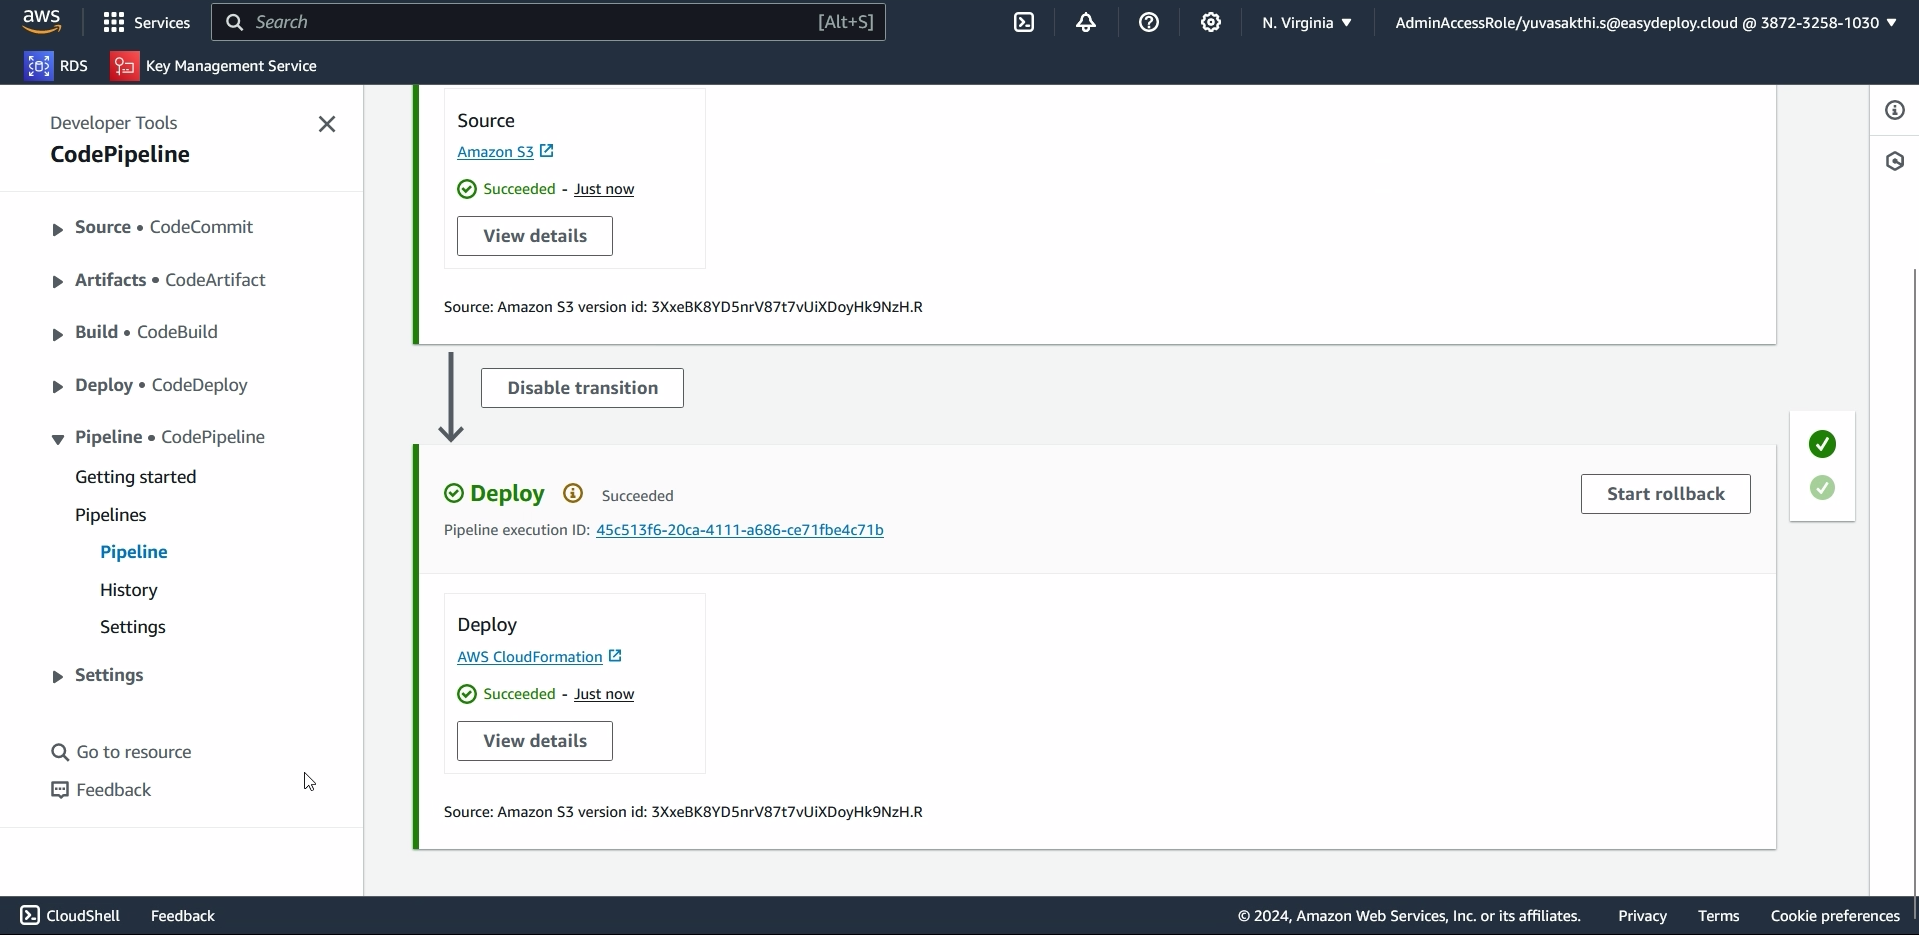
You can see that the pipeline got autotriggered and deployed.
You can see that the instance name is changed.
When we changed content in the template, the pipeline got auto triggered and deployed the cloudformation.

