In this article, I am going to explain how to create an instance using Google Cloud Compute Engine. It will be a step-by-step process for setting up an Instance in Compute Engine.
Compute Engines are the virtual machines on Google Cloud Platform (GCP). These are computers that you can provision or configure to your interest, and only use when you need them. As usual, you only get billed for what you use and it is like Pay As You Go.
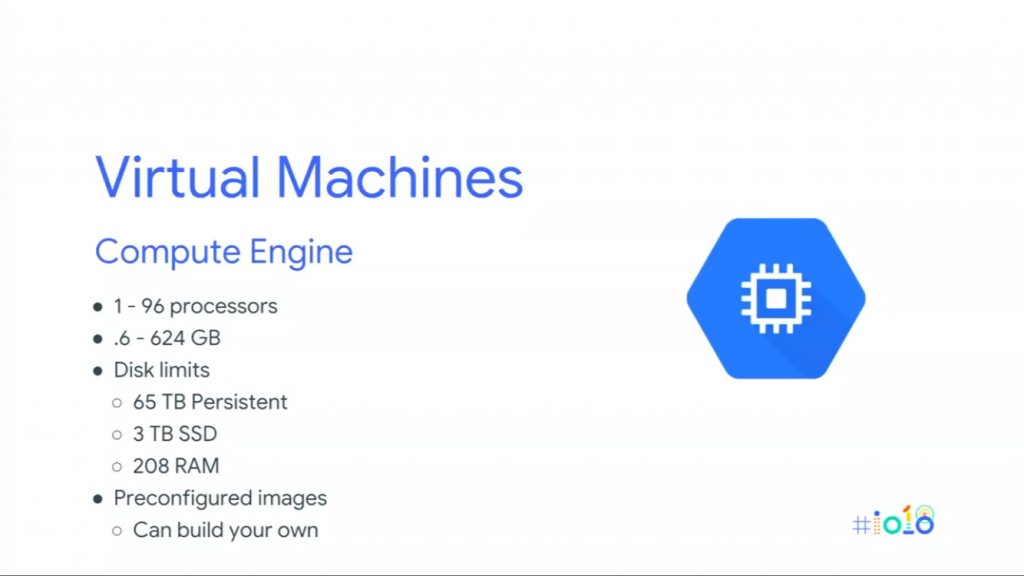
Getting Started with Compute Engine
- Google Compute Engine is the infrastructure as the service. You can configure them with any number of processors, RAM, and storage. You also get to choose your operating systems like Ubuntu, Windows, Debian, Cent-OS, Red-hat, etc,.
- When set up, you can use them for whatever your heart desires. You can log into them via SSH if you set your instances in Ubuntu and you can install your software, and run your services or experiments in that Operating System.
Steps for Creating an Instance in GCE
Let’s get started with configuring an instance on the Google Cloud Platform. From the Hamburger Menu, choose Compute Engine to get started or else you can type Compute Engine in the Search bar which is present in the middle of the GCP Console.
Then you have to select the create an instance which is present in the middle of the console in the Google Cloud Platform.
Now, You will get the screen below.
Creating a new instance
Here you have to enter the instance name and select the Region and Zone and also select the machine Configurations like Machine family, Series, Machine type.
After you have selecting the Region and Zone type and now you have to choose the General purpose Machine type and select the Series as E2
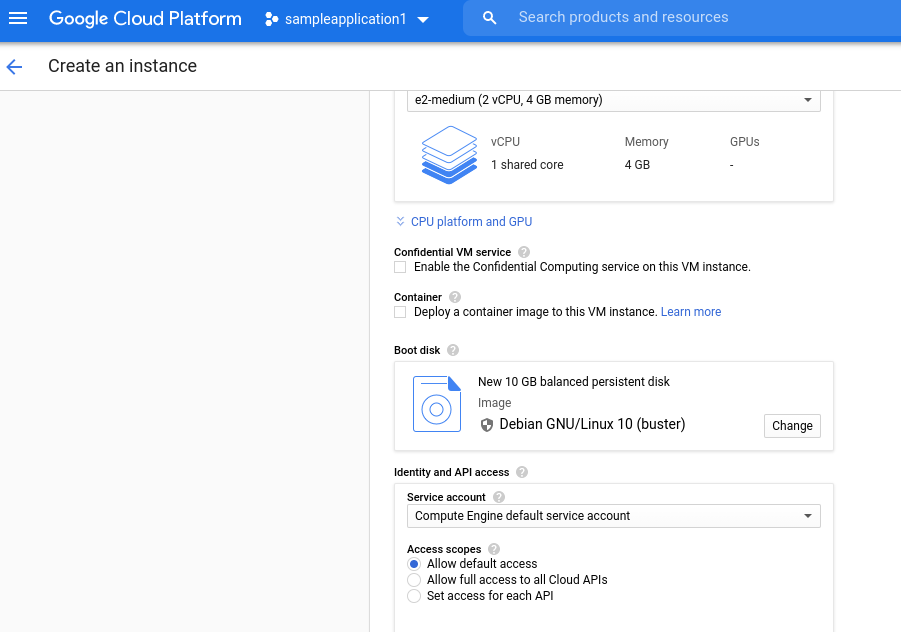
After Selecting all the Configurations of your machine type, Now you have to select the Boot Disk of your Instance in Google Cloud Compute Engine.
Selecting The Boot Disk
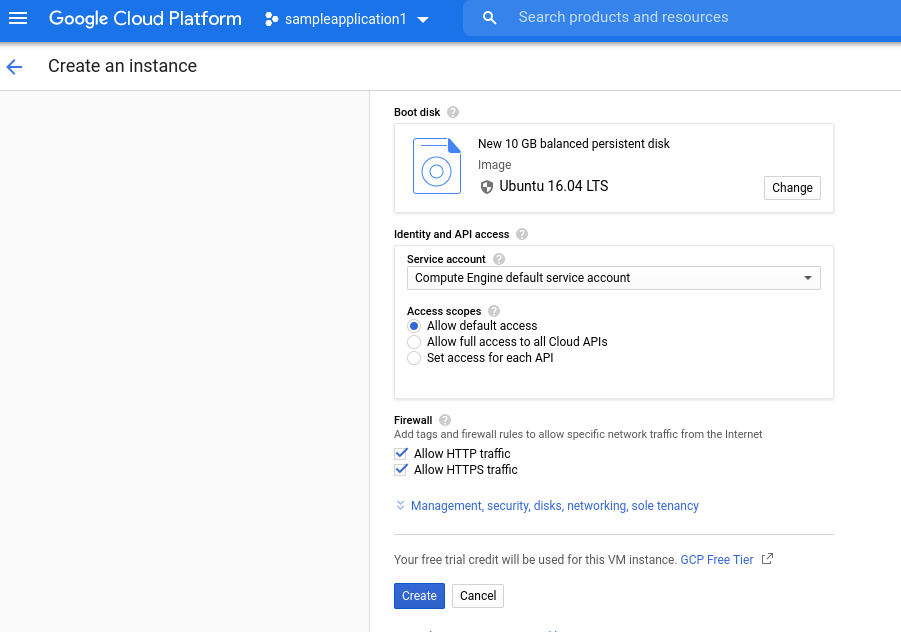
Here you have to select Boot Disk as Ubuntu and select the version of the Operating System and also you need to select the boot disk type and its Storage.
Setting Up a VPC Network
After selecting the boot disk type you need to set up a Networking type and In every project, you will be getting a default network. If you want to configure your own network you can go to VPC Network in the Navigation Menu and do the networking Configurations.
As of now you will be selecting the default network which is already present in your project. And,If you want to add some network tags in the networking field you can add them and so,it is an optional one.
Enabling the Firewall
After Selecting the Networking, Boot disk and Machine Configurations you have to click on the Create Button to Create an Instance.Before doing all the process we need to enable the firewall for the instance by allowing HTTP and HTTPS traffic.
Instance Created in GCP
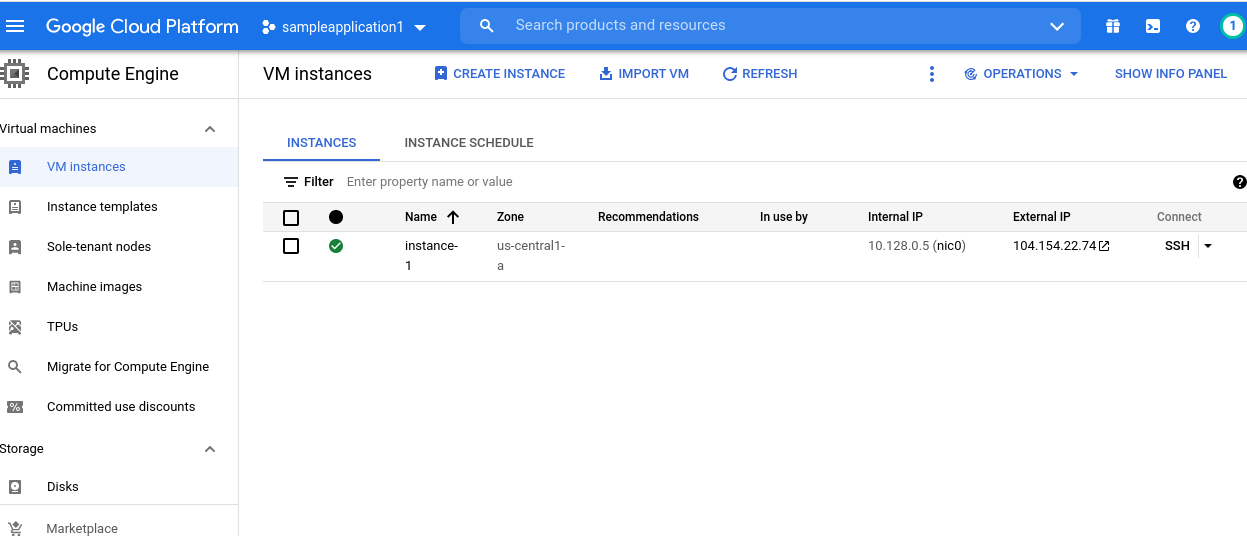
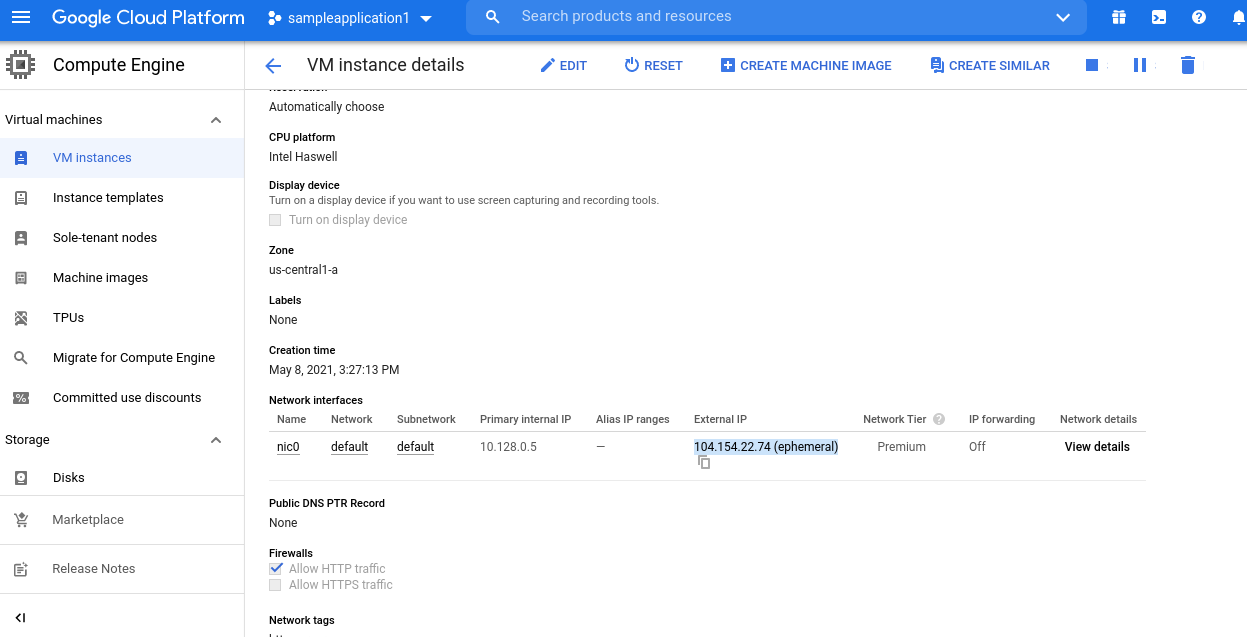
If you click on the instance-1 which is present in the above picture it will display all the configurations of that particular instance in our Google Cloud Compute Engine.In the below you can see the detailed configurations of the selected instances.
And If you click on the ssh button which is present below remote access it will launch the instances in our Google Cloud Platform.
Here In the below screen you can see that we have got the Ubuntu Operating system in our Google Cloud Compute Engine.
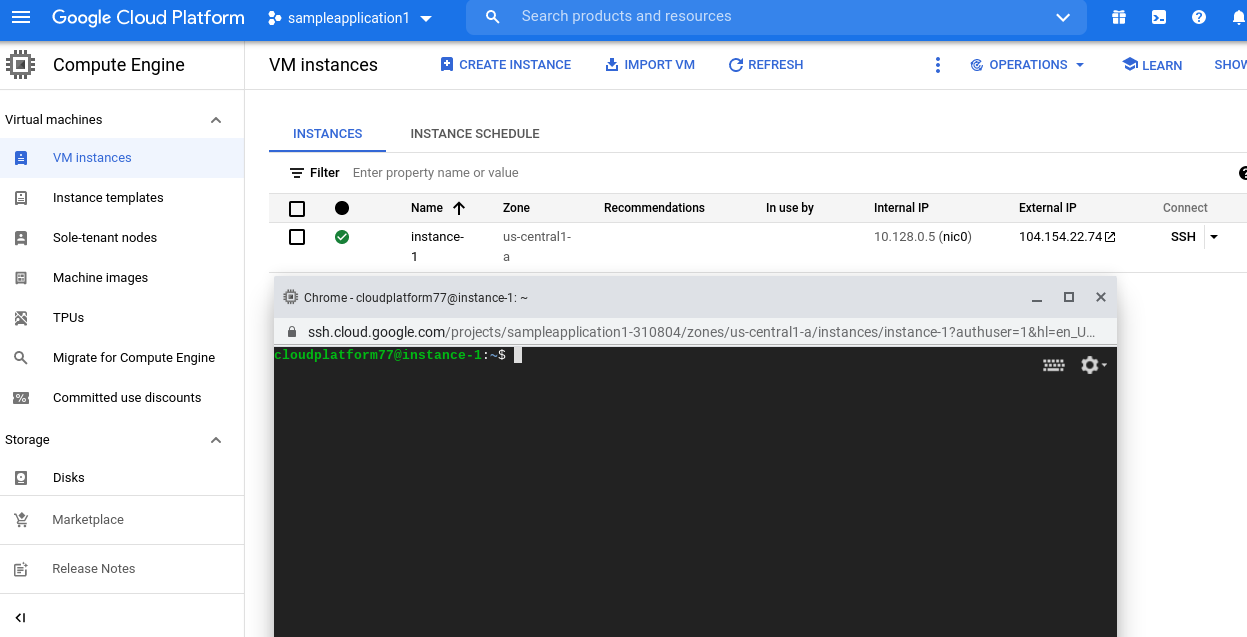
Here we got the external IP address for our instances and Copy that external IP address to the browser to access your web page.
Conclusion
I hope this article will help you in getting started with the compute engine in Google Cloud Platform and setting up instances in Google Compute Engine. In the next articles, we are going to publish few more articles related to Google Compute Engine and how to use them Stay tuned for more articles!
Happy learning!!


